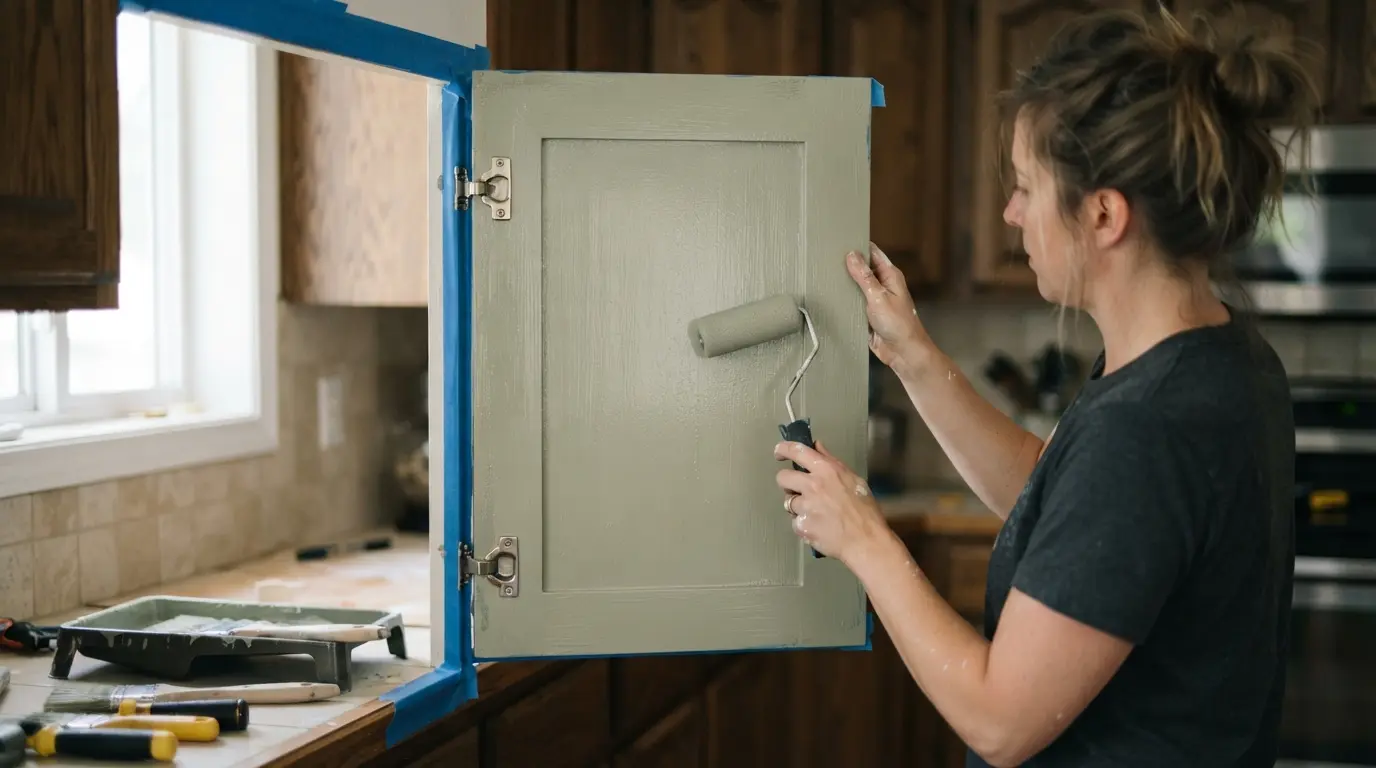
How to Paint Kitchen Cabinets Without Removing Them

Painting kitchen cabinets without removing them is genuinely possible, remove only the hardware, clean and degloss the surface thoroughly, then paint in place with a technique built around working around fixed hinges rather than laid-flat doors. It’s a real, workable shortcut for anyone without the space to store a dozen numbered doors or the time for a full weekend teardown, though it’s worth knowing upfront that it asks more of your technique than the standard remove-everything method.
Why Skip Removing the Doors?
Most professional guides recommend removing doors entirely, laying them flat, and spraying or rolling an even coat before reattaching. That approach genuinely gives the smoothest, most professional-looking result, but it also means numbering every door and hinge, finding somewhere to lay them all out, and losing use of your cabinets for days. Painting in place trades a small amount of finish perfection for real convenience: no missing hardware, no mismatched doors reattached to the wrong opening, and a kitchen that’s never fully out of action. It suits a lighter refresh or a similar-tone colour change better than a dramatic transformation from a very dark finish to a very pale one, which typically needs more coats and more precision than an in-place method comfortably allows.
What You’ll Actually Need
Beyond paint, you’ll want a liquid deglosser or fine sandpaper, a cabinet-specific enamel paint (look for one described as scratch-resistant with a urethane-modified or similar hard-wearing formula), a primer, a small artist’s brush alongside your main brush or mini roller, and a supply of rags for cleanup. A cabinet enamel costs more than standard wall paint, but it’s worth the difference specifically because kitchen cabinets take far more daily contact and cleaning than a wall ever does.
Step 1: Remove Only the Hardware
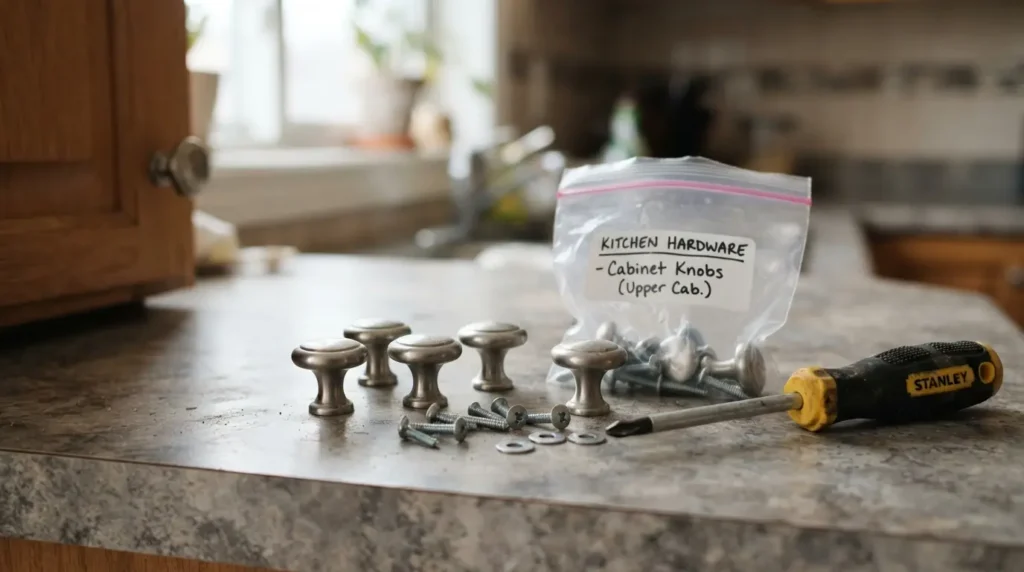
Take off knobs, handles, and any door or drawer stoppers, but leave the doors on their hinges. This is the entire premise of the method: skip the labelling, storing, and reattaching that removal requires, while still getting a genuinely clean surface underneath the hardware. Keep the screws and hardware together in a labelled bag so you’re not searching for them once the paint is dry.
Step 2: Clean and Degloss Thoroughly
Whether you choose a liquid deglosser or traditional sanding, this step decides how well the paint actually bonds, and it’s worth doing properly rather than rushing. After sanding or deglossing, wash the surfaces down completely and let them dry fully before painting. Skipping a thorough wipe-down is a genuinely common, avoidable mistake, leftover dust or old varnish residue can seep through several coats of fresh paint if it isn’t cleaned off properly first, showing up as a stain you can’t paint over no matter how many additional coats you add.
Step 3: Prime Before You Paint
Even if your chosen paint claims to include a built-in primer, a proper separate primer coat genuinely improves how well the paint adheres and how long the finish lasts, it’s the layer doing the real bonding work underneath the colour. A quality primer is also considerably cheaper than the paint itself, so this step effectively stretches your paint coverage further rather than adding meaningful cost. Most primers are ready to paint over within about 30 minutes, so this doesn’t add much time to the overall project.
Step 4: Paint With the Right Technique for a Fixed Door
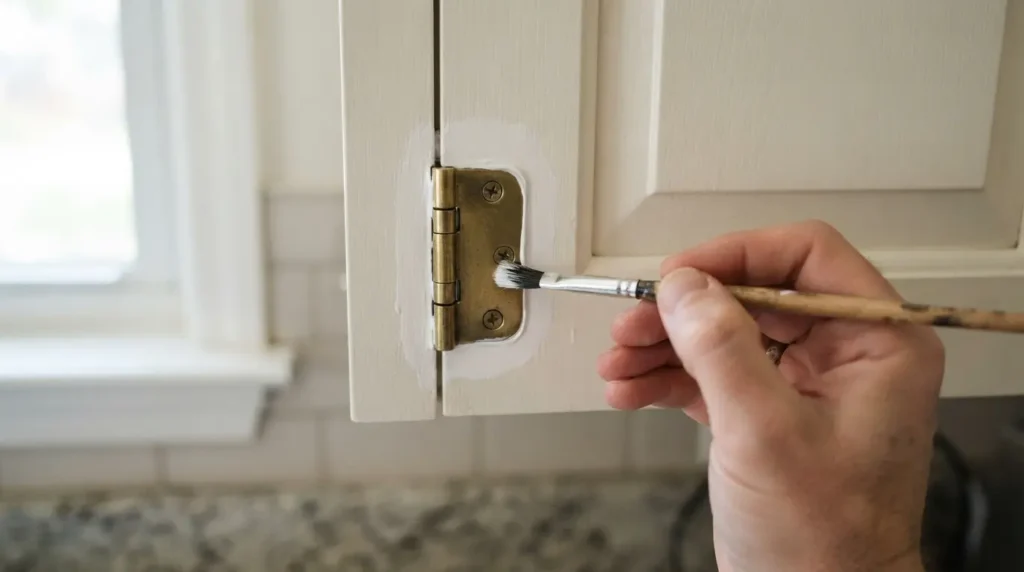
This is where painting in place genuinely differs from the standard method. Use your main brush or roller for the flat surfaces, then switch to a small artist’s brush specifically to work around hinges and into any narrow crevices or moulding a larger brush can’t reach cleanly, this detail work is what actually makes painting around fixed hardware possible without visible gaps or smudged hinge edges. Paint in thin, consistent strokes moving in the same direction, and don’t go back over an area that’s already started to dry, doing so lifts the paint and creates visible smudges rather than a smooth finish. Test your technique on the least visible cabinet first, a door on an end run or facing away from the main sightline, so any early mistakes are somewhere forgiving while you find your rhythm.
Step 5: Let It Cure Properly Before Heavy Use
Paint that feels dry to the touch after a few hours is not the same as paint that’s fully cured, and this distinction matters more for cabinets than almost any other painted surface in the house. Most cabinet paints are touch-dry within a day but can take one to two weeks to fully cure and reach their genuine hardness and scratch resistance. Use the kitchen carefully during this window, avoid scrubbing painted surfaces or resting heavy items directly against them, rather than treating the paint as finished the moment it stops feeling tacky.
Should You Add a Protective Top Coat?
A clear protective top coat, such as a water-based polyurethane or similar sealant, genuinely adds scratch resistance on top of the paint itself, worth the extra step specifically for kitchen cabinets given how much more contact they see than a bathroom vanity or a piece of furniture. It’s not always essential if you’ve used a genuinely hard-wearing cabinet enamel on its own, but it’s a sensible extra layer of protection on the highest-contact areas, drawer fronts, handle areas, anywhere hands touch daily, rather than something to skip purely to save a step.
Common Mistakes With This Method
The most frequent mistake is skimping on cleaning after sanding or deglossing, which shows up later as residue bleeding through the paint rather than as an immediate visible problem. The second is rushing between coats or handling the cabinets before the paint has genuinely cured, not just dried to the touch, which is how a promising paint job ends up scuffed or chipped within the first few weeks. The third is expecting the exact same flawless result a full removal and spray job would give, painting in place is a genuine, workable shortcut, but it asks more careful brushwork around hinges and edges than laying a door flat ever would.
Final Thoughts
Painting kitchen cabinets without removing them is a genuinely practical shortcut when you prepare the surface properly, prime before painting, and take the time to work carefully around hinges with a small brush rather than rushing the detail work. It won’t match the flawless finish of a full removal and spray job, but for a lighter refresh done with real care, it holds up well and saves you the space, time, and hassle of taking an entire kitchen’s worth of doors apart.
FAQs
Can you really paint kitchen cabinets without taking the doors off?
Yes, provided you remove the hardware, clean and prepare the surface thoroughly, and use a small brush to work carefully around the hinges. It won’t give quite as flawless a finish as removing and spraying doors flat, but it’s a genuine, workable method for a lighter refresh.
How many coats of paint do kitchen cabinets need?
Most projects need two coats after priming, though a significant colour change, particularly going from a dark existing finish to a much paler one, often needs three or more for genuinely even coverage.
Do I need to sand cabinets before painting if I use a deglosser?
No, a liquid deglosser is specifically designed to prepare a glossy or sealed surface for paint without sanding, cutting down considerably on mess and dust. Either method works, choose based on which you find easier to manage in your space.
How long before I can use painted cabinets normally?
Cabinets are typically touch-dry within a day, but full cure can take one to two weeks. Use them carefully, avoiding scrubbing or heavy contact, during that window even once they feel dry.
Is painting without removing doors as durable as removing them first?
With proper preparation, priming, and a genuinely hard-wearing cabinet enamel, the durability of the finish itself is comparable. Where the two methods differ most is in achieving a perfectly smooth, professional-looking surface, which removing and laying doors flat still does more reliably.