How to Create a Feature Wall in Any Room

Creating a feature wall in any room starts with matching your material to that room’s actual conditions, since a technique that works beautifully in a living room can fail entirely in a kitchen or bathroom without the right preparation. Beyond material choice, the actual execution differs by wall type too, a plain wall and a wall built around a chimney breast need genuinely different starting points to get right.
Match Your Material to the Room’s Real Conditions
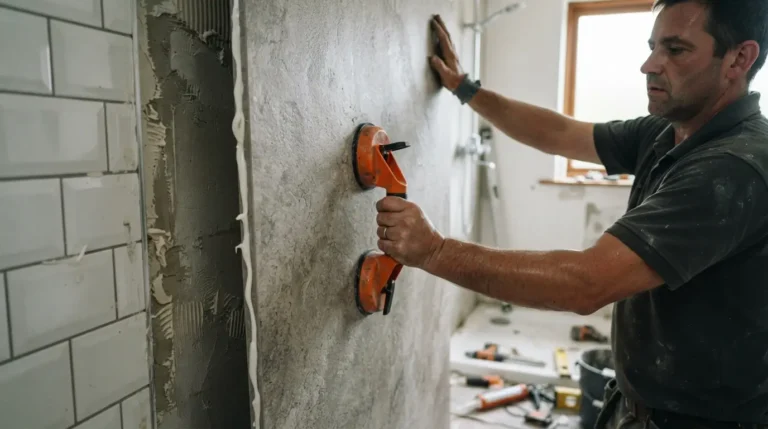
Before choosing a colour or pattern, think honestly about what the room will do to your chosen material over time. A kitchen feature wall needs something genuinely washable and heat-tolerant if it’s anywhere near cooking activity, a delicate, uncoated wallpaper simply won’t hold up to grease and steam the way a washable, wipeable finish will. A bathroom feature wall needs a genuinely moisture-rated product, standard wallpaper and paint can bubble, peel, or grow mould in a room with regular steam exposure. A hallway sees more physical contact than almost any other space, bags brushing past, hands trailing along the wall, so durability matters more here than in a quiet bedroom. Choosing the right material for the room first prevents the disappointment of a beautiful feature wall failing within a year because it was never suited to where it was installed.
Choose Panel-Effect Wallpaper for the Look of Panelling at a Fraction of the Cost

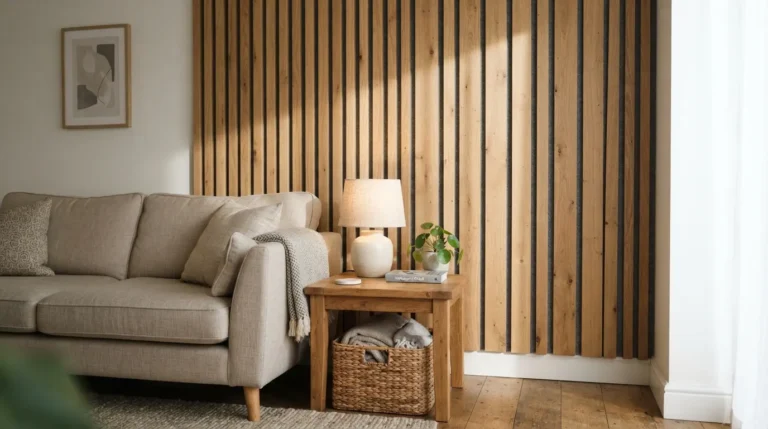
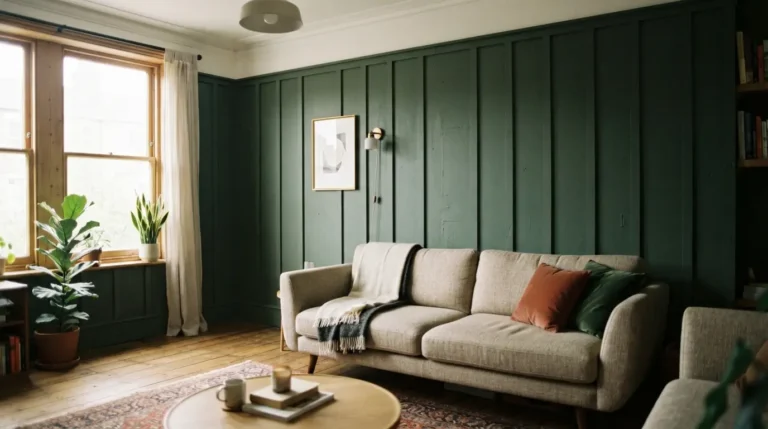
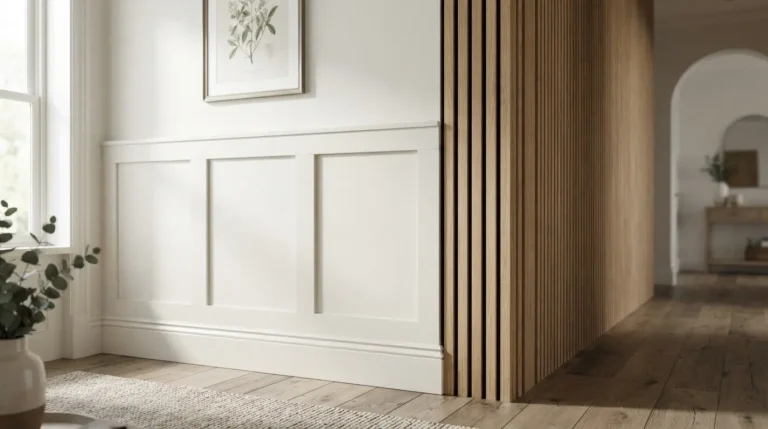
If you love the architectural look of panelling but don’t want the cost or labour of installing real timber, panel-effect wallpaper genuinely delivers a very similar visual result for considerably less money and effort. These designs range from traditional Shaker-style panels to sleek, contemporary slatted patterns, and because the panel detail is printed rather than built, installation is as straightforward as hanging any other wallpaper rather than measuring, cutting, and fixing individual boards. This is worth considering specifically if your budget or timeline doesn’t stretch to full panelling but you still want that structured, considered look.
Start From the Right Point Depending on Your Wall
This is a genuine technical distinction worth getting right before you hang a single drop. On a plain wall with no architectural features to work around, start from the centre and work outward in both directions, this ensures your pattern falls evenly on either side rather than looking lopsided by the time you reach the edges. On a wall built around a chimney breast, window, or other architectural feature, start from that feature instead and work outward from there, since it’s the visual anchor the rest of the wall needs to align with. Use a spirit level or plumb line to mark a genuinely straight vertical guide before you hang anything, a first drop that’s even slightly off will compound into a visibly crooked pattern by the time you’ve covered the whole wall.
Match Paste Type to Your Specific Wallpaper
Not all wallpaper is applied the same way, and it’s worth checking your specific product before you start rather than assuming one method works for everything. Paste-the-wall products have adhesive applied directly to the wall surface, with the paper itself going up dry, while traditional paste-the-paper wallpaper needs the paste applied to the back of the paper before hanging. Follow the specific instructions for your chosen roll, using the wrong method for a given product can affect how well it adheres and how easily it lies flat once it’s up.
Hang, Smooth, and Match the Pattern as You Go
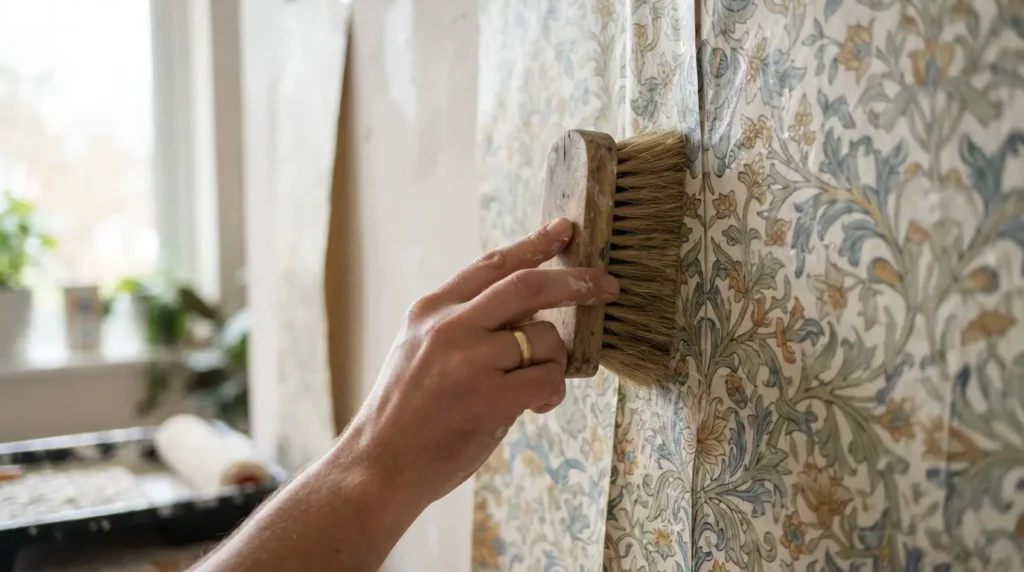
Line the edge of your first drop up against your marked guide, then smooth it into place working from the centre outward, this removes air bubbles without stretching or distorting the paper. For a patterned wallpaper specifically, take genuine care matching the design across each successive drop, this single step affects the finished look more than almost any other part of the process, since a mismatched pattern is immediately obvious even from across the room. Work steadily rather than rushing through multiple drops at once, a feature wall is a genuinely forgiving first wallpapering project precisely because you’re only covering one wall, so there’s no reason to hurry through it.
Trim Properly for a Genuinely Clean Finish
Once a drop is smoothed into place, score a line with scissors along the skirting board, ceiling, and any other edges, then follow that score line to trim away the excess paper cleanly. Smooth the trimmed edge back into position afterward, this final step is what gives a wallpapered feature wall its genuinely crisp, professional finish rather than a rough, obviously home-done edge. Repeat this hang-smooth-trim sequence across the rest of the wall, checking your pattern match at every join as you go.
Apply the Same Principles to a Chimney Breast or Alcove
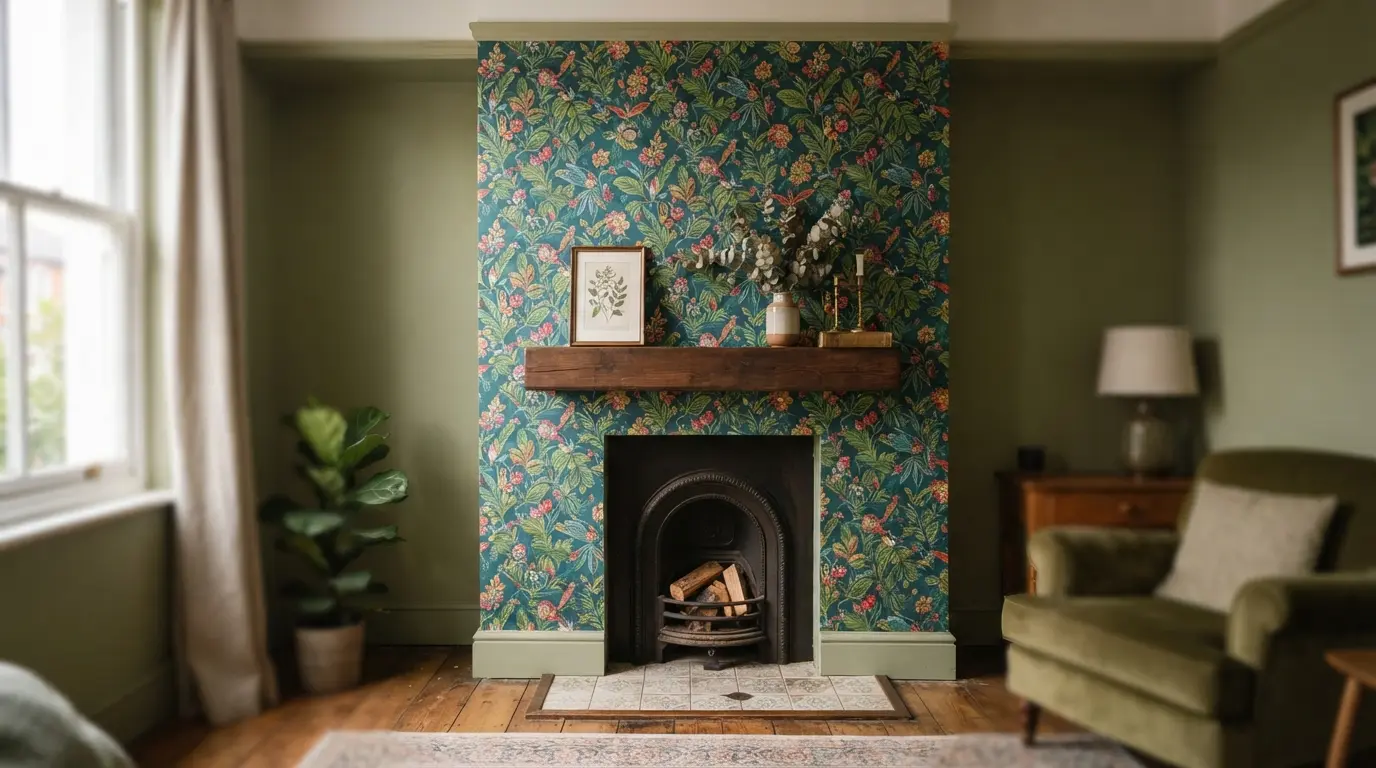
A chimney breast is a naturally strong candidate for a feature wall, since its shape already draws the eye without needing any additional justification. A bold, patterned wallpaper works particularly well here specifically because the area is relatively compact, letting you commit to a braver colour or print than you might across a full, larger wall. Alternatively, painting just the chimney breast in a genuinely contrasting shade, rather than the whole wall, creates a clearly defined focal point and can make an existing feature like a stone or marble fire surround stand out considerably more than it would against a plain, unpainted background.
Style the Room Around the Finished Wall Without Competing With It
Once your feature wall is finished, resist the urge to compete with it through additional bold colour or pattern elsewhere in the room. Let the rest of the space, your furniture, your accessories, respond to and complement the wall rather than fighting for the same visual attention, this is what makes the wall read as a genuine, deliberate focal point rather than one loud element among several competing ones.
Final Thoughts
Creating a feature wall in any room really comes down to choosing a material genuinely suited to that specific room’s conditions, then executing the technique properly for the wall type you’re working with, centre-out for a plain wall, feature-first for a chimney breast or alcove. Get those details right, and the wall will look considered and professionally finished in a kitchen or bathroom just as reliably as it would in a living room.
FAQs
Can I put wallpaper on a feature wall in a kitchen or bathroom?
Yes, but choose a product specifically rated for those conditions, washable and grease-resistant for a kitchen, genuinely moisture-resistant for a bathroom. Standard wallpaper not designed for these rooms is more likely to bubble, peel, or deteriorate with regular steam and heat exposure.
Where do I start when wallpapering a feature wall?
On a plain wall, start from the centre and work outward so your pattern falls evenly on both sides. On a wall with an architectural feature like a chimney breast or window, start from that feature instead and work outward from there.
What’s the difference between paste-the-wall and paste-the-paper wallpaper?
Paste-the-wall products have adhesive applied directly to the wall, with the paper going up dry, while paste-the-paper wallpaper needs the adhesive applied to the back of the paper first. Always check your specific product’s instructions rather than assuming one method applies universally.
Is panel-effect wallpaper a good alternative to real panelling?
Yes, genuinely, it gives a very similar architectural look for considerably less cost and effort than installing real timber panels, and it’s installed the same straightforward way as any other wallpaper rather than needing measuring, cutting, and fixing individual boards.
How do I create a feature wall around a fireplace?
A chimney breast is a naturally strong candidate since its shape already draws attention. A bold, patterned wallpaper suits the relatively compact area well, or paint just the chimney breast in a contrasting shade to make the fire surround itself stand out more clearly.