How to Install Acoustic or Slat Wall Panels in a Room

Installing acoustic or slat wall panels comes down to four stages done properly: checking the wall, choosing the right fixing method, planning the layout, and cutting cleanly around obstacles. Most disappointing results, wonky lines, gaps at the final edge, panels that don’t actually quiet a room, trace back to one of those four stages being rushed rather than to the panels themselves.
Acoustic Panel or Slat Wall: Know Which One You’re Actually Fitting
These two terms get used interchangeably, but they’re not always the same product. A true acoustic panel has a sound-absorbing core, usually acoustic felt or foam, behind a decorative slat or fabric face, and it genuinely reduces echo and reverberation in a room. A purely decorative slat wall panel is often just MDF or timber slats on a solid backing board, with no absorbent layer at all, it adds real texture and warmth to a wall, but it does very little for the room’s actual sound beyond breaking up a flat, hard surface slightly. If acoustics genuinely matter to you, a home office, a media room, a space with hard flooring and bare walls, check the product spec for a felt or foam backing rather than assuming any slatted panel will quiet the room down.
Check Your Wall Before You Buy Anything
A dry, flat, stable wall gives the best result with any fixing method. Press along the surface for soft or hollow patches, check for damp staining, and run a level across a few points, since internal walls are very often slightly out of square even when they look straight. Mark where sockets, switches, radiators, and any hidden cable or pipe runs sit before you order panels, this affects both your layout and your final quantity. If you’re buying real timber slat panels rather than a manufactured composite, leave them in the room for 24 hours before fitting so they acclimatise to the room’s temperature and humidity, skipping this is a common reason panels shift slightly at the joints within the first few weeks.
Choose Your Fixing Method: Adhesive, Screws, or Battens
| Method | Best For | Trade-off |
| Adhesive | Flat, dry, stable walls | Fast and clean, but hard to adjust once pressed on and harder to remove later |
| Screws | Uneven or uncertain walls, heavier panels | Stronger hold, easier to remove, but fixings can show if not planned carefully |
| Battens | Genuinely uneven walls, or where acoustic performance matters | Best finish and real acoustic gain with insulation behind, but adds cost, depth, and a day or more of extra work |
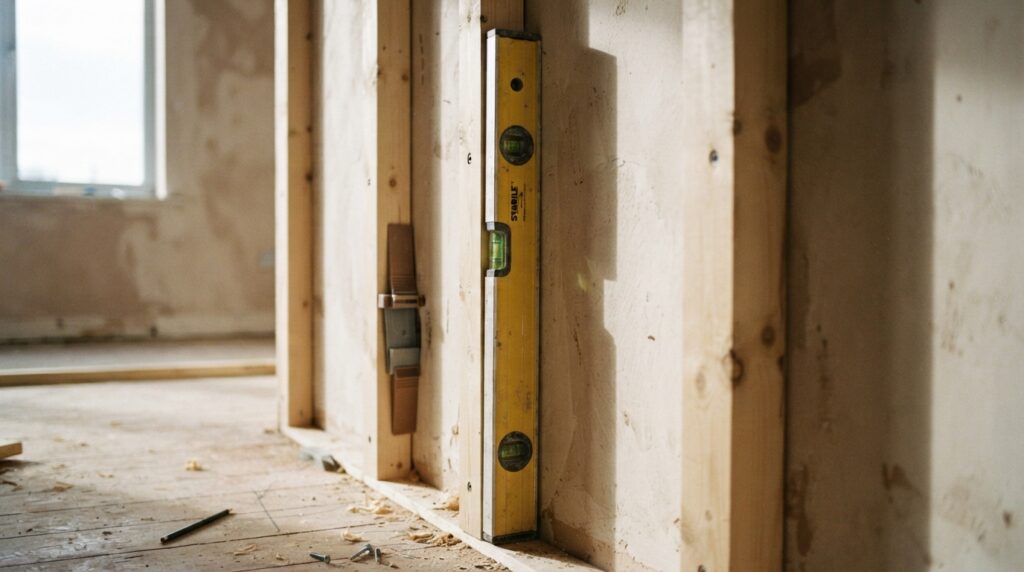
Adhesive is the quickest route on a wall that’s already flat and sound, and it’s what most decorative slat panels are designed for. Screw fixing is worth the extra step on an uncertain or textured wall, and it’s easier to remove or adjust later if you change your mind. Battens add real cost and time, but they’re the only method that lets you correct an uneven wall properly and create a cavity behind the panel, which is where an actual acoustic improvement comes from if you pack that cavity with mineral wool insulation rather than leaving it empty.
Plan the Layout Before You Cut a Single Panel
Work out your starting point before cutting anything. Starting from one edge is simplest on a plain wall, but on a feature wall behind a bed, sofa, or television, it’s usually worth centring the layout so the panels read as balanced from the room’s main viewpoint rather than drifting to one side. Check how the final panel at the far edge will look before you commit, a full-width strip at one end and a sliver at the other reads as an afterthought, while two moderate cuts at each end look intentional. A quick dry layout on the floor, panels laid out in order before anything is fixed, catches these problems while they’re still easy to fix.
Fit the Panels Step by Step
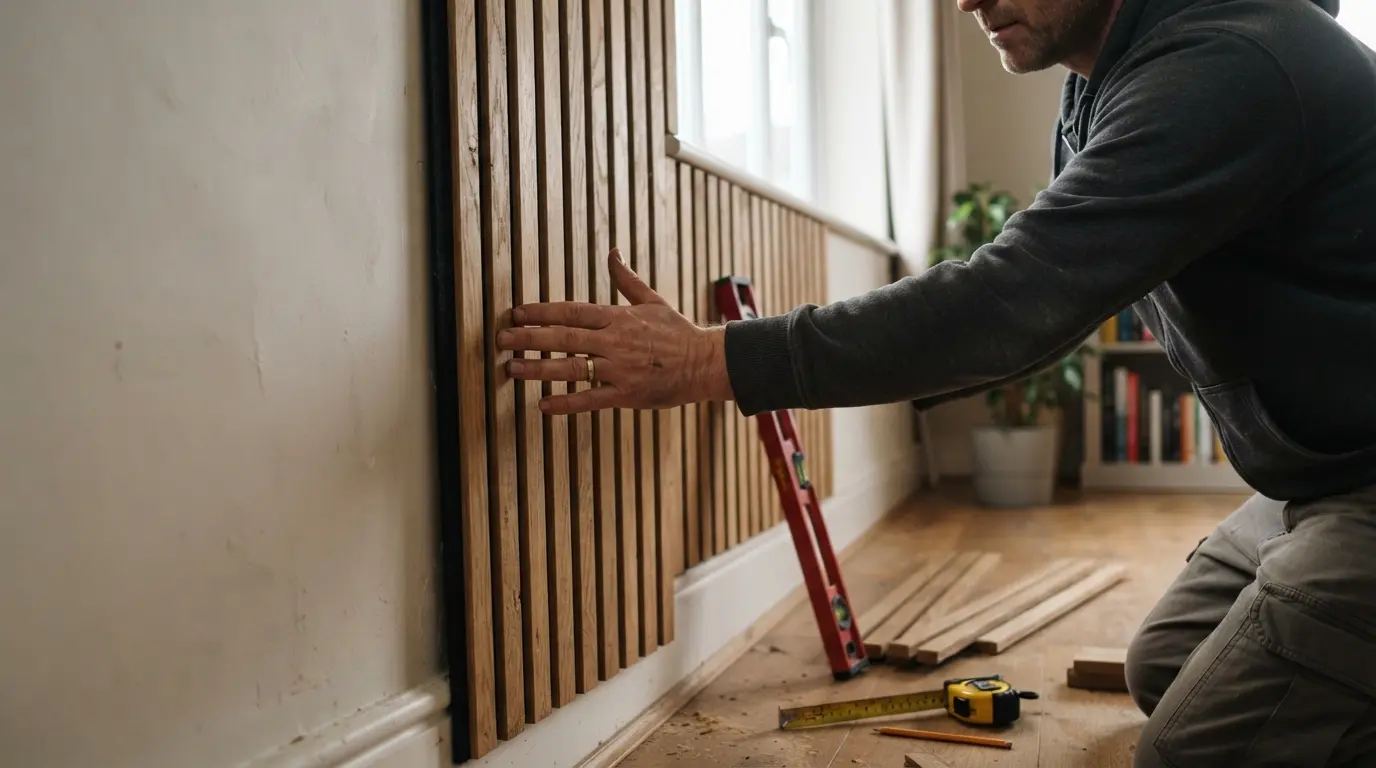
Mark a level starting line first, since every panel that follows takes its cue from this one line. Dry-fit the first panel to check it clears the floor, ceiling, and any nearby trim before committing to adhesive or screws. Fix the first panel, check it again with a level, and only move on once it’s genuinely true, this one panel controls the alignment of the entire wall. Add the remaining panels one at a time, checking spacing and alignment against the previous panel rather than against the wall alone, small drift compounds quickly across a full wall of slats. Save the final cut pieces for last, measuring the remaining space in more than one spot if the wall is out of square, and cut slightly generous where you can trim back rather than risk cutting short.
Cutting Around Sockets and Obstacles
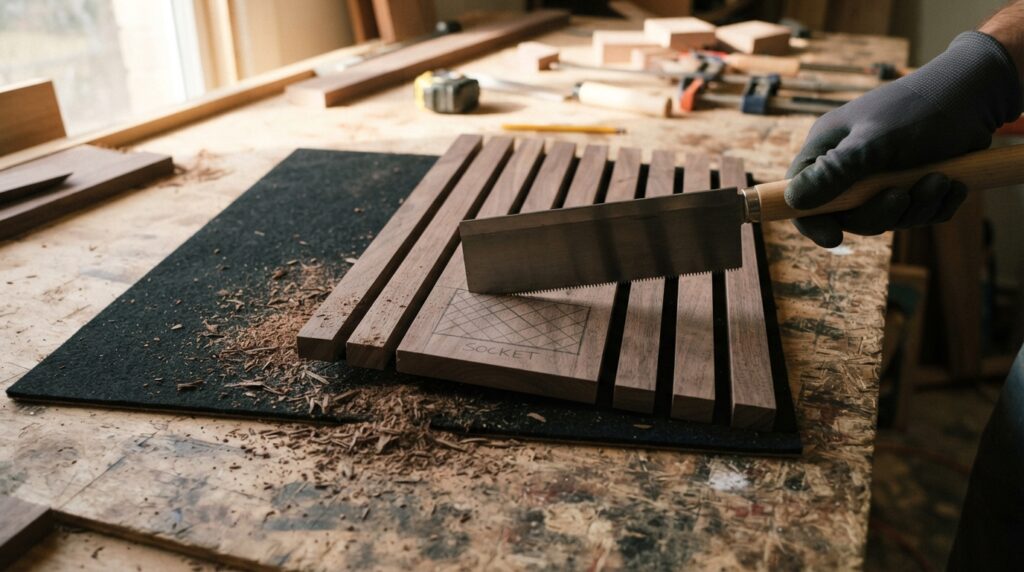
Measure from a fixed point, usually the nearest panel edge and the floor or skirting, rather than guessing by eye. Transfer the measurement to the back of the panel, and cut with the decorative face down and a fine-tooth blade to avoid chipping the visible surface. For a socket, remember the visible face plate is usually slightly larger than the back box behind it, so allow clearance rather than cutting to the box size alone. Dry-fit the cut panel against the wall before final fixing wherever you can, since a mistake here often means an entire panel needs replacing rather than a small correction.
How Much Does It Cost and How Long Does It Take?
| Approach | Typical Cost | Typical Time |
| Simple decorative slat wall, adhesive fix, small wall | Lower end of the budget, materials plus adhesive | A few hours for a straightforward wall |
| True acoustic panels, direct-fixed, no battens | Moderate, panels cost more than plain slats | Half a day to a full day |
| Full acoustic build-up with battens and insulation | Highest, extra materials and labour time | One to two days, more on a large or obstacle-heavy wall |
Costs vary significantly by country, panel material, and wall size, so treat these as a general shape rather than a fixed quote. As a rule of thumb, the panels themselves are usually the biggest cost, adhesive and screws are minor by comparison, and battens with insulation add the most to both budget and time because of the extra materials and labour involved in building out the wall properly. A professional installer is worth the cost on a large, highly visible wall with many obstacles or where a batten and insulation build-up is part of the plan, a confident DIYer with good tools can usually manage a simple, flat wall with a straightforward layout.
Common Mistakes to Avoid
The most frequent mistake is skipping wall preparation because it’s hidden behind the finished panel anyway, dust, grease, or a damp patch under the surface causes fixing failures that show up weeks later, not on installation day. The second is measuring the wall once instead of in several places, which is exactly how a wall that looks straight ends up with a visibly tapering gap at the ceiling or skirting. The third is expecting genuine soundproofing from decorative slats with no absorbent backing, they add texture and warmth, but they don’t block sound the way a true acoustic panel with insulation behind it can reduce echo within the room.
Final Thoughts
Installing acoustic or slat wall panels is a genuinely manageable DIY project once you know which of the two you’re actually fitting and pick the right fixing method for your wall. Check the wall honestly, plan the layout before you cut anything, and don’t expect decorative slats alone to do the acoustic job of a properly backed panel, and the wall you end up with will look as considered in five years as it does on the day it’s finished.
FAQs
Do slat wall panels actually reduce noise?
Only if they have an acoustic backing, usually felt or foam, behind the decorative slats. Purely decorative slat panels on a solid board add texture but do very little for a room’s actual sound.
Can I fit acoustic panels without battens?
Yes, adhesive or screw fixing directly to a flat, stable wall works well for most decorative and moderate acoustic installations. Battens are worth the extra effort mainly on an uneven wall or where you want a genuine acoustic cavity with insulation behind the panel.
How long do I need to wait before hanging anything on slat panels?
For adhesive-fixed panels, most manufacturers recommend waiting at least 24 hours before hanging shelves, a TV, or anything with real weight, so the adhesive has time to fully cure.
Can acoustic panels be fitted in a bathroom?
Standard acoustic panels aren’t designed for persistent moisture or direct water contact, so they suit a low-humidity bathroom area at most, away from a shower or bath. Check the manufacturer’s guidance before fitting in any consistently damp room.
Do I need battens on an uneven wall?
Usually yes. Battens let you build out and correct an uneven surface so the finished panel face is genuinely flat, which adhesive or screws alone can’t fix if the wall itself is out of true.