How to Add Wall Panelling to a Bathroom

To add wall panelling to a bathroom, choose panels that suit each zone, prepare and dry fit them, glue them to a clean, sound wall, and seal every edge and joint. Use waterproof panels in wet areas and painted tongue and groove or MDF elsewhere. A small room takes about a day.
Most guides show you how to glue a panel up, then skip the part that decides whether it lasts: matching the panel to how wet each wall gets. Solid wood beside a shower can swell and peel, and old walls are rarely square, so cuts and corners need planning. This bathroom panelling guide covers both.
Choose Panels for Each Zone Before You Add Wall Panelling to a Bathroom
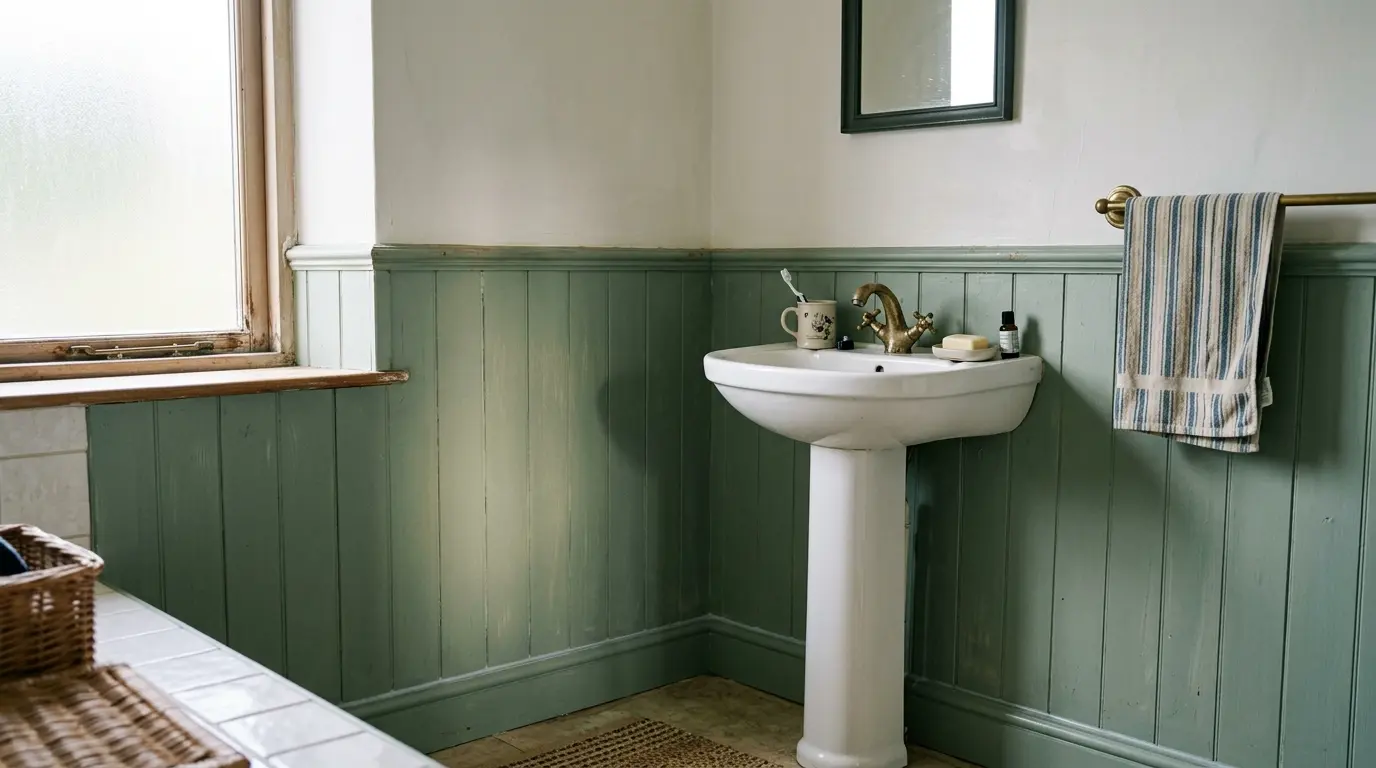
Match the panel to the wall’s wetness. Waterproof PVC, acrylic or laminated MDF suits showers and baths. Painted tongue and groove, board and batten or wainscoting suits dry areas, such as behind the basin or as half-height panelling. Keep untreated timber well away from direct spray.
| Panel type | Best for | Wet-zone verdict | Main catch |
| PVC | Whole room, including showers | Waterproof | Flexes on imperfect walls, but can look plasticky, so order a sample |
| Acrylic | Shower walls | Waterproof | Slim and glossy, so it shows marks |
| Laminated MDF (tongue and groove) | Showers and full walls | Waterproof when sealed | Cut edges must be sealed |
| Painted solid wood tongue and groove | Dry walls, half height | Keep away from the shower | Needs sealed paint and good ventilation |
| Painted MDF board and batten or wainscoting | Dry walls, low ceilings | Not for splash zones | Swells if edges get wet |
| Water-resistant slat panels | Feature wall out of splash | Water-resistant, not waterproof | Avoid direct water exposure |
A good rule of thumb is waterproof panels inside the shower zone and decorative panelling everywhere else. Whatever you choose, run a decent extractor fan. One UK blogger reported no warping in painted pine beside a shower and credited a powerful extractor. That is one room’s experience, not a guarantee.
Tools and Materials
You need standard DIY tools plus the right adhesive and sealant. A fine-toothed saw, spirit level, masking tape and sealant gun cover most jobs. Buy trims and the manufacturer’s recommended adhesive with the panels, because some makers only guarantee installs done with their own products.
- Tape measure, spirit level, pencil and masking tape
- Fine-toothed saw (or circular saw with a fine blade), jigsaw for scribing, hole saw for pipes
- Sandpaper or a sanding pad, and tile spacers
- Panel adhesive (grab adhesive for timber), sanitary silicone, sealant gun and smoothing tool
- Internal and external corner trims, end caps and a top trim or moulding
- Goggles and gloves
How to Fit Bathroom Panelling Step by Step
Prepare the wall, measure, cut, dry fit, glue, then seal. Start in a corner, work outwards and check every panel is plumb. Most small bathrooms take about a day to install bathroom panels, plus curing time before the shower is used.
1. Prepare the Wall
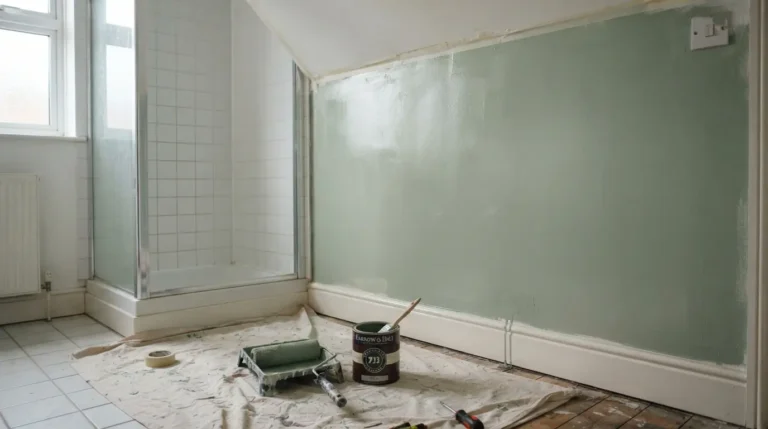
Clean, dry, sound walls hold panels best. Wash with sugar soap, remove mould and grease, wire brush loose plaster and fill cracks. Check for damp first and cure it before covering anything, because panels can trap moisture. Sound ceramic tiles can stay. Switch the power off before removing socket faceplates.
2. Measure and Plan the Layout
Measure the wall three times, then divide by the panel width to get your panel count. Decide between vertical and horizontal, and plan so the last panel is not a thin sliver. Allow about 3mm at the top and 5mm where panels meet a bath or tray, for expansion and sealant.
3. Cut and Prepare the Panels
Support each panel fully and cut slowly. Run masking tape along the line to stop chipping, and cut with the decorative face up using a fine-toothed saw. Use a hole saw for pipes and a jigsaw only for scribing. Sand the cut edges, then lightly sand the back so adhesive grips.
4. Fit Trims and Dry Fit the First Panel
Draw a plumb line with a spirit level, then fix internal corner trims and end caps. Dry fit the first panel against the line with spacers at the bottom. In older homes corners are rarely straight, so trims and beads hide slightly diagonal cuts. Adjust now, before adhesive touches the wall.
5. Glue the Panels in Place
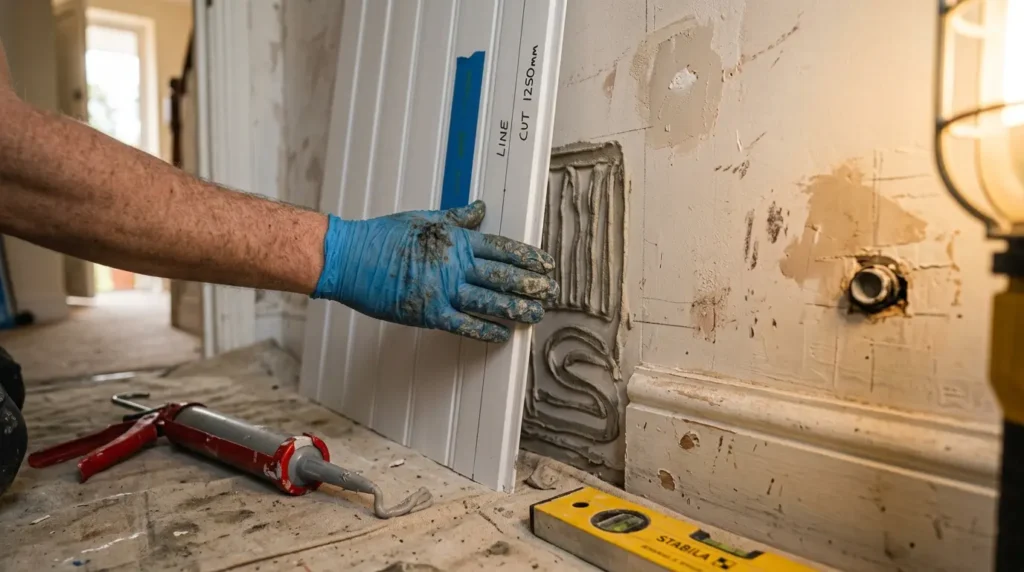
Apply adhesive to the back in vertical and horizontal lines or an S-shaped bead. Keep beads about 40mm in from the edge and thicker than about 6mm, with extra where the wall dips. On laminated tongue and groove, add a thin bead of sealant in the groove. Press firmly and brace with a straight edge.
6. Continue Across the Wall
Slot each joint into the last panel and wipe away squeezed-out adhesive immediately, using the cleaning wipes your manufacturer recommends. Check plumb every second panel. For sockets and pipes, measure from the panel already fitted, transfer the marks, and cut before you offer the panel up.
7. Seal and Finish
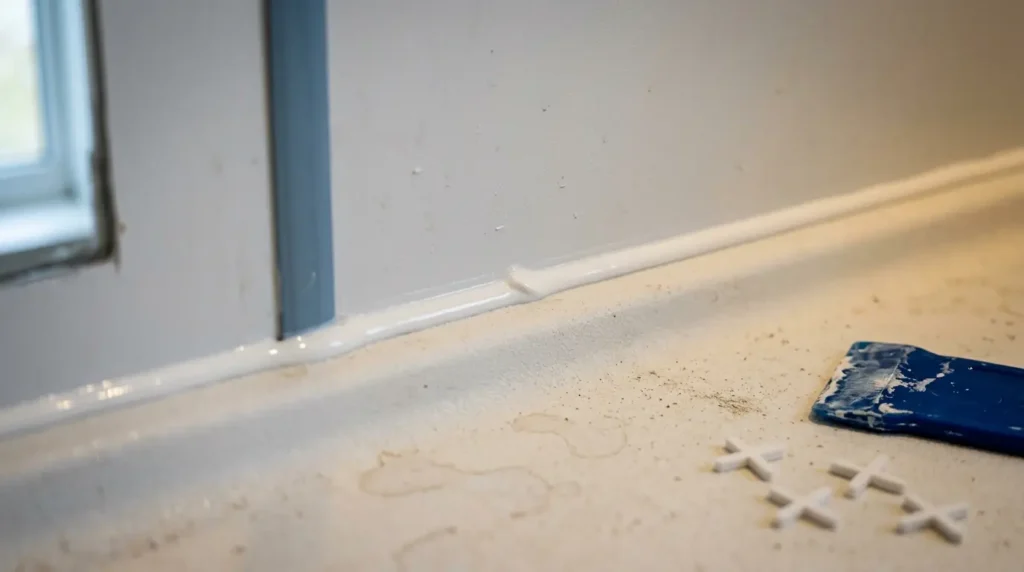
Let the adhesive cure, typically 24 hours, then remove the spacers and backfill every gap with sanitary silicone: base, corners, pipes, and around the bath or tray. Smooth it with a finishing tool. Wait around 12 hours, or whatever the label says, before showering. Paint wood or MDF with moisture-resistant paint.
Fitting Around Awkward Spots
Awkward spots decide how professional the finish looks. Measure obstacles from the panel already fitted, cut slightly generous, and cover edges with trims. Isolate the power at sockets. For very uneven walls, add battens or replaster instead of forcing panels to follow the dips.
- Toilet and basin: one renovator drained and removed the cistern and sink to panel behind them. Depending on how tight the fit is, you may only need to loosen them. Either way, turn the water off first.
- Windows: slide a panel into place overhanging the opening, mark it, and score the cut. Line the reveals, fitting the top panel first, and finish with end caps or external angles.
- Bath edges: fix a seal strip or trim along the bath edge, then panel down to it, so the joint can be sealed properly.
- Uneven walls: slight dips are usually fine with extra adhesive. Badly uneven walls need a batten frame, otherwise joints and adhesive contact suffer.
Bathroom Panelling Costs and Time
Small-bathroom panelling typically costs roughly £120 to £400 for painted dry-zone panelling and £250 to £800 for waterproof shower panels, plus trims and sealant. Fitting takes about a day for a small room, with curing on top. These figures are approximate and vary by country.
| Job | Approx. materials (GBP) | Fitting time | Notes |
| Painted half-height panelling, dry walls | £120 to £400 | 1 to 2 days including painting | One UK DIY blogger spent about £118 on materials in 2015, so expect more now |
| Waterproof panels, shower walls | £250 to £800 | Half to 1 day, plus curing | Budget panels start around £28 each; trims, adhesive and sealant add up |
| Full-room waterproof cladding | £500 to £1,500 | 1 to 2 days | Depends on panel thickness and trims |
| Tradesperson labour | Roughly £150 to £250 per day in the UK | Often 1 to 2 days | Varies widely by region |
DIY bathroom panelling saves the labour line, but budget for a good saw, sealant and trims. Cheap trims are the quickest way to spoil a good install.
Mistakes to Avoid and Aftercare
Most failures come from moisture, not workmanship: unsealed cut edges, no expansion gap, untreated timber near the shower, or damp covered over. Sealant is the real waterproofing layer, so check it yearly and replace cracked beads. Clean panels with mild soap, not abrasive pads.
- No expansion gap: panels need room to move, so leave the top and bottom gaps.
- Unsealed edges: MDF and timber edges swell when they take on water.
- Wrong trim thickness: one blogger found dado rail was thinner than the panels and did not sit flush. Test a trim against an offcut before buying multiples, and choose a moulding with a lip that sits over the panel.
- Poor ventilation: an underpowered fan leaves panels, paint and sealant fighting condensation.
- No access: keep a route to stop taps and valves before you cover them.
For everyday care, wipe with a soft cloth and warm soapy water. To hang shelves or mirrors, drill through the panel into the solid wall behind, using suitable fixings.
Conclusion
Knowing how to add wall panelling to a bathroom is mostly about matching panel to zone, then sealing everything. Use waterproof panels where water hits and painted wood or MDF elsewhere, and leave expansion gaps at the top and bottom. Dry fit before you glue, and give adhesive and sealant time to cure. Do that and your panelling will look sharp and last.
FAQs
Can you put wall panelling in a bathroom?
Yes. Waterproof PVC, acrylic and laminated panels suit wet areas, while painted wood or MDF suits dry walls away from direct spray. Sealed edges, moisture-resistant paint and a good extractor fan matter most. Untreated timber near a shower is the usual cause of swelling and peeling.
Can I put panels over existing bathroom tiles?
Yes, if the tiles are sound, clean and dry. Scrub off soap scum, degrease, and check nothing is loose, then bond with suitable adhesive. Cracked or hollow-sounding tiles should come off first, because panels will not hide movement underneath. Several manufacturers confirm panels can go over tiles.
What is the best panelling for a shower?
Waterproof PVC, acrylic or laminated MDF with sealed joints is the safest choice. PVC flexes slightly on imperfect walls, acrylic is slim and glossy, and laminated MDF suits a tile-free look. Water-resistant slat panels are not fully waterproof, so keep them out of direct spray.
Is DIY bathroom panelling realistic for a beginner?
Yes, especially with tongue and groove panels that slot together. The tricky parts are cutting around pipes, scribing to wonky corners and neat sealing. Practise on an offcut and dry fit everything first. If the job involves moving electrics or plumbing, hire a qualified tradesperson.
How long does it take to fit bathroom panelling?
A small bathroom typically takes about a day to fit, or one to two days including painting. Adhesive and sealant then need curing, often around 24 hours before final sealing and about 12 more before using the shower. Always check the product label, because systems vary.
Do I need trims?
Usually yes. Corner trims, end caps and top trims cover cut edges and protect panel ends. In wet areas they also help create a tight joint that can be sealed. Some trimless systems use post-formed edges instead, so follow your panel maker’s advice.
How do I stop wood panelling warping in a bathroom?
Seal every face and cut edge with primer and moisture-resistant paint, keep panels out of direct spray, and ventilate well. Painted spruce lasted for years in one homeowner’s bathroom with a strong extractor, but that is not guaranteed. MDF needs its edges sealed even more carefully.