
How to Create a Walk-In Shower in an Existing Bathroom

Creating a walk-in shower in an existing bathroom is one of the most popular upgrades in UK homes. It removes the step-over of a traditional tray and gives a more open feel. The work is straightforward when you plan the waterproofing, the waste route and the clearances properly. This guide covers the practical steps: measuring the space, choosing tray or wet-room floor, tanking, glass, and the common mistakes that lead to leaks. See also our guide to adding waterproof wall panelling to a bathroom.
Measure the Space and Clearances
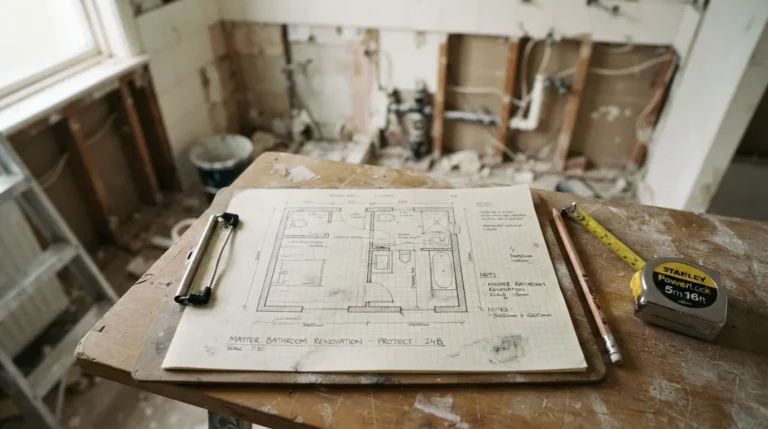
Start with the finished internal dimensions. A usable walk-in needs at least 1200 mm by 800 mm of floor for the wet area, plus 700 mm clear in front of the open side. In a typical UK bathroom of 2.4 m by 1.8 m you can usually fit a 1400 mm by 900 mm tray or a level-access former. Check door swings and the position of the WC and basin so the path remains clear. Sketch the layout to scale. Many people discover too late that the basin blocks the entry. Measure twice and allow for tile thickness.
Decide Between Tray and Wet-Room Floor
A low-profile tray of 25–40 mm height gives the walk-in look with less risk. The tray is the waterproof layer and the fall is already moulded in. A full wet-room floor looks seamless but requires careful tanking and a consistent fall of 1 in 48 to 1 in 80 to the drain. For most domestic bathrooms a quality low-profile tray or wet-room former is more reliable than a fully tiled floor. The tray route also keeps the cost lower and the installation faster. Choose the option that matches your floor construction and budget.
Plan the Waste and Fall
The waste must fall correctly to the soil pipe. A standard shower trap needs a minimum 50 mm water seal. Check the direction of the floor joists before you choose the drain position; cutting joists is notifiable structural work. For a linear drain the fall can be gentler because water travels to a line. Allow working space under the tray for the pipework, usually 100 mm. Poor waste planning is the reason many walk-in projects stall. Confirm the route with your plumber before you order the tray or former.
Waterproof the Walls and Floor
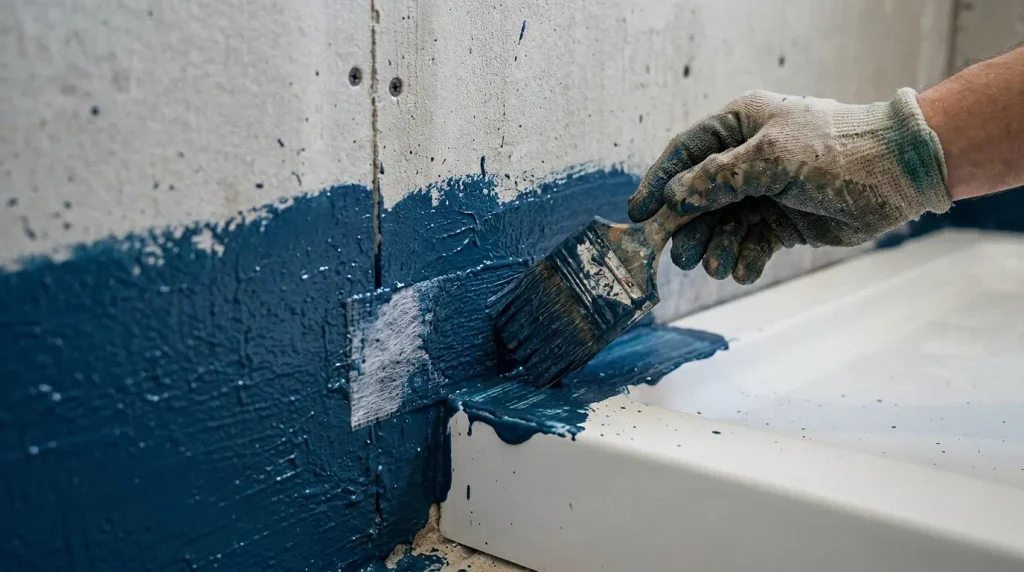
Tank the entire wet zone. On the floor turn the membrane up the walls at least 100 mm above finished floor level. In the spray zone take the tanking to full height. Use a system that meets BS 5385 guidance. Seal every joint and pipe penetration. The junction between the tray rim and the tiled wall is the most common leak point; use the correct sealant and edge trim. Do not rely on tiles alone. Proper tanking is the difference between a dry room and a repair bill two years later.
Choose the Glass and Screen
A single fixed panel of 8 mm or 10 mm toughened glass is the simplest walk-in screen. Widths of 1000–1400 mm work well. The panel should extend far enough that water does not escape past the open end; 1200 mm is a comfortable minimum depth for the wet area. Height is usually 1900–2000 mm. Confirm the wall is solid enough for the brackets. Recessed channels give a cleaner look but need the tiles to be cut accurately. Surface channels are easier to fit on an existing wall. Order the glass after the walls are tiled so the size is exact.
Installation Sequence
Strip the old fittings and prepare the floor. Fit the tray or former and connect the waste. Tank the floor and walls. Tile the walls, then the floor if you are tiling the wet area. Fit the glass once the tiles are set. Finally fit the shower valve and head. Keep the room well ventilated during the work. Electrical work in the zones must be done by a registered electrician. This order keeps the waterproofing continuous and avoids damaging finished surfaces.
Common Mistakes
Starting without a clear waste route. Choosing a tray that is too small for the users. Forgetting the 700 mm front clearance. Tanking only the lower walls. Ordering glass before the walls are finished. Using ordinary silicone instead of a bathroom-grade sealant at the tray junction. These errors are expensive to correct once the tiles are on. Take the time to plan and you will avoid them.
Conclusion
A walk-in shower in an existing bathroom is achievable when you respect the clearances, waterproof properly and plan the waste. Measure the finished space, decide on tray or wet-room floor, tank thoroughly and fit the glass last. The result is a more open, easier-to-use bathroom that feels modern without a full redesign. Most UK bathrooms can take this upgrade if the plumbing and structure allow it.
Can I convert my existing bath to a walk-in shower?
Yes. A 1700 mm by 800 mm tray often fits the old bath footprint. You will need to rework the waste and tank the walls. Check the floor construction and joist direction first.
Do I need Building Regulations for a walk-in shower?
New drainage routes, structural alterations and electrical work are notifiable. Like-for-like replacement of fittings usually is not. Check with your local building control if you are unsure.
What glass thickness should I use?
8 mm is the practical minimum for a frameless walk-in panel. 10 mm feels more solid on larger spans. Both must be toughened safety glass.