How to Add Wall Panelling to a Bathroom That Is Waterproof

Adding wall panelling to a bathroom that’s genuinely waterproof comes down to three things done properly: preparing the wall behind it, sealing every seam, and choosing a panel system actually rated for constant wet-area use. The panels themselves rarely fail, it’s a skipped seam, a poorly prepped wall, or a missed gap around a fixture that lets water through and causes problems months later.
What Actually Makes a Panel “Waterproof”?
A genuine waterproof panel system creates a continuous, sealed surface with no grout lines for water to work through, unlike tile, which relies on a separate waterproofing membrane behind it because the grout itself isn’t waterproof. Bathroom wall panels, typically PVC or a wood-composite core with a laminate face, are waterproof at the panel level, and the system stays watertight only if every joint between panels, every corner, and every gap around a fixture is properly sealed. The panel doesn’t do the job alone, the adhesive, the seam sealant, and the trim all have to work together as one system.
Check and Prepare the Wall Before You Start
One genuine advantage of panel systems is that many can be fitted directly over existing tile, which saves the time, mess, and cost of stripping it out first, provided the existing tile is sound, flat, and firmly fixed rather than loose or damaged. On bare plasterboard or a painted wall, the surface needs to be clean, dry, flat, and free of old adhesive or debris before anything goes up, any bump or uneven patch will telegraph through the panel once it’s fixed. If the wall has any active damp or a soft, damaged patch of plasterboard, deal with that properly first, panelling over a genuinely wet or compromised wall traps the problem rather than solving it.
Choose the Right Panel Type and Thickness
PVC panels are the lightest and most budget-friendly option, easy to cut and handle, though thinner PVC can flex slightly if the wall behind isn’t perfectly flat. Wood-composite panels with a high-pressure laminate face, typically around 12mm thick, are heavier and more rigid, giving a more solid, premium feel and a wider range of realistic finishes, stone, marble, and wood-look surfaces among them. Thicker panels generally handle minor wall imperfections better and feel less hollow when knocked, worth factoring in if your budget allows the step up from the thinnest PVC option.
Dry-Fit Before You Commit to Adhesive
Measure the wall at the top, middle, and bottom, since bathroom walls are rarely perfectly square, and dry-fit each panel in position before applying any adhesive. This is the point to catch a panel that needs trimming, and the rule worth following: trim the edge that meets a wall or corner, never the edge where two panels join, since tongue-and-groove edges are precision-cut and trimming them compromises the seal between panels.
Apply Adhesive the Right Way
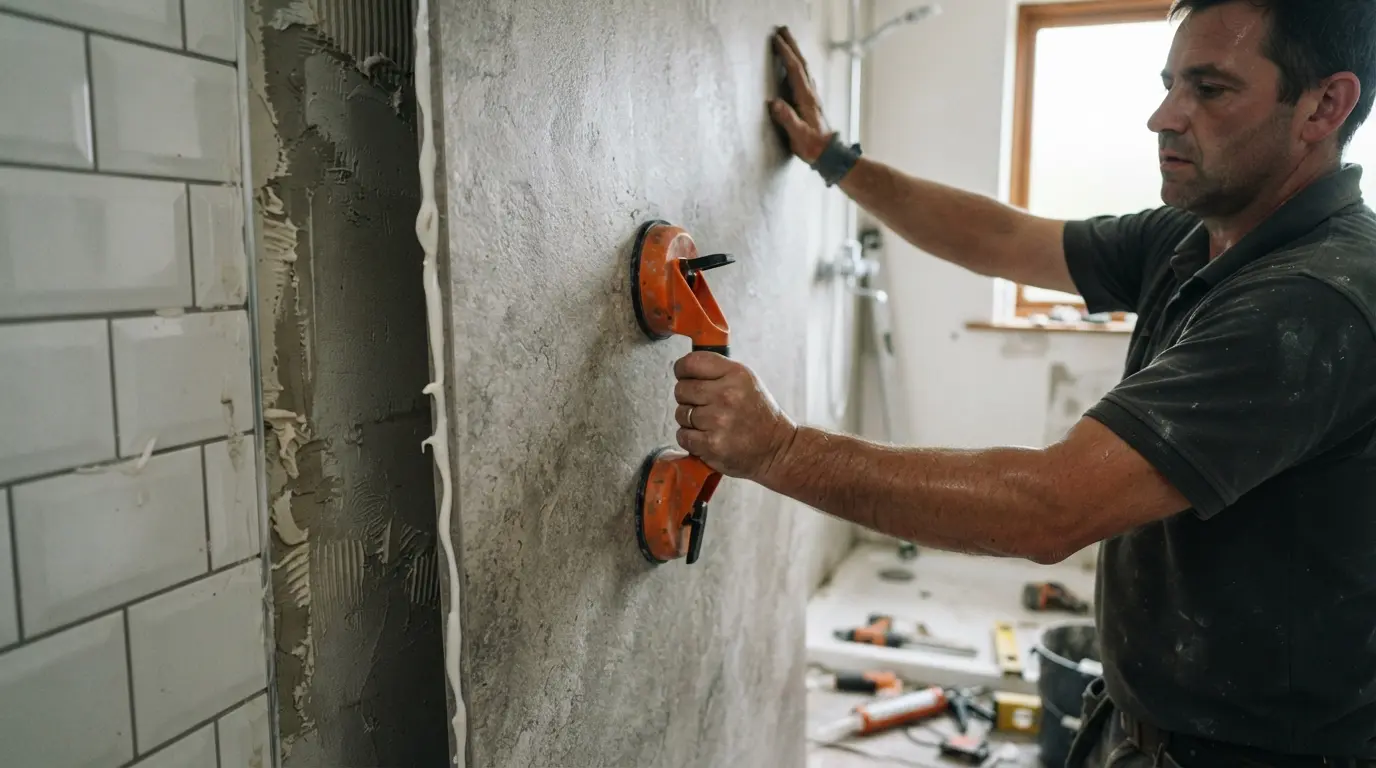
Clean the back of each panel with a suitable solvent cleaner and let it dry fully before applying adhesive, skipping this step is a common reason a panel doesn’t bond properly and starts lifting at the edges. Apply the adhesive in a bead pattern, roughly every 25-30cm across the back of the panel, following the specific manufacturer’s guidance for your product rather than assuming a generic quantity is enough, and make sure the wall itself is clean and dry before pressing the panel into place. Press firmly and evenly across the whole panel to smooth out any air pockets, a tile-setting suction cup genuinely helps here, and a couple of temporary bracing battens are worth using if the adhesive isn’t holding a large panel securely on its own while it cures.
Fit Corners and Trims Properly
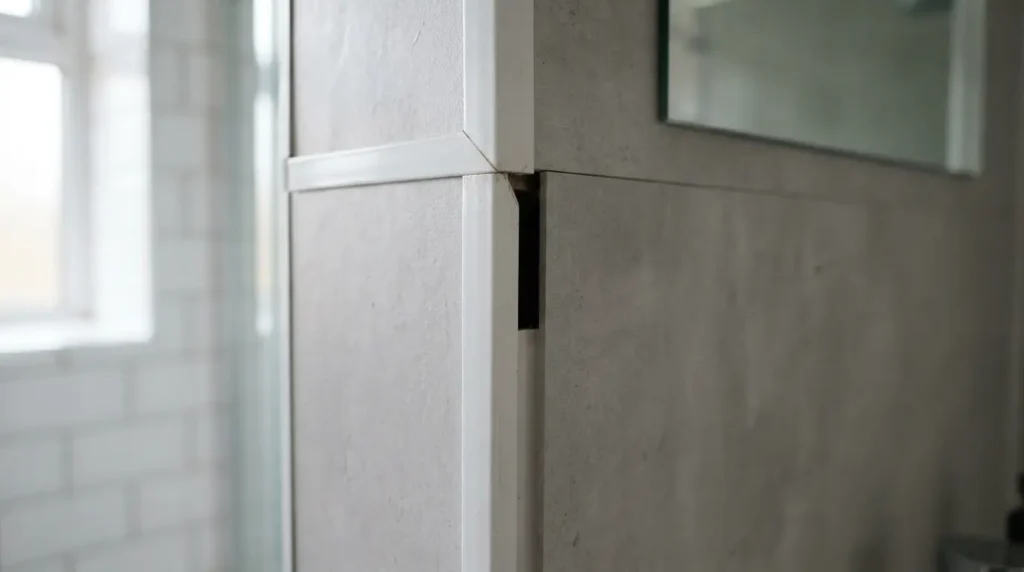
Internal corner trims typically have a void of around 18mm behind them, so panels meeting an internal corner need to be cut slightly shorter to account for this rather than butted straight into the corner. For outside corners, either order panels with a factory bullnose edge for a seamless look, or fit a trim, aluminium angle is a common, durable choice, using construction adhesive. Getting corner trims right matters as much as the flat panel runs, since corners are one of the highest-risk spots for water to find a way behind the panel if the trim isn’t properly seated and sealed.
Seal Every Seam and Gap
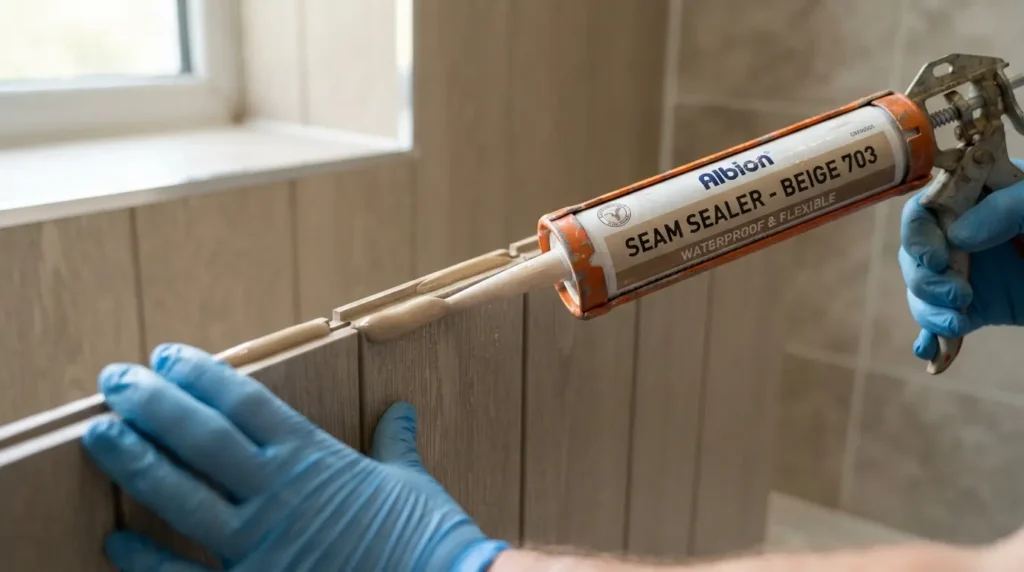
Apply a colour-matched seam sealer to the tongue edge of each panel before pushing the next one into place, and wipe away any excess with a suitable solvent cleaner while it’s still workable. Once all panels are up, run a bead of silicone sealant around every gap where the panelling meets a bath, shower tray, or fixture, this is genuinely the detail that determines whether the installation stays watertight long-term, since a gap here sits at the exact point where standing water collects. Leave everything to cure fully per the manufacturer’s instructions before the shower or bath sees any water.
Cut Holes for Fixtures Cleanly
Measure and mark fixture positions accurately on the panel before cutting, then use a jigsaw with a fine-tooth blade or a hole saw sized to the fixture. Cut from the front face where possible to keep the visible edge clean, and always seal fully around any fixture cut-out with silicone once it’s fitted, an unsealed fixture hole is one of the most common places water actually gets behind a otherwise well-installed panel system.
Common Mistakes That Let Water In
The most frequent mistake is treating seam sealer as optional or applying it inconsistently, a gap in the seam is a direct path for water regardless of how well the panels themselves are fitted. The second is panelling over a wall that wasn’t properly dry or sound to begin with, trapping an existing problem rather than fixing it. The third is rushing the cure time before the first shower, adhesive and sealant both need their full stated curing period to actually hold and seal as intended, and using the space too soon is a genuinely avoidable way to compromise an otherwise good installation.
Final Thoughts
Adding wall panelling to a bathroom that’s genuinely waterproof isn’t really about the panel material, it’s about the wall prep, the seams, and the seal around every fixture and corner. Get those details right and the panels will do exactly what tile with grout struggles to: a clean, continuous, genuinely waterproof surface that doesn’t need re-grouting or ongoing mould treatment to stay looking right.
FAQs
Can waterproof panels go straight over existing tile?
In many cases, yes, provided the tile is sound, flat, and firmly fixed rather than loose or damaged. This saves the time and mess of stripping the tile out first, though it’s worth checking the specific panel manufacturer’s guidance for your substrate.
Do I need a waterproofing membrane behind bathroom panels?
Generally no, unlike tile, a properly installed panel system with sealed seams is the waterproof layer itself. The wall behind still needs to be sound and dry before installation, but a separate tanking membrane isn’t typically required the way it is under tile.
How long do waterproof bathroom panels last?
Well-installed panels from a reputable system commonly carry warranties of ten years or more, and genuinely last for many years of daily use provided the seams and edges were properly sealed at installation and any gaps around fixtures stay maintained.
Can I cut and fit bathroom panels myself?
Yes, most panel systems are designed for straightforward DIY installation with basic tools, a fine-tooth saw, a caulking gun, a drill. The parts that most affect long-term performance, sealing seams and edges properly, are more about care and following the process than specialist skill.
What’s the difference between PVC and composite laminate panels? PVC is lighter, more affordable, and easy to cut, but thinner options can flex slightly on an uneven wall. Composite laminate panels are thicker and more rigid, giving a more solid feel and a wider range of realistic finishes, generally at a higher cost.