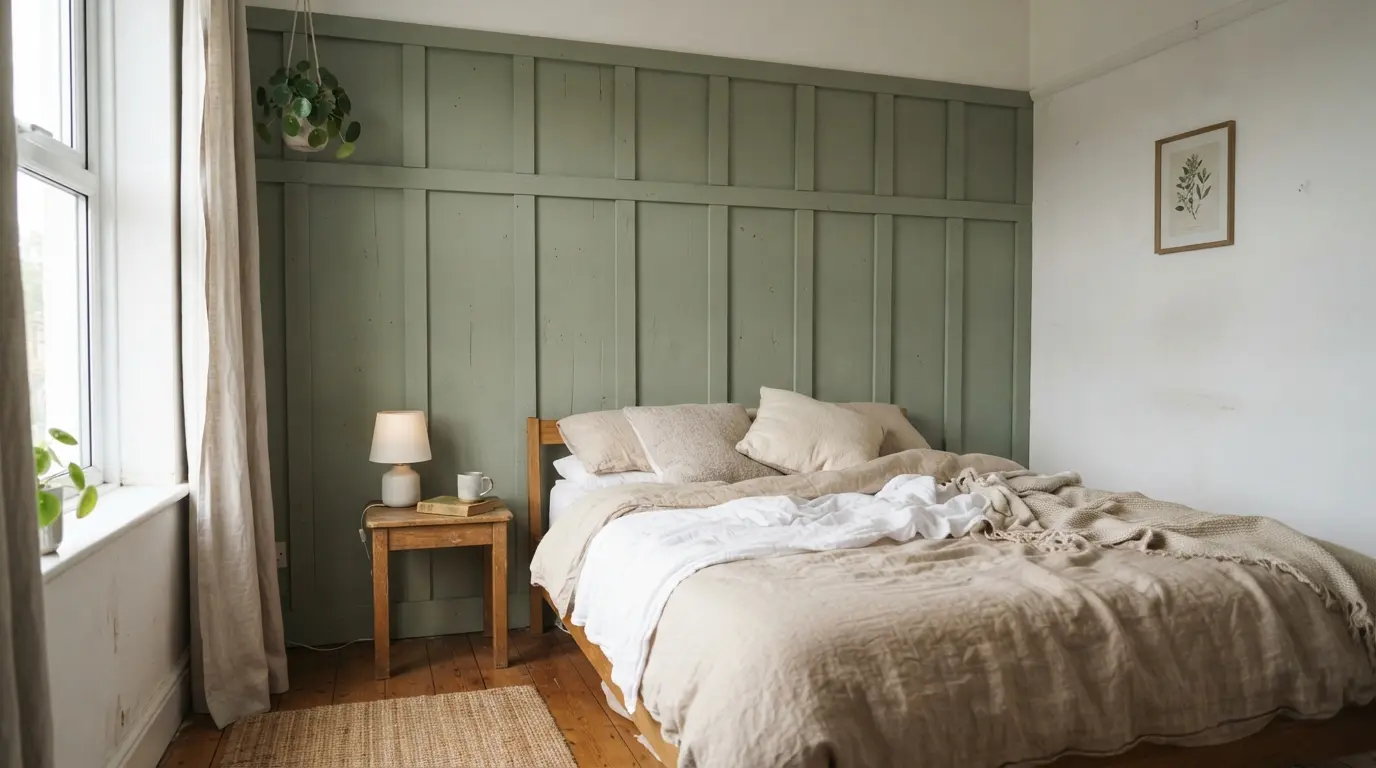
10 Easy DIY Wall Panelling Ideas Anyone Can Do at Home

DIY wall panelling ideas don’t need to mean a complicated, multi-weekend project, several of the most effective styles are genuinely achievable for a confident first-timer with basic tools. The 10 ideas below cover styles ranging from a simple single accent wall to more involved full-room treatments, along with the honest scoping and material advice that decides whether your first panelling project actually feels easy or turns into a frustrating slog.
1. Start With Just One Accent Wall, Not the Whole Room
Before choosing a style, decide on scope. Costs and effort both scale directly with the size of the wall you’re covering, and it’s genuinely easier, and more affordable, to panel a single feature wall than to commit an entire room on your first attempt. Choose the wall that gets the most visual attention, behind a bed, behind a sofa, in an entryway, rather than spreading a smaller budget thin across every wall in the room. If the project goes well, expanding to more walls later is always an option, but starting small keeps a first project genuinely manageable rather than overwhelming.
2. Horizontal Plank or Shiplap Using Budget Plywood
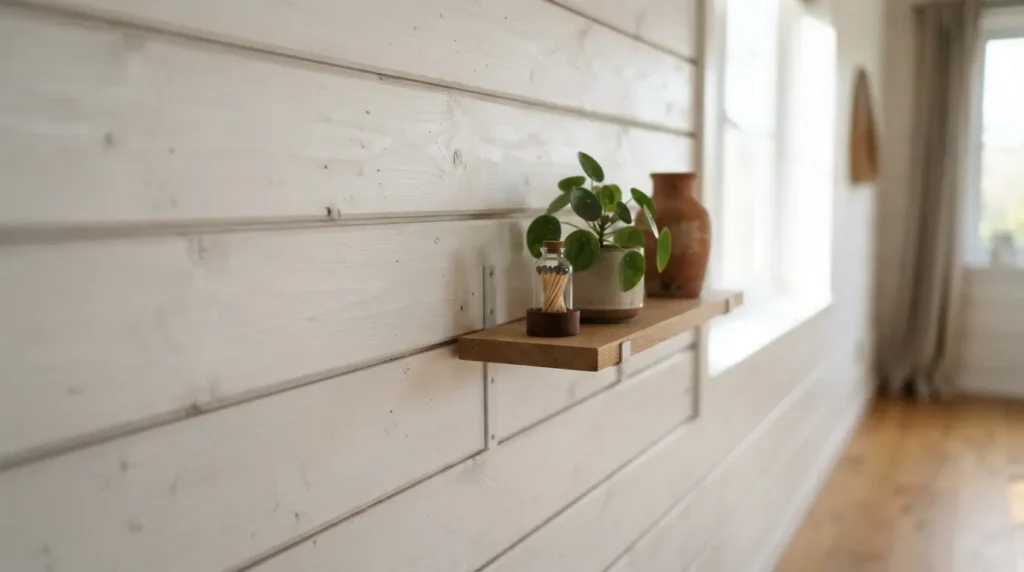
Horizontal shiplap brings genuine character and texture to a wall, and it doesn’t require real shiplap boards to achieve the look. Thin plywood, cut into strips, gives a very similar horizontal plank effect at a considerably lower cost than authentic shiplap or tongue and groove boards, making this one of the more budget-friendly styles on this list for a first attempt. This style suits a living room, entryway, or bedroom particularly well, and it’s forgiving of small imperfections in your cuts, since the horizontal lines draw the eye across the wall rather than highlighting any single joint.
3. Vertical Shiplap for a Different Visual Effect
The same horizontal plank technique turned vertical creates a genuinely different feel, drawing the eye upward rather than across, which suits a hallway or a room with a lower ceiling particularly well. This can be done floor to ceiling for maximum impact, or stopped partway up the wall as a lower-commitment wainscoting-height version, both are achievable with the same basic plank material and tools as the horizontal version.
4. Board and Batten Partway Up the Wall

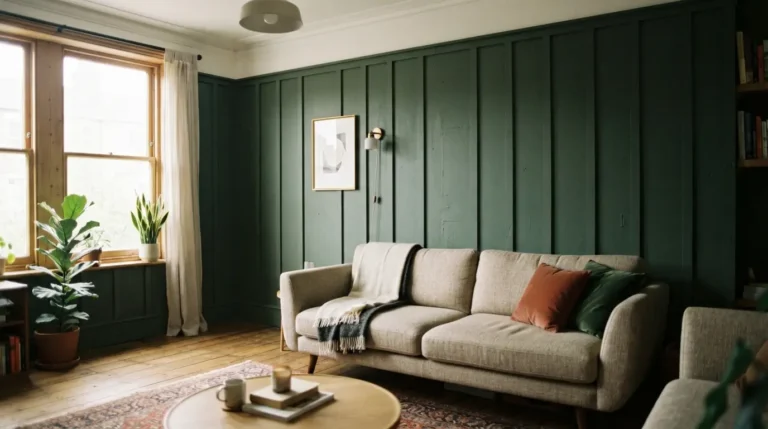
Board and batten, wide flat boards paired with narrower vertical strips, applied only up to roughly waist or dado height, is one of the most classic and approachable panelling styles for a first project. Stopping partway up the wall means less material and a smaller total project than a full-height version, and it pairs naturally with a chair rail or simple top trim to finish the look cleanly. This style suits a bathroom, hallway, or dining room especially well, areas that traditionally carry this kind of half-height treatment.
5. Full-Height Board and Batten From Floor to Ceiling
Taking the same board and batten technique all the way from floor to ceiling creates a considerably bolder, more formal statement, and it’s worth attempting once you’re comfortable with the basic technique from a smaller project. This version uses noticeably more material and time than the wainscoting-height approach, so it’s a sensible second project rather than necessarily your very first, but the technique itself, boards and battens fixed to the wall in a rectangular grid, doesn’t change, you’re simply covering more of the wall with it.
6. Beadboard for an Easy, Classic Cottage Look
Beadboard, with its narrow, rounded vertical grooves, comes in pre-made panel sheets that are genuinely straightforward to cut and fix to a wall, making it one of the more approachable full-wall options for a beginner. It suits a cottage, coastal, or country-leaning scheme particularly well, and because it comes as continuous panel sheets rather than individual boards to space out, there’s less measuring and planning involved than a board and batten grid.
7. Beadboard Wainscoting With a Chair Rail Trim
Applying beadboard only to the lower portion of the wall, finished with a simple chair rail along the top, is a genuinely popular choice for a bathroom specifically, and it’s a smaller, more contained project than covering a full wall. This combination, beadboard below, plain wall above, reads as considered and traditional without needing you to panel from floor to ceiling on your first attempt at the material.
8. Picture Frame Moulding for an Elegant, Traditional Look
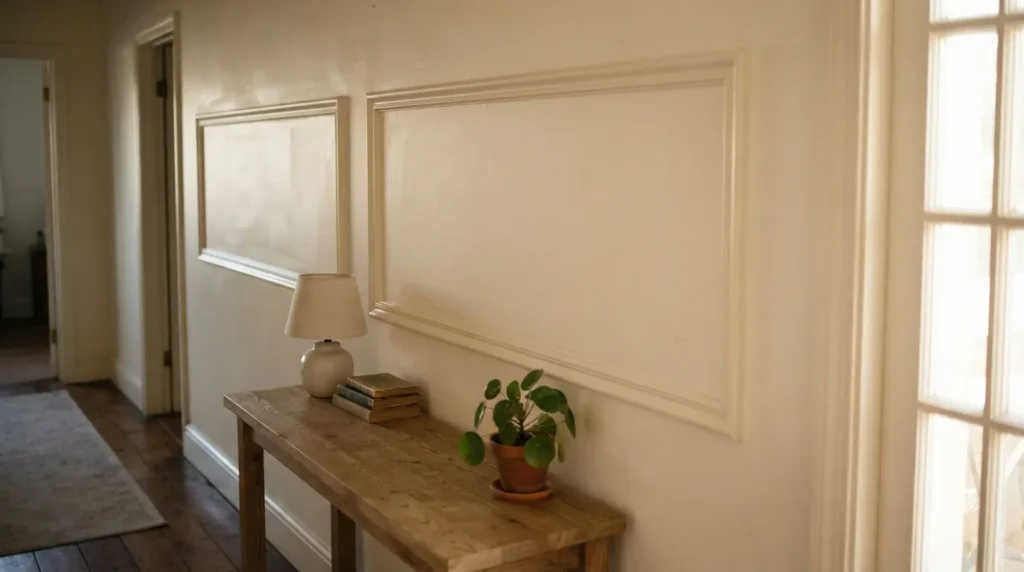
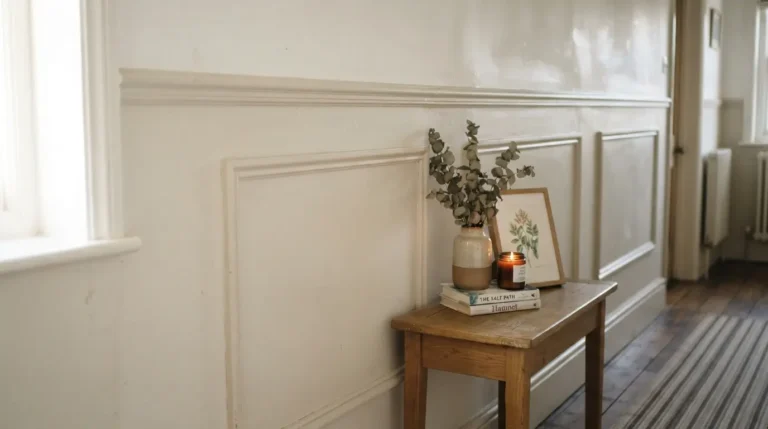
Rather than full boards or panels, picture frame moulding uses simple strips of trim, chair rail moulding or basic timber, fixed directly to the wall in rectangular shapes to create a more delicate, elegant wainscoting effect. This is genuinely one of the more forgiving styles for a first attempt, since you’re working with lighter, easier-to-cut material than full boards, and the rectangular layout is more straightforward to plan and space evenly than a full plank wall.
9. A Simple Modern Slat or Geometric Panel for a Contemporary Room
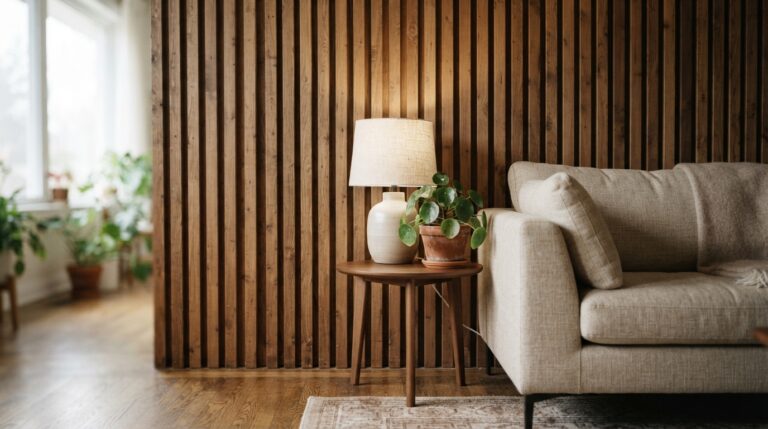
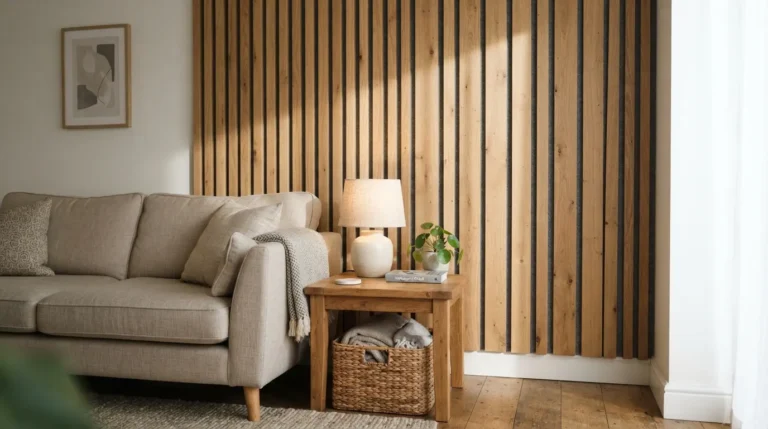
A more contemporary alternative to traditional panelling styles, simple vertical slats or an angled geometric arrangement, brings a genuinely current, architectural look using narrow timber strips or plywood offcuts. This style rewards a bit more planning upfront to get the spacing or angles looking deliberate rather than random, but the individual cuts and fixing method are no more complicated than any other panelling style on this list, it’s the layout, not the technique, that takes the extra care.
10. Match Your Fixing Method to the Material’s Weight
This is the detail that decides whether your finished panelling actually stays up over time, and it’s worth understanding honestly before you start any of the nine styles above. A brad nailer works well for lighter materials, plywood strips, thin trim, and leaves a small enough hole that it’s easy to fill and disappear once painted. Wherever you can, fix into a wall stud for genuine strength, use a stud finder to locate them before you start, and where a stud isn’t available in the right spot, a strong construction adhesive gives a secure hold on the wall surface itself instead. Heavier boards or a fuller panel system may need screws rather than nails for a genuinely strong connection, so check what your specific material actually needs rather than defaulting to whichever fixing method you happen to have on hand.
Final Thoughts
The best DIY wall panelling ideas for a first project balance genuine style with a realistic sense of scope, starting with one wall, choosing a forgiving material like plywood or beadboard, and matching your fixing method properly to what you’re actually putting up. Get those basics right, and even a first attempt at wall panelling can look like a genuinely considered, professional addition to the room, not an obvious beginner’s project.
FAQs
What’s the cheapest DIY wall panelling option?
Horizontal or vertical plank panelling made from thin plywood, rather than real shiplap or tongue and groove boards, is generally one of the most budget-friendly routes, giving a similar look for considerably less material cost.
Can I use plywood instead of real shiplap?
Yes, thin plywood cut into strips gives a very similar horizontal or vertical plank effect to genuine shiplap boards, at a noticeably lower cost, making it a popular substitute for a first panelling project.
Do I need to nail into wall studs for wall panelling?
It’s the strongest option wherever possible, use a stud finder to locate them before you start. Where a stud isn’t available in the right spot, a strong construction adhesive gives a secure alternative fixing directly to the wall surface.
Should beginners start with a full room or one wall?
One wall, generally. Costs and effort both scale with the size of the area you’re covering, so a single accent wall is a genuinely more manageable and affordable way to learn the technique before committing to an entire room.
What’s the easiest style of wall panelling for a first project?
Picture frame moulding and beadboard panel sheets tend to be among the most forgiving for a beginner, since they involve lighter material, simpler cuts, and more straightforward layout planning than a full board and batten grid or a geometric slat design.