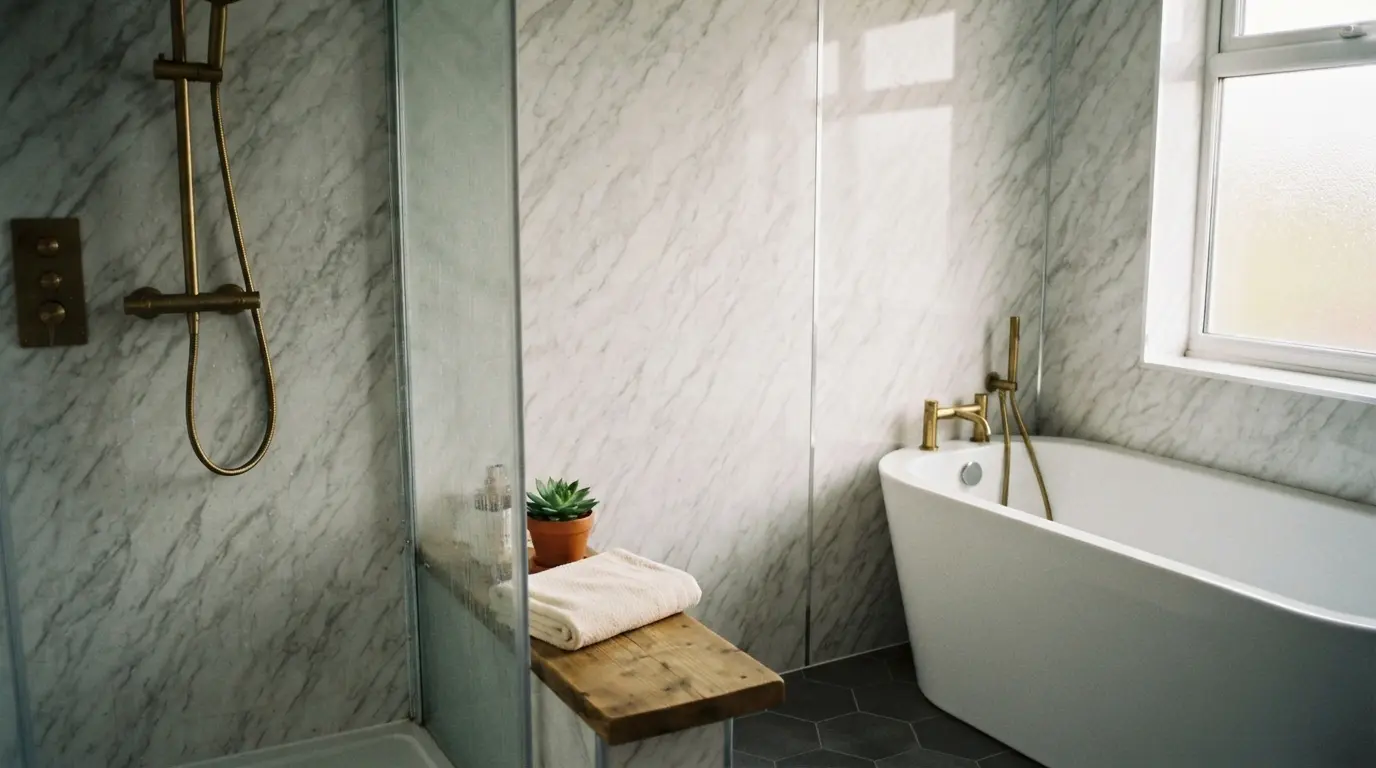
Bathroom Wall Panelling Ideas for a Stylish and Practical Finish

Bathroom wall panelling ideas work best when you choose the material and application for how the room actually gets used, not just for how a single finish photographs. The 12 ideas below cover the panel types and placements worth considering, along with the real differences in thickness, warranty, and durability that most inspiration guides gloss over in favour of listing finishes.
1. PVC Panels for the Most Budget-Friendly Waterproof Option
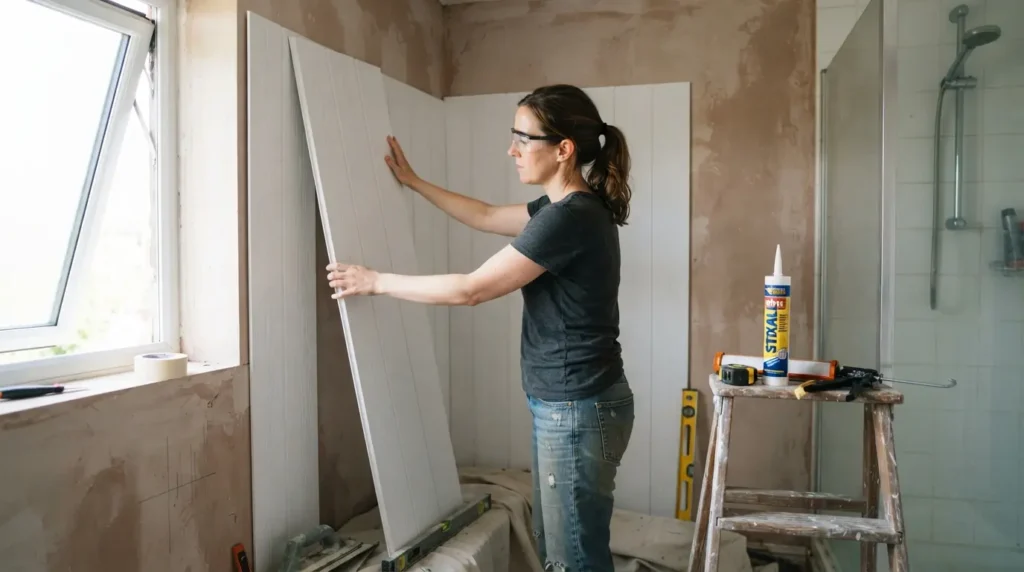
PVC panels remain the most accessible entry point into panelling, genuinely waterproof, lightweight, and straightforward to cut and fit yourself. They suit a full bathroom refresh on a tighter budget particularly well, though the thinnest PVC options can flex slightly if the wall behind isn’t perfectly flat, so it’s worth checking panel thickness rather than assuming all PVC performs the same. Because PVC is so lightweight, it’s also one of the easier materials to handle solo during installation, worth factoring in if you’re tackling the job without a second pair of hands.
2. Laminate Panels With a Realistic Marble or Stone Print
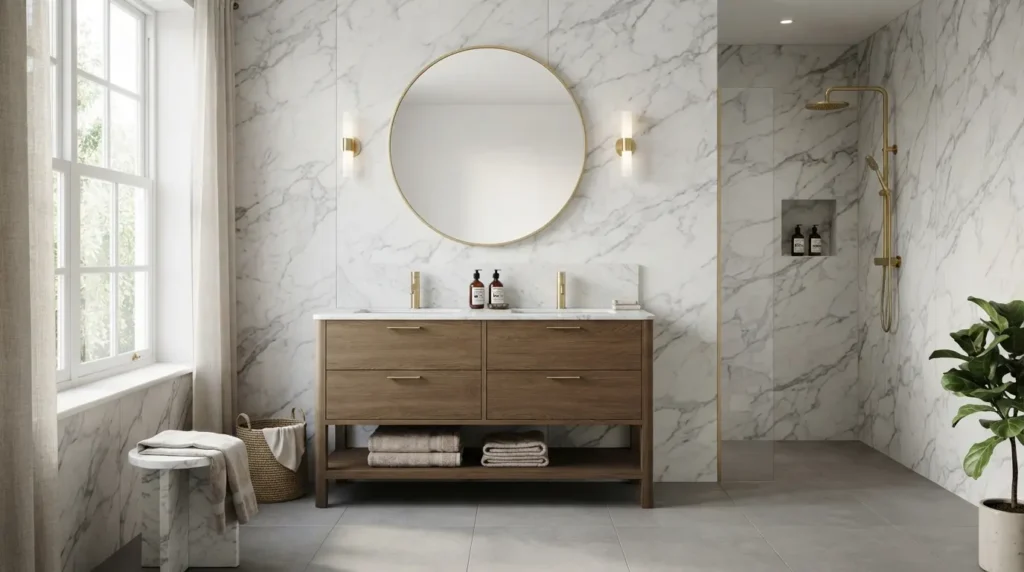
Laminate panels, a high-pressure decorative surface bonded to a waterproof core, now come in genuinely convincing marble, stone, and quartz-effect finishes at a fraction of the cost and weight of the real material. This is one of the most popular choices for a reason: it gives a luxury look without the sealing and staining concerns real natural stone brings into a wet room. Because the pattern is printed rather than a natural, unrepeatable material, larger panel runs can also match seamlessly from one panel to the next in a way that genuine veined stone, with its natural variation, sometimes can’t without careful, costly slab selection.
3. Solid Compact Panels for a More Premium, Rigid Finish
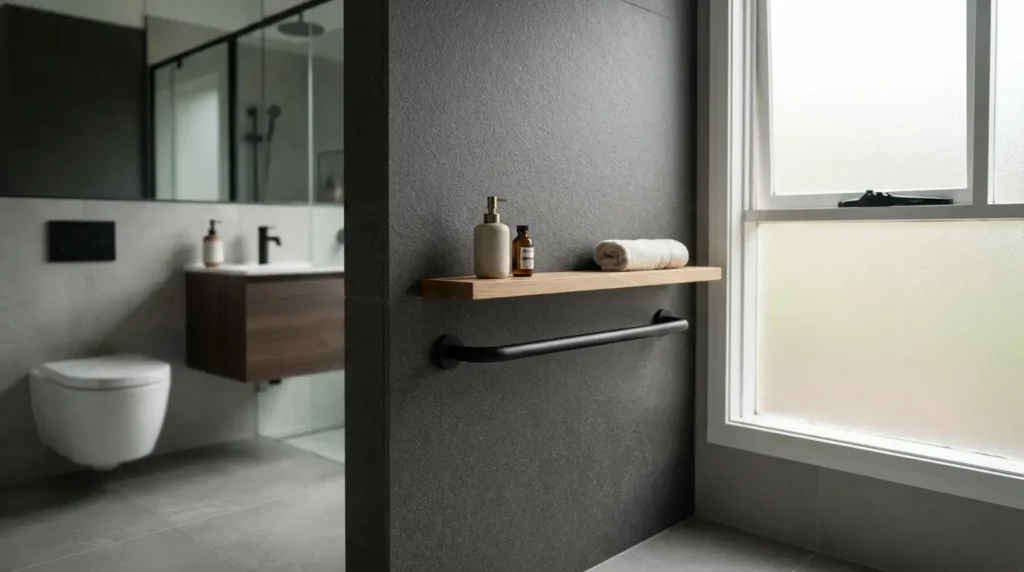
Compact panels use a denser, solid core rather than a laminate face over a lighter backing board, giving a noticeably more rigid, premium feel that resists knocks and flexing better than standard PVC or laminate options. They typically cost more and run thicker, but the trade-off is a panel that feels genuinely solid when tapped rather than slightly hollow, worth the upgrade in a busy family bathroom that sees daily heavy use. The denser core also holds fixings, like a mounted shelf bracket or a grab rail, more securely than a thinner, lighter panel can, worth considering specifically if you’re planning to fix anything directly through the panel after installation.
4. Large-Format Panels to Minimise Visible Joints
Choosing the largest panel size your wall height allows means fewer joints across the room, and fewer joints means fewer places for water to find a way behind the surface over time. This is a genuinely practical reason to favour large-format panels beyond the clean, uninterrupted look, particularly around a shower or bath where the wall sees the most direct water exposure. It’s worth checking your bathroom’s actual wall height against available panel sizes before assuming full-height coverage in one piece is possible, some rooms will still need a horizontal join, in which case positioning it somewhere less visually prominent, above eye level rather than at a natural sightline, keeps the room feeling as seamless as the material allows.
5. Tile-Effect Panels for a Grout-Free Alternative to Real Tile
Panels printed with a convincing tile pattern, metro, mosaic, or a large-format tile look, give the visual effect of tiling without a single line of grout to clean or eventually regrout. This is worth considering specifically for anyone who’s dealt with blackened grout lines in a previous bathroom, since the panel surface itself is what’s actually keeping water out, not a porous cement line between tiles. It’s also considerably faster to keep clean day to day, a quick wipe handles a tile-effect panel the way scrubbing individual grout lines never quite does, however diligent the cleaning routine.
6. Built-In Niches Integrated Into the Panel System
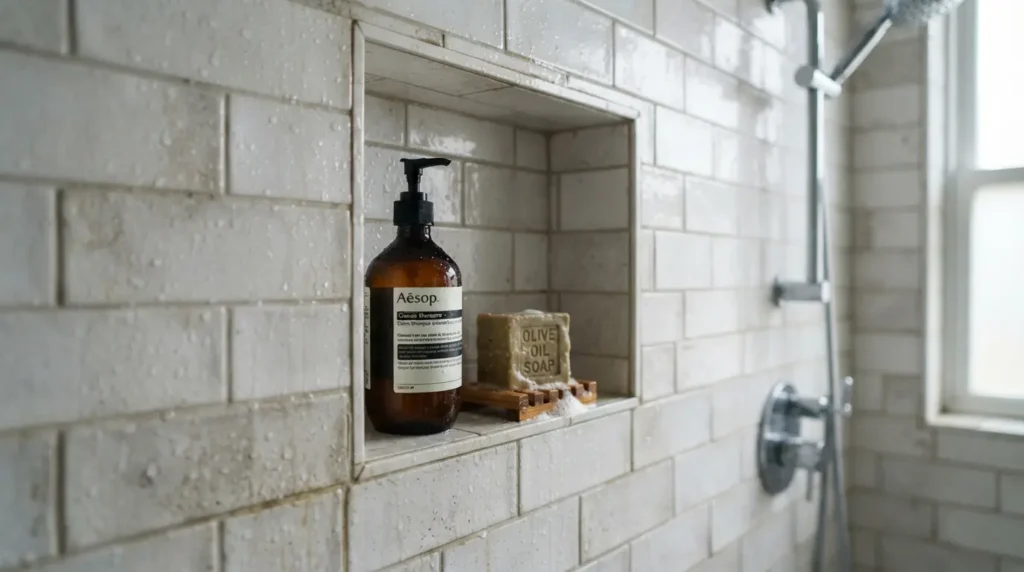
Some panel systems offer a recessed storage niche built directly into the panelling itself, installed as part of the wall rather than added afterward as a separate shelf or unit. This genuinely changes how a shower functions day to day, giving shampoo and shower gel a proper home without a suction-cup caddy or a retrofit tile cut-out, and it’s worth planning into the layout from the start if you know you want one, since it needs to be positioned before the panels go up. Think about the niche’s height relative to who actually uses the shower, a niche positioned for an adult’s easy reach might sit awkwardly high for a child, so it’s worth measuring against real usage rather than a generic default placement.
7. Panel the Full Wet Wall for a Genuinely Seamless Shower
Taking panelling across the entire wet wall, floor to ceiling, corner to corner, rather than stopping at the shower enclosure’s edge, removes the visual break between the shower and the rest of the bathroom and reduces the number of transition points where water could otherwise find a way in. This suits a genuinely wet-room-style bathroom particularly well, where the whole space is designed to handle water rather than containing it to one enclosed cubicle. It’s also worth thinking about flooring continuity when you take this approach, a fully panelled wet wall paired with a floor finish that doesn’t match its drainage and slip requirements undermines the seamless effect you’re aiming for, so plan the two together rather than treating the wall as a standalone decision.
8. Mix Two Panel Finishes to Zone the Room
Using one finish, a bold colour or a stone effect, around the shower or bath, and a calmer, plainer finish elsewhere, visually zones a bathroom without needing a physical divider. This works particularly well in a combined bathroom where the wet area and the vanity or storage zone benefit from feeling like distinct parts of the same room, and it’s a genuinely underused idea compared with the more common single-finish-throughout approach. Keep a shared element between the two finishes, matching trim colour or a repeated accent tone, so the mix reads as a deliberate design choice rather than two unrelated renovations that happened to end up in the same room.
9. Panel the Ceiling to Continue the Look Overhead
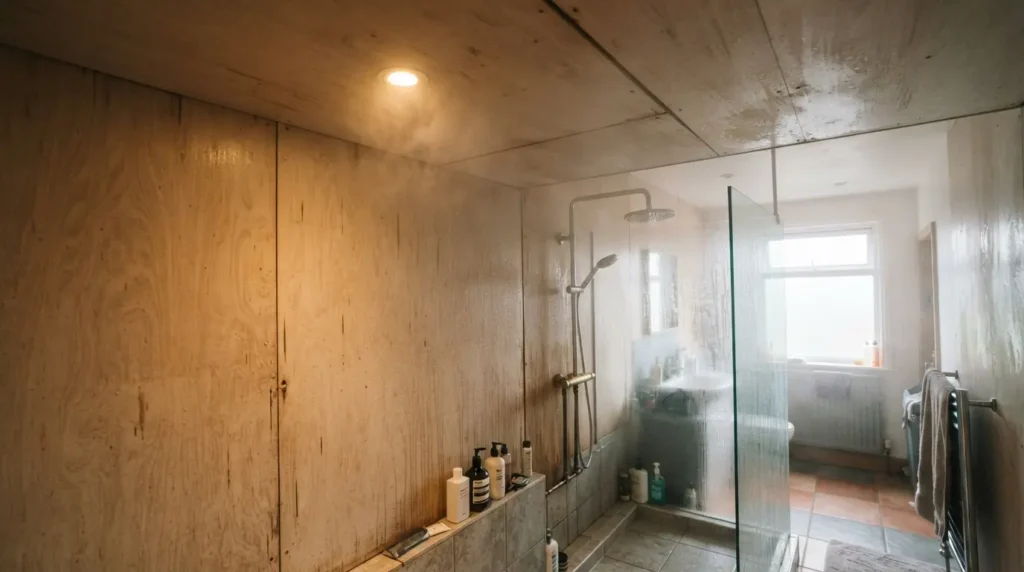
Extending panelling onto the ceiling, particularly above a shower or bath, creates a genuinely enveloping, considered look and removes yet another surface prone to condensation staining over time if left as painted plaster. This is a heavier commitment in terms of both cost and fitting difficulty than wall panelling alone, since ceiling panels need secure, reliable fixing overhead, so it’s worth budgeting for professional installation here even if you’re comfortable fitting the walls yourself. The payoff is real, though: a ceiling that matches or complements the wall panelling stops the eye catching on an obvious, untreated surface above an otherwise fully considered shower or bath area.
10. Choose a Bold Solid Colour Panel for a Minimalist Look
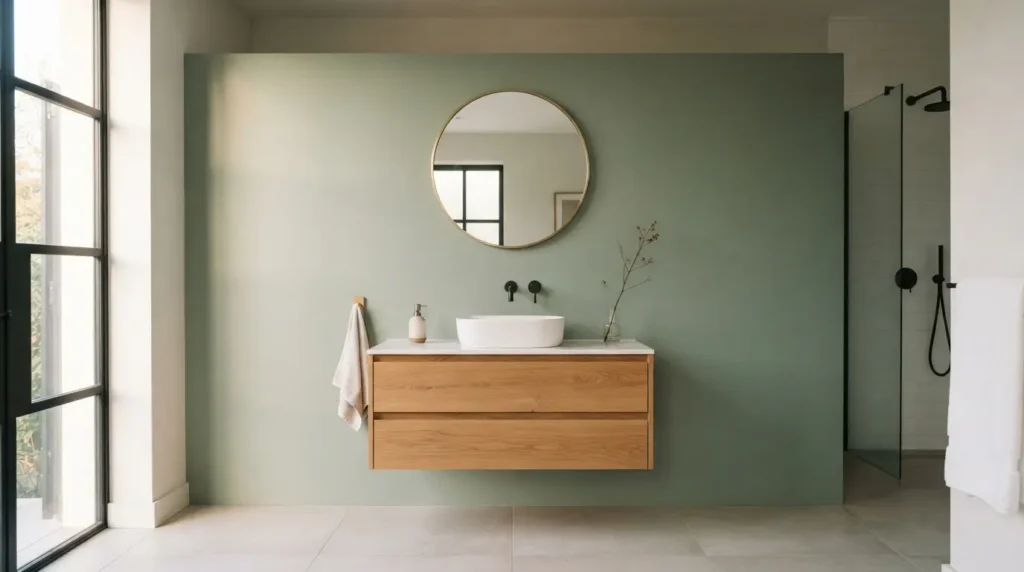
A single, confident solid colour panel, rather than a stone or marble print, suits a genuinely minimalist bathroom where texture and pattern would compete with an otherwise pared-back scheme. Solid colours also make it easier to match woodwork, cabinetry, and accessories precisely, since you’re working from one flat, known colour reference rather than trying to pull a shade out of a busy printed pattern. A satin or matt finish tends to suit this look better than a high-gloss surface, since gloss shows every fingerprint and water spot far more readily than a softer sheen does on a large, unbroken colour panel.
11. Add a Decorative Insert or Mural Panel as a Feature
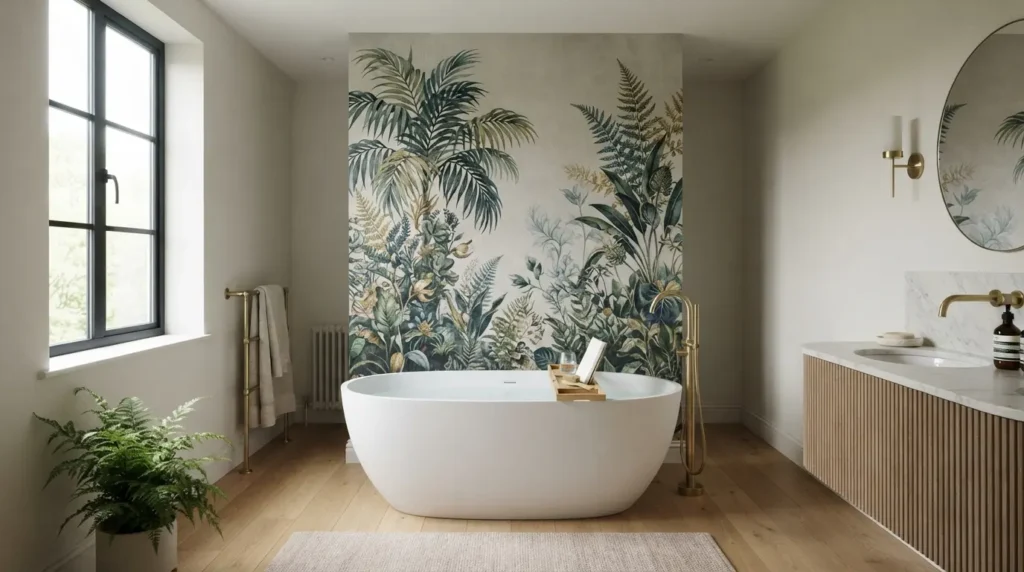
Some panel ranges offer a single decorative or mural panel, a botanical print, an abstract pattern, or a scenic design, meant to be used as one feature wall or a single accent panel within an otherwise plain scheme. This gives a bathroom genuine personality without committing an entire room to a bold pattern, and it’s worth treating as the one loud element in the room rather than pairing it with other strong patterns competing for attention. Position it somewhere it’s genuinely seen, opposite the door or behind a freestanding bath, rather than tucked into a corner where its impact gets lost the moment the door swings shut.
12. Match Panel Thickness and Warranty to How Hard the Room Works
This is the detail most style-led guides skip, and it’s the one that actually determines value over time.
| Panel Type | Typical Thickness | Best For |
| PVC | Thinnest | Budget refreshes, lower-traffic bathrooms |
| Laminate | Mid-range | Most family bathrooms, general use |
| Compact | Thickest, most rigid | Busy family bathrooms, high daily use |
A thin, budget panel in a guest cloakroom used occasionally is a perfectly sensible choice, since it won’t see the daily knocks and moisture cycling a family bathroom does. In a bathroom used multiple times a day by a busy household, the thicker, more rigid compact option earns its higher cost through genuine resistance to flexing, denting, and wear over years of use. Warranty length is also worth checking directly rather than assuming: reputable panel systems commonly carry warranties into the decades against manufacturing defects, and a notably shorter warranty on an otherwise similar-looking product is worth asking about before you buy.
Final Thoughts
The best bathroom wall panelling ideas balance genuine style with a material choice that actually suits how hard the room works, a guest cloakroom and a busy family bathroom don’t need the same panel thickness or price point. Pick the finish and application that fits your space, check the warranty and thickness against your household’s daily use, and the panelling will look as considered in ten years as it does on the day it’s fitted. Whichever of these twelve ideas you land on, the underlying principle is the same: choose the material for the room’s real daily demands first, and let the finish, colour, and pattern follow from there rather than leading the decision
FAQs
What is the most durable bathroom panelling?
Solid compact panels are generally the most durable, thanks to their denser core and greater rigidity compared with standard PVC or laminate options. They cost more but resist knocks, flexing, and daily wear noticeably better in a heavily used bathroom.
Is PVC or laminate panelling better for a bathroom?
Neither is universally better. PVC is lighter and more budget-friendly, suiting a lower-traffic room or a tighter budget, while laminate offers a more realistic stone or marble look and a slightly more premium feel at a moderate step up in cost.
Can panelling go on a bathroom ceiling?
Yes, and it’s a genuinely effective way to reduce condensation staining above a shower or bath, but ceiling installation needs secure, reliable fixing overhead, so it’s worth having this done professionally even if you’re comfortable fitting wall panels yourself.
Do bathroom panels need grout?
No, this is one of their main practical advantages over tile. Properly sealed panel joints create a continuous waterproof surface without any grout lines to clean or eventually regrout.
How long does bathroom wall panelling last?
Well-installed panels from a reputable system commonly carry warranties well into the decades, and genuinely last for many years of daily use provided the seams and edges were sealed properly at installation.