How to Plan a Garden Layout from Scratch

To plan a garden layout from scratch, survey the sun, wind, soil and fixed features first, then draw a scale plan and divide the space into zones for how you actually live. Build in order: hard landscaping, then structure, then planting. Most people do it the other way round and end up working around a patio, fence or border they can’t move without paying twice.
How Do You Survey a Garden Before Designing It?
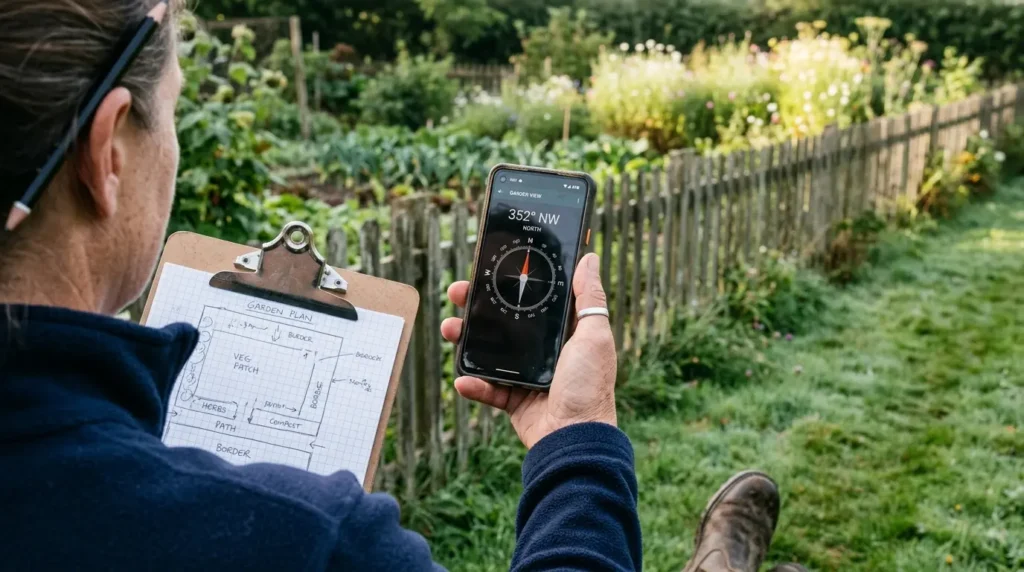
Record four things on paper: which way the garden faces, where sun and shade fall through the day, where the wind hits, and what your soil is like. Use a compass app for aspect, check at several times of day, and test soil pH before choosing a single plant.
Stand with your back to each fence and read the compass to find which way it faces. Plant labels that say “south-facing wall” then make sense. North and east-facing spaces run cooler and shadier than south and west, though a large garden will always have sunny pockets.
Look for microclimates too. A stone wall holds heat and suits sun lovers, while low ground can trap frost. In the UK, colder winds tend to come from the east and wet weather from the south-west, but check your own region’s prevailing wind. Houses and fences can funnel gusts into unexpected places, so watch over a few weeks if you can.
Soil matters as much as light. A cheap pH kit tells you whether you have acid, neutral or alkaline soil, and a simple puddling test shows how much clay you’re dealing with. Clay drains slowly and sandy soil dries out fast, so both change what will thrive.
The honest trade-off is time. Ideally you watch a garden for a full year, especially an inherited one, because spring surprises can undo a plan drawn in autumn. If you can’t wait, a few days of observation at morning, midday and late afternoon still gives you solid educated guesses. Note the view beyond your boundary as well. A good tree or roofline can be borrowed as a focal point, and an ugly one can be screened.
How Do You Draw a Scale Garden Plan?
Measure the boundaries and fixed features, then plot them on graph paper at a set scale, such as 1:50, where 2cm on paper equals 1m outdoors. Use triangulation for trees and awkward corners, then lay tracing paper over the base drawing to test ideas without redrawing.
Gardens are rarely as square as they look. To plot a tree, measure its distance from two fixed points, such as house corners, and mark where the two measurements cross on your plan. Use the same method for boundary corners. For curved edges like a pond or wall, measure across from a straight reference line at regular intervals, such as every metre, and join the dots.
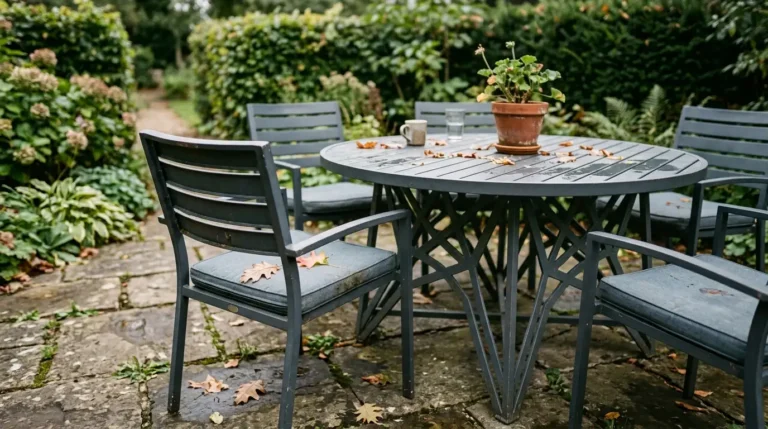
A rough notebook sketch is fine for your first pass, but a scale drawing stops you buying a table that won’t fit the patio. A good rule of thumb is to leave about a metre of clear space beyond a dining table’s edge so chairs can be pulled out. Free design software works too if you prefer a screen. Either way, create a garden plan you can redraw cheaply, because paper mistakes cost nothing.
Decide What Each Zone Is For
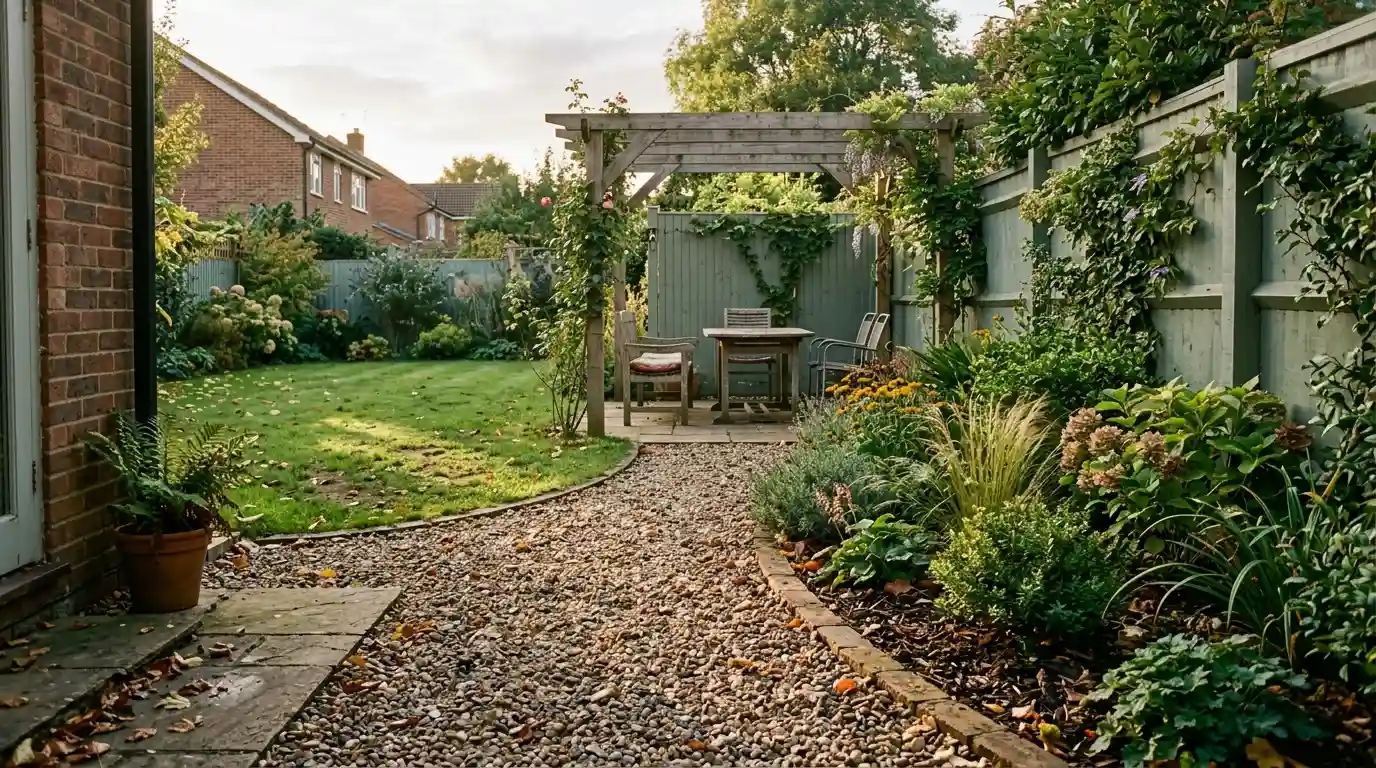
List how you will really use the garden, then give each use its own zone: dining, growing, play, planting, storage. Put the most-used areas nearest the house and the messy ones, such as compost or vegetables, where they can be screened. Zoning also makes a small garden feel bigger.
Match zones to the light you recorded. Vegetables and sun-loving plants want the brightest spot. A seat for morning coffee suits the east side, and an evening drinks area suits wherever the last sun lands. Sheds are better tucked into cold, shady corners than given prime sunny space. A sheltered dining spot also stops parasols taking flight.
Be honest about your time and body. A garden full of herbaceous borders and wildflowers looks beautiful but is labour intensive, while shrubs are far easier. Raised beds and wide, even paths help if bending or walking rough ground is difficult. If you have young children, think hard before adding a pond, since it needs constant supervision.
Build in the Right Order
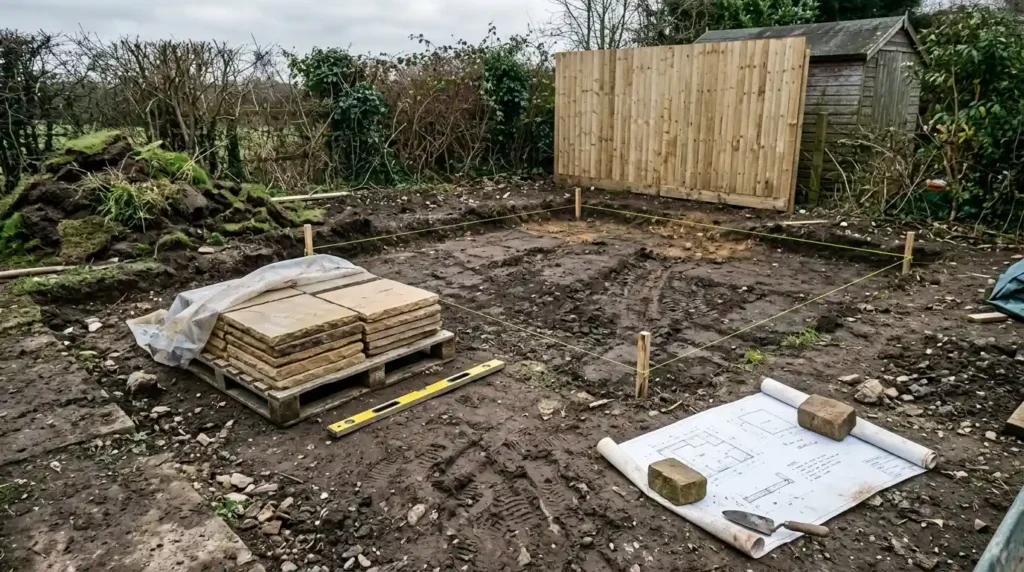
Work from the ground up. Clear what you no longer want, sort out electrics and water, replace fences, build patios, paths and structures, place furniture and sheds, shape the borders, and plant last. Reversing this order damages new plants and forces expensive rework.
In practice, the sequence looks like this:
- Remove old patios, decking, turf or rubbish, and check for buried cables and pipes before any digging.
- Plan lighting and any outdoor sockets now, since cabling is cheap before paving and painful after.
- Replace fences early so climbers establish on the new ones.
- Lay patios, paths, retaining walls and pergolas.
- Add tables, sheds and other large items.
- Cut the border shapes.
- Plant, starting with trees and shrubs, which take longest to establish.
Keep paths at least 80cm wide so two people can pass or a wheelbarrow can fit. Limit hard materials to about three types, for example timber, slate and painted metal, so the design holds together. Add a water butt and an outdoor tap while the ground is open. In the UK, outbuildings and taller structures can trigger planning rules, so check local requirements wherever you live.
How to Plan Borders and Planting
Plan for mature size, not the size of the pot. Put tall plants at the back, medium in the middle and low at the front, and group them in odd numbers of three, five or seven. Make borders deep enough for layers, and include evergreens so winter doesn’t look bare.
Narrow borders are one of the most common regrets. Many designers aim for at least a metre of depth, and more where space allows, so plants at different heights have room to grow. Group plants with similar water needs together, and keep thirsty and drought-loving plants apart.
Planting closely is fine if you accept a little moving later. Fast fillers such as bulbs and annuals cover gaps for the first three or four years while shrubs and trees mature. Mulch thickly each spring, because bare soil means constant weeding. If you want plants your soil can’t support, such as acid-lovers in alkaline ground, grow them in pots.
Tie the palette to your interior. A colour scheme visible from your kitchen or living room windows makes the garden feel like an extension of the house. Include plants that flower, fruit or colour at different times, and a garden layout guide is only as good as its winter view.
What Does Planning a Garden Layout Cost?
Costs vary widely by country and garden size. As a rough guide in GBP, a design consultation costs a few hundred pounds, hard landscaping is the biggest expense, and planting is often the cheapest part. Add a 10 to 15 percent contingency for surprises such as poor drainage or buried rubble.
| Item | Approximate cost (GBP) | Typical time |
| One-day designer consultation | £200 to £600 | 1 day plus written notes |
| Full designed plan with planting scheme | £600 to £3,000+ | 3 to 8 weeks |
| Clearance and skip hire | £250 to £500 | 1 to 3 days |
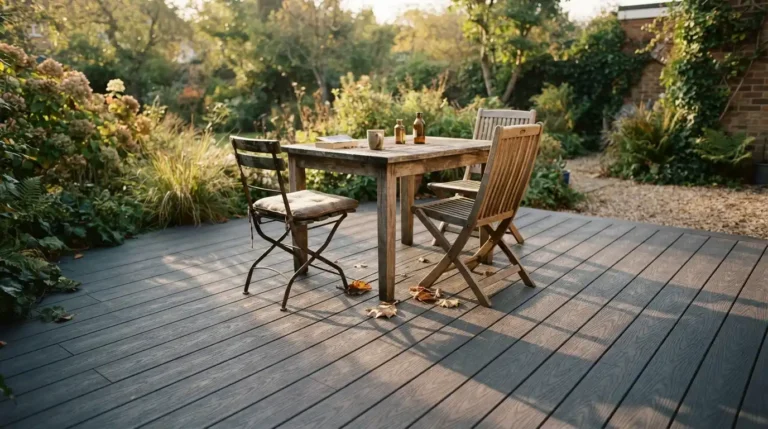
| Patio, laid (sandstone or porcelain) | £80 to £180 per m² | 3 to 7 days for a typical patio |
| Gravel or compacted path | £30 to £80 per m² | 1 to 3 days |
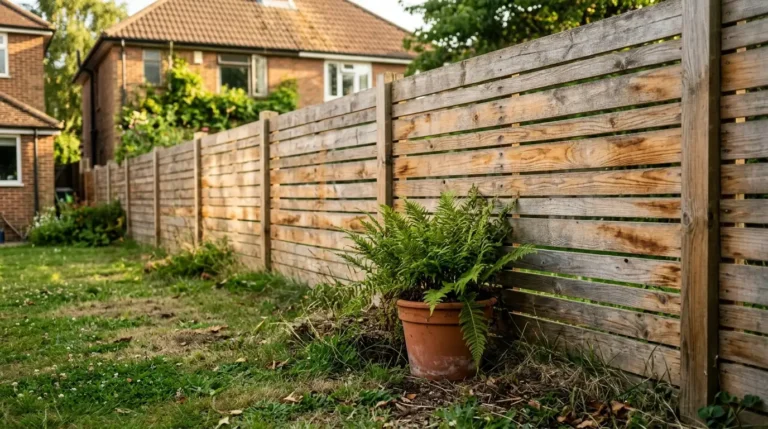
| Fence panel, installed | £80 to £150 per panel | 1 to 2 days per garden |
| Turf, laid | £8 to £20 per m² | 1 day |
| Border plants and mulch | £20 to £60 per m² | 1 to 3 days |
| Timber raised bed with soil | £100 to £400 each | Half a day each |
These are ballpark figures that shift with region, access and material choice. A one-day consultancy is the cheapest way to get a professional eye on your plan if a full design is out of budget. Reclaimed materials and gravel paths also cut costs.
For timing, expect a weekend or two for the survey and drawing, then two to six weeks of hard landscaping for an average garden. Borders take two to three years to knit together. You don’t need to finish everything at once, so split the plan into phases and do the structural work first.
Layout Mistakes That Cost the Most
Most expensive errors come from permanent decisions made too early. Cementing timber edging into corners, for instance, makes a curved border a demolition job later. If in doubt, choose reversible options first.
Other repeat offenders:
- Small patios. A patio that fits the table but not the chairs pulled out gets abandoned.
- Ignoring low points. Water collects at the bottom of a slope, so keep root-rot-prone plants away and consider raised beds on sloping ground.
- Too many materials. More than three hard finishes makes a garden feel cluttered.
- Buying for today’s size. Plants sold small can become huge, and overcrowded shrubs suffer.
- Skipping observation. Redesigning an inherited garden before seeing it through the seasons wastes plants you would have loved.
- Artificial grass as a shortcut. It suits some sites, but it holds heat, can’t support wildlife, and disappoints many owners who expected zero upkeep.
Conclusion
When you plan a garden layout from scratch, the strongest gardens come from careful observation, a scale plan and building in the right order. Draw on paper first, since changing a line costs nothing and moving a patio costs a lot. Start with the big decisions, phase the rest over a few seasons, and let planting grow into the framework you built. Your first plan doesn’t need to be perfect, only well surveyed.
FAQs
What is the first step in planning a garden?
Observe and record. Note aspect, sun and shade, wind, soil type and existing features before you design anything. Then decide how you want to use the space.
Do I need a garden designer?
Not necessarily. Many homeowners manage well with a scale plan and careful survey. A one-day consultation is a low-cost middle ground if you want professional input.
What is the best layout for a small garden?
Zone it clearly, use vertical space with trellis and climbers, and keep paths purposeful. A single focal point and a limited palette of materials make small spaces feel larger.
How wide should garden paths be?
Aim for at least 80cm so two people can walk comfortably or a wheelbarrow can pass. Go wider for main routes to the house or shed.
How do I plan a garden on a slope?
Level areas with retaining walls or terraces, or use raised beds dug into the slope. Keep drainage in mind, since water collects at the lowest point. A landscape garden on a slope often looks best when steps and level zones follow the natural fall.
Should I plant first or build first?
Build first. Do clearing, fences, patios and structures before planting, then plant trees and shrubs, and add perennials and bulbs to fill gaps. Otherwise you risk damaging new plants.
How do I design a low-maintenance garden?
Choose shrubs over herbaceous borders, mulch thickly, and group plants by water needs. A real lawn can be simpler than it looks, since a few dandelions and bare patches rarely matter.
How do I handle a shady, clay-heavy garden?
Choose plants that suit shade and heavy soil rather than fighting them. Mulching each year improves texture over time. Use pots for plants that need different conditions.
Do I need planning permission for garden structures?
It depends on your country and local rules. In the UK, size, height and position of outbuildings and structures can matter, so check with your local authority before building.
How do I match my garden to my interior style?
Repeat one or two colours from your indoor palette in planting and materials, and take cues from the architecture of your house. Curved features suit rounded architecture, while straight lines suit modern homes.