How to Choose the Best Flooring for a Kitchen

To choose the best flooring for a kitchen, work through four things in order: water resistance, durability underfoot, whether it needs to work with underfloor heating, and budget. Porcelain tile and luxury vinyl tile win on practicality; engineered wood wins on warmth and looks. Everything else is a compromise between those.
The frustrating part is that almost every flooring guide tells you tiles are durable and vinyl is affordable, then stops. What they skip is the bit that actually costs people money later: the subfloor prep nobody budgeted for, the grout that looked fine for two years and then went grey, and the sample that felt lovely in a warm showroom and turns out to be freezing at 6am in January. This guide covers the decision in the order you actually have to make it.
Start With How the Room Gets Used, Not the Material
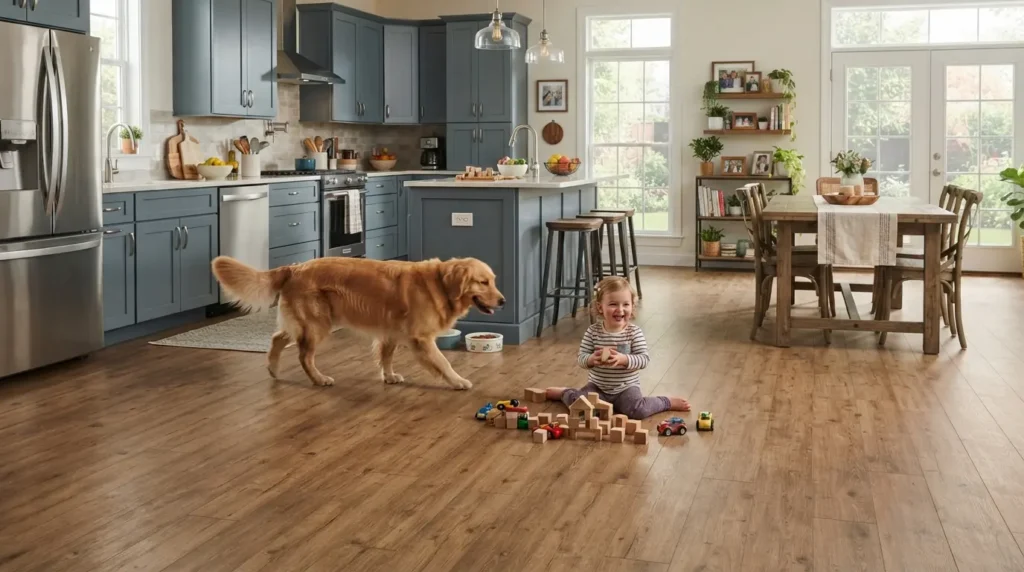
Before you look at a single sample, write down four things about your kitchen: how many people walk through it daily, whether you have pets or small children, whether it opens into a living or dining space, and how often you realistically mop. That profile eliminates about half the options before you’ve compared a single price.
A galley kitchen used by two adults who eat out four nights a week has different requirements from an open-plan kitchen diner where a dog sheds and a toddler drops food twice a day. Heavy-use kitchens push you towards porcelain or LVT. Lower-traffic kitchens open up engineered wood and softer finishes that would wear badly elsewhere.
One point most guides miss: if your kitchen flows into another room without a door, the flooring choice is no longer just a kitchen decision. Running the same floor through both spaces makes a small home feel considerably larger, but it means the material has to work for both a wet, greasy room and a lounge where you want warmth underfoot. That constraint alone often decides the answer.
The Four Non-Negotiables for Kitchen Flooring
Kitchen flooring needs four properties to survive: resistance to water and steam, scratch and dent resistance, an easy-clean surface, and enough slip resistance to be safe when wet. A kitchen is a semi-humid room where spills, steam from cooking and appliance leaks are inevitable, so anything that swells or stains when wet is a long-term problem.
Slip resistance is the one homeowners consistently underweight. A polished or high-gloss floor tile looks striking in a showroom and becomes genuinely hazardous when someone splashes washing-up water on it. Matt finishes reduce that risk substantially, which is why they are the standard recommendation for kitchen floors even though gloss photographs better.
Colour matters more than people expect, too, and not for style reasons. Very dark and pure white floors both show every crumb, footprint and water mark, meaning far more frequent cleaning. Mid-tone greys, warm stones and lightly varied wood-effect finishes hide daily mess far better, which in practice is the difference between wiping the floor once a week and feeling like you’re always chasing it.
Compare the Main Kitchen Flooring Options
Here is how the realistic options stack up against each other. Supply costs are approximate UK figures per square metre and will vary considerably by country, retailer and specification.
| Material | Supply cost (per m²) | Water resistance | Underfloor heating | Feel underfoot | Realistic lifespan |
| Sheet vinyl | £10–£25 | Waterproof | Yes | Soft, warm | 8–15 years |
| Luxury vinyl tile (LVT) | £25–£60 | Waterproof | Yes | Soft, warm | 15–25 years |
| Laminate | £12–£35 | Water resistant only | Yes | Hard, fairly warm | 8–15 years |
| Porcelain tile | £25–£70 | Waterproof | Yes, excellent | Hard, cold | 25–50 years |
| Ceramic tile | £15–£45 | Good | Yes | Hard, cold | 20–40 years |
| Natural stone | £50–£150+ | Depends on stone | Yes | Hard, cold | 30+ years |
| Engineered wood | £35–£90 | Water resistant | Yes, with limits | Hard, warm | 20–30 years |
| Solid wood | £40–£100 | Poor | Not recommended | Hard, warm | 20+ with upkeep |
The pattern that emerges is fairly consistent across the trade: porcelain and LVT sit at the top for pure kitchen performance, laminate is the budget compromise with a real weakness, and solid wood is the one material that looks wonderful and behaves badly in this particular room.
Luxury Vinyl Tile: The Default Recommendation for Most Kitchens
LVT is fully waterproof, warm and soft underfoot, easy to clean, and available in convincing wood, stone and concrete effects. For a busy family kitchen where cost and comfort both matter, it is the material most likely to leave you satisfied five years in.
The honest trade-offs: cheaper vinyl dents under heavy point loads, so a dropped cast iron pan or a fridge dragged across the floor can leave a permanent mark. Wear layer thickness is the spec that matters and the one most retailers won’t volunteer. For a kitchen, look for a wear layer of at least 0.5mm, and ideally closer to 0.7mm, for the floor to hold up to a decade of real use. Below that you are buying a rental-grade product regardless of what the display says.
Most click-lock LVT is genuinely DIY-friendly for a competent homeowner, which saves meaningfully on labour. Glue-down LVT gives a better result over the long term but needs a very flat subfloor and is worth paying a fitter for.
Porcelain and Ceramic Tile: Best for Durability and Underfloor Heating
Porcelain tile is the toughest option available for a kitchen floor. It is waterproof, highly resistant to stains, scratches and chips, and works better with underfloor heating than anything else because of how efficiently it conducts and holds heat. It is also the only floor on this list that will realistically outlast the kitchen units fitted above it.
Porcelain is denser and less porous than ceramic, which makes it more durable and more water resistant, but also harder to cut and install, and typically more expensive. Ceramic is the sensible middle ground for a lower-traffic kitchen at a lower price.
The trade-off nobody mentions until it’s too late is grout. Grout is porous, stains readily, and in a kitchen it will pick up grease and food discolouration within a couple of years unless properly sealed. Epoxy or resin-based grouts resist staining far better than standard cement grout and are worth the extra outlay in a kitchen specifically. Keep joints narrow, around 2mm to 3mm, and choose a grout colour in a mid tone rather than brilliant white, because white grout in a kitchen ages badly regardless of how well it’s sealed.
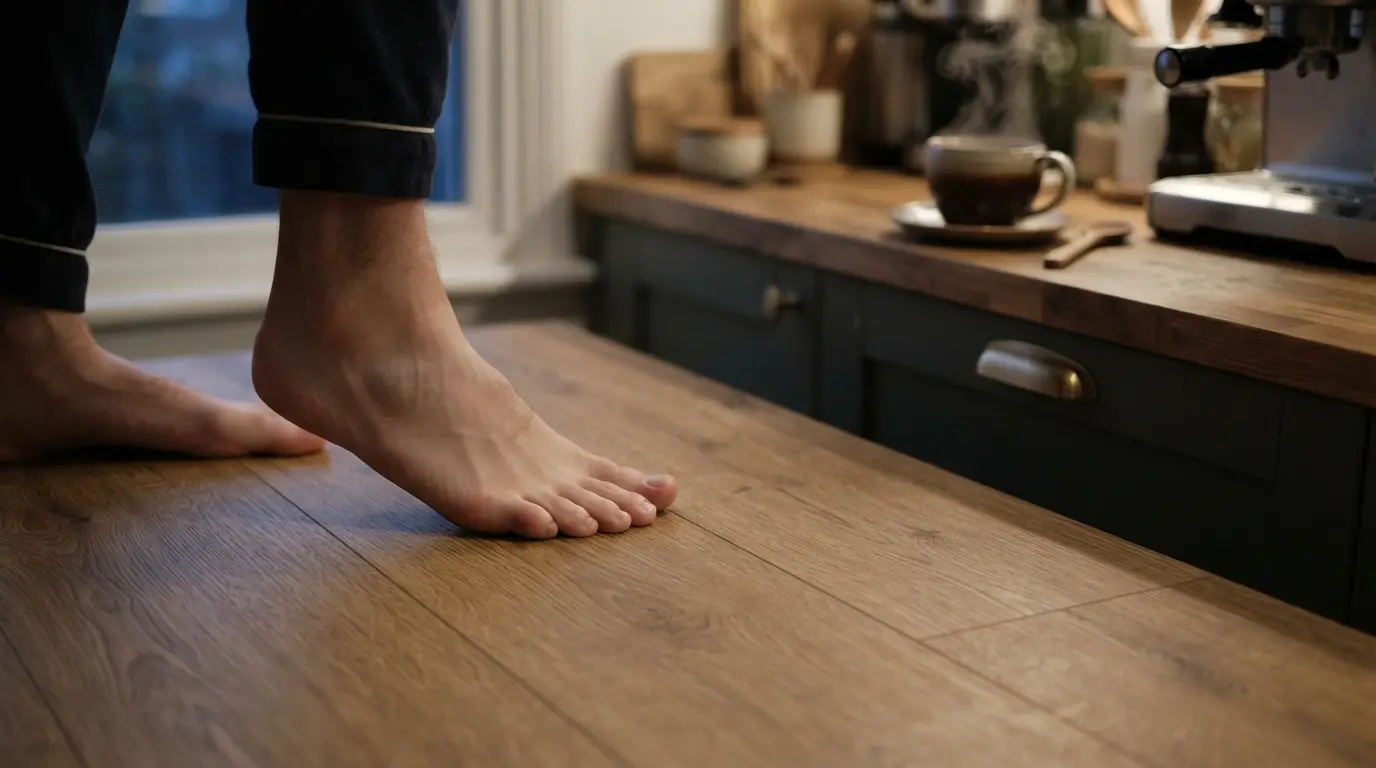
The other honest warning: tile is cold and hard. Without underfloor heating, a tiled kitchen floor is noticeably chilly for much of the year in a temperate climate. And standing on tile for two hours while cooking a big meal is tiring in a way that vinyl or wood is not. An anti-fatigue mat at the sink and hob solves most of this cheaply.
Engineered Wood: The Best Way to Get a Real Wood Floor in a Kitchen
If you want genuine timber underfoot, engineered wood is the version that survives a kitchen. It is built from a real hardwood top layer bonded to plywood or similar layers beneath, which makes it far more dimensionally stable than solid wood when humidity and temperature change. A good engineered board can also be sanded and refinished once or twice, extending its life well beyond a laminate or vinyl equivalent.
Solid wood, by contrast, is not recommended for kitchens by most flooring specialists. It expands and shrinks with moisture, is vulnerable to standing water, needs regular treatment and refinishing, and doesn’t pair well with underfloor heating. It can be done with careful sealing and a disciplined cleaning habit, but you are choosing higher maintenance in the room least suited to it.
Two practical points on engineered wood in a kitchen. First, the wear layer matters as much as it does with LVT: look for a top layer of at least 3mm if you ever want to sand it back, and 4mm to 6mm if you want to do so more than once. Second, engineered wood works with underfloor heating but only within limits, so check the manufacturer’s maximum surface temperature and never exceed it, since consistently overheating a wood floor causes gapping and cupping that cannot be reversed.
Laminate: Where It Works and Where It Fails
Laminate gives you a convincing wood look at the lowest cost per square metre of any wood-effect option, with a hard-wearing top layer that resists scratches and everyday stains well. For a kitchen on a tight budget it is a defensible choice.
The failure mode is specific and worth understanding. Laminate has a water-resistant surface but a fibreboard core, and once water gets past the surface into the joints, the board swells irreversibly. There is no repair; you replace the affected planks. This means laminate is fine in a kitchen where spills are wiped promptly, and a poor choice in a household where a dishwasher leak might go unnoticed for a day.
Waterproof laminate products with sealed cores now exist and close much of this gap, but they cost meaningfully more than standard laminate and at that point LVT is usually the better buy for similar money.
Budgeting Beyond the Price Per Square Metre
The single most common budgeting mistake is pricing only the flooring material. In practice, the extras add somewhere between 40% and 100% on top of the material cost, depending on the floor type and the state of your subfloor.
For a typical 15m² kitchen, expect these additional costs, all approximate and varying by country and local labour rates:
| Item | Typical cost |
| Underlay or uncoupling membrane | £50–£200 |
| Adhesive, grout or fixatives | £40–£150 |
| Subfloor levelling compound | £80–£300 if needed |
| Removal and disposal of old floor | £150–£400 |
| Fitting labour (LVT or laminate) | £15–£30 per m² |
| Fitting labour (tile) | £30–£60 per m² |
| Trims, thresholds and beading | £40–£120 |
Timelines are worth planning around too. Click-lock LVT or laminate in an average kitchen is typically a one to two day job. Tiling takes longer, usually two to four days including adhesive and grout curing time, and you generally cannot walk on it for 24 hours after laying and should avoid heavy use for a few days after grouting. Engineered wood often needs 48 to 72 hours of acclimatisation in the room before it’s laid, which people routinely forget to build into their schedule.
A rule of thumb worth holding onto: always order 10% more material than your measured area, and closer to 15% for herringbone, chevron or diagonal layouts, which generate far more offcut waste than straight-laid planks.
Mistakes That Cost People Money
Skipping subfloor preparation is the expensive one. Almost every flooring failure a fitter gets called back to is a subfloor problem rather than a product problem. An uneven subfloor causes clicking, flexing and joint failure in LVT and laminate, and causes tiles to crack or lift. If your existing floor has more than a few millimetres of deviation across a two-metre span, budget for levelling compound before you budget for anything prettier.
Fitting the floor before the kitchen units is the second one, and opinion genuinely splits here. Flooring under the units means you can reconfigure or replace the kitchen later without a visible gap, and it’s the approach most fitters prefer. Flooring laid up to the units uses less material and costs less. If you plan to stay ten years or more, run the floor underneath; if this is a short-term property, fitting around the units is a reasonable saving.
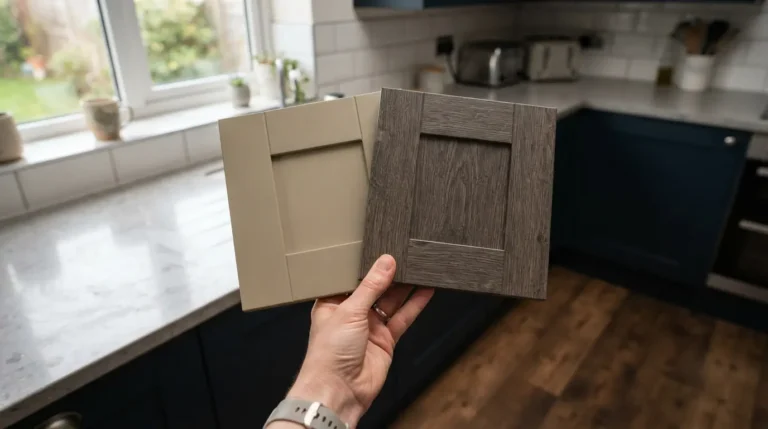
The third is choosing purely from a small sample in showroom lighting. Order a sample board, put it on your actual floor, and look at it in morning light, in evening light and under your kitchen lights before committing. Wood-effect and stone-effect products in particular can look convincing at A5 size and noticeably repetitive across a full room, so ask how many different plank or tile designs are in the batch. Fewer than eight or so and the repeat pattern becomes visible once it’s laid.
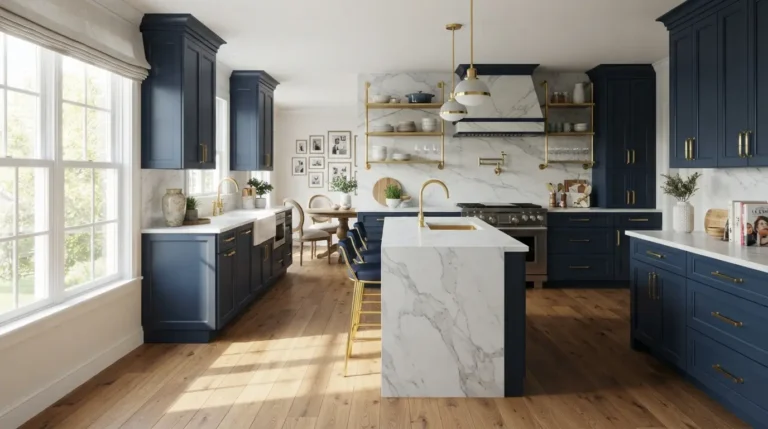
Finally, don’t underestimate how much the floor drives the rest of the room. It’s the largest single surface in most kitchens, and it’s the hardest and most disruptive element to change later, which is a strong argument for choosing something calm and letting cabinetry or splashbacks carry the personality.
Conclusion
Choose the best flooring for a kitchen by working outward from how the room is actually used rather than inward from a material you like the look of. Get the water resistance and durability right first, factor in whether you need underfloor heating compatibility, and only then narrow by style and budget. Build the hidden costs, subfloor prep, grout quality, wastage allowance and fitting labour, into your numbers from the start rather than discovering them halfway through. Order samples and live with them in your own light for a week before you commit, because the floor is the surface you’ll look at every day and the one that’s hardest to change your mind about later.
FAQs
What is the best flooring for a kitchen overall?
For most homes, LVT or porcelain tile. LVT wins on comfort, warmth and cost; porcelain wins on outright durability and underfloor heating performance. If you want real wood, engineered wood is the version that will survive a kitchen. The right floor for kitchen use depends more on your household’s habits than on any universal ranking.
What is the worst flooring for a kitchen?
Carpet and solid wood. Carpet holds spills, stains and moisture and is very difficult to clean properly in a room where food is handled. Solid wood expands and contracts with humidity, is damaged by standing water, and needs ongoing sealing and refinishing. High-gloss tile also belongs on this list for safety reasons, since it becomes slippery when wet.
Does kitchen flooring work with underfloor heating?
Tile, both porcelain and ceramic, is the best performer because it conducts heat efficiently and retains it. Vinyl, LVT and laminate generally work well too. Engineered wood works within manufacturer temperature limits, usually a maximum surface temperature you must not exceed. Solid wood is not recommended, because heat cycling causes movement and permanent damage.
Should the kitchen floor go under the cabinets?
Running the floor underneath the units is the more future-proofed approach, since it lets you change the kitchen layout later without a visible gap or a patch of bare subfloor. Fitting around the units uses less material and costs less. If you plan to stay in the home long term, go underneath.
How do I choose kitchen flooring for a small kitchen?
Lighter shades and larger format pieces both help a small kitchen feel bigger. Large-format tiles and wide planks mean fewer visible joints, which reads as more open and less busy. Avoid strong patterns and very dark colours, and if the kitchen opens into another room, running the same flooring through both spaces is the single most effective trick for making a compact kitchen feel larger.
Can I install kitchen flooring myself?
Click-lock LVT and laminate are genuinely achievable for a confident DIYer, and the click systems are designed for it. Tiling is harder than it looks and mistakes are expensive and permanent, so it’s worth paying a professional, especially for large-format or natural stone. Whatever you choose, subfloor preparation is the part where DIY attempts most often go wrong, so be honest about whether your floor needs levelling first.
Is grout really that much maintenance?
In a kitchen, yes, more than people expect. Standard cement grout is porous and picks up grease and food staining within a year or two. Using an epoxy or resin-based grout at installation costs more upfront and largely solves this, and choosing a mid-tone grout colour rather than white makes normal ageing much less obvious.