15 Breakfast Bar Ideas for a Sociable and Stylish Kitchen

Breakfast bar ideas work best when the structure itself is planned properly, not just styled after the fact, since the difference between a bar that gets used daily and one that becomes a dumping ground for post usually comes down to overhang depth, support, and a few practical details most inspiration roundups skip entirely in favour of another pretty photo. The 15 ideas below cover the layouts worth considering and the real structural checks that make them actually work.
1. Extend the Kitchen Island Into a Breakfast Bar
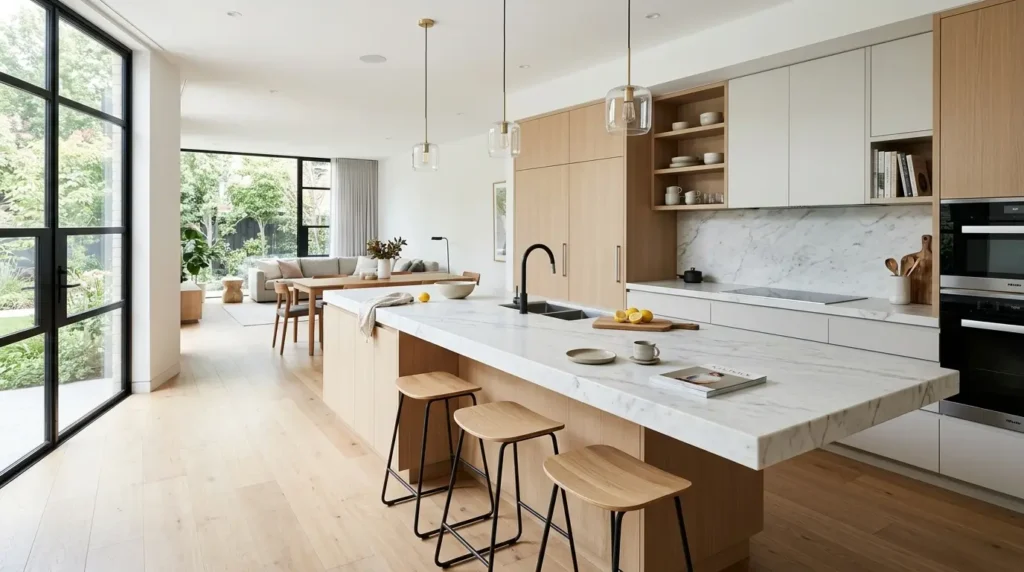
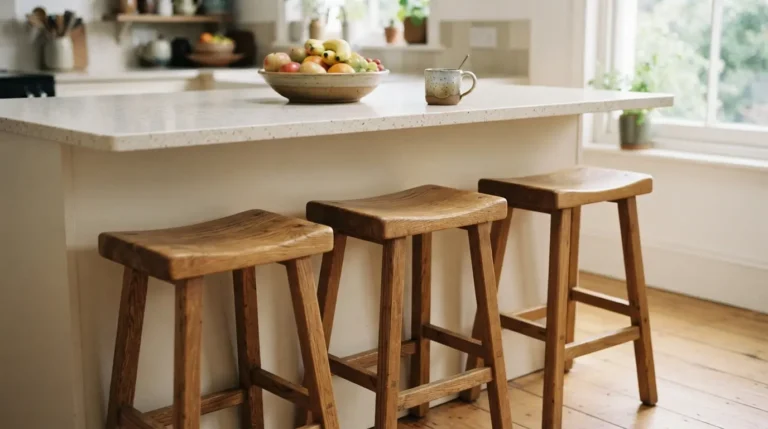
The simplest and most common approach: extend one end of the island countertop beyond the cabinets below to create a seating overhang. It keeps the whole kitchen feeling like one continuous surface rather than a separate zone, and it’s the easiest option to add to an existing island without a full redesign, provided the worktop material can be extended or replaced with a single continuous slab. This is also usually the most cost-effective of the fifteen ideas here, since it doesn’t require any additional structure beyond a longer worktop and, depending on the depth, possibly a support bracket.
2. Add an Overhang Deep Enough for Genuine Legroom
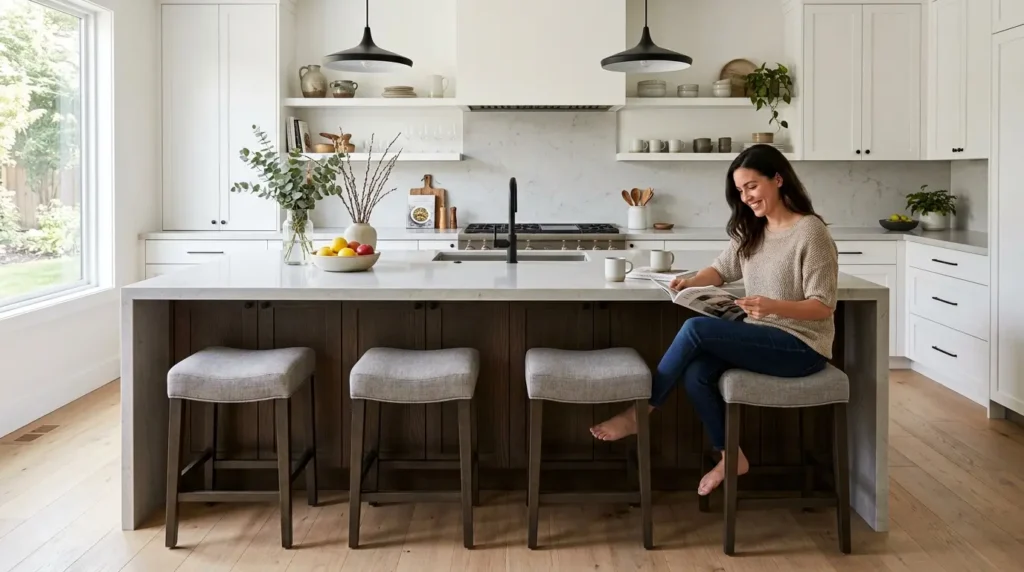
This is the detail that decides whether idea one actually works. An overhang under roughly 25cm leaves knees pressed against the cabinet below, however good the stools are; aim for at least 30-35cm of unsupported depth so there’s genuine room to sit comfortably. Beyond that depth, most worktop materials need additional support, corbels, a steel bracket, or a partial wall below, so check with your worktop fabricator what your specific material and thickness can span safely before assuming the overhang alone will hold.
3. Split-Level Bar to Separate Prep From Seating
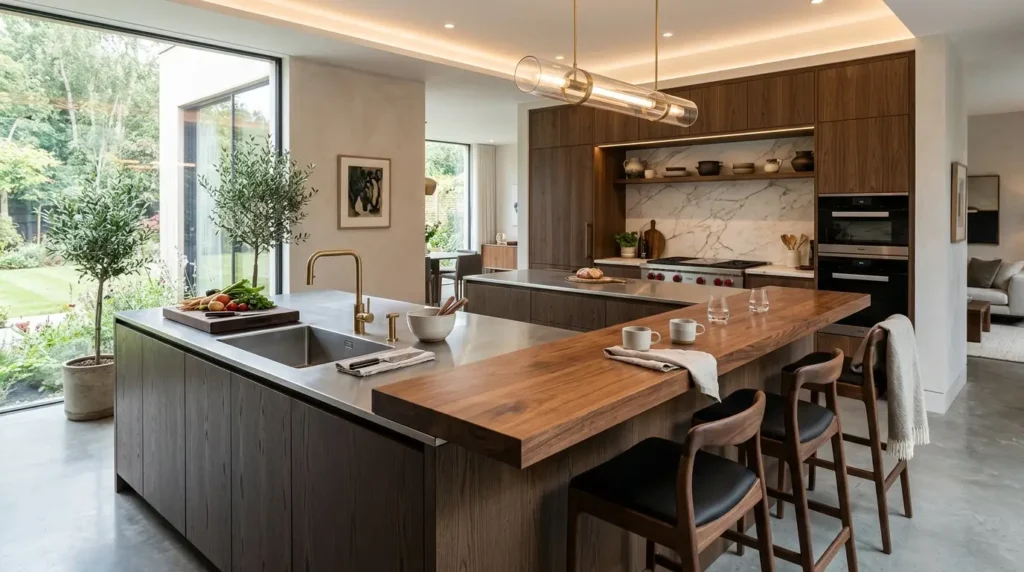
Setting the breakfast bar at a different height to the main worktop, either raised above it or set slightly lower, does real practical work: it visually and physically separates food prep mess from the seating area, so guests aren’t looking directly at a chopping board mid-meal. A raised bar hides clutter from a seated eye-line particularly well, while a lower, more relaxed level suits a more casual, sofa-adjacent feel in an open-plan space. Building in a height change does add a small amount of extra joinery cost compared with a single flat run of worktop, since it needs its own supporting structure and a neat junction where the two levels meet, but it’s a genuinely effective way to get both a workable prep surface and a proper social seating spot out of one piece of furniture.
4. A Peninsula That Doubles as Dining and Prep Space
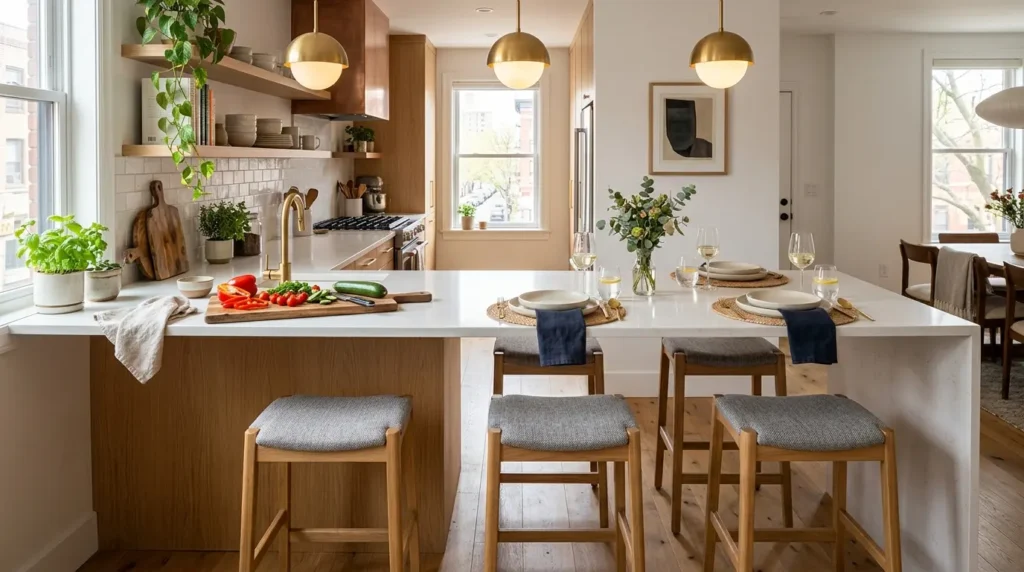
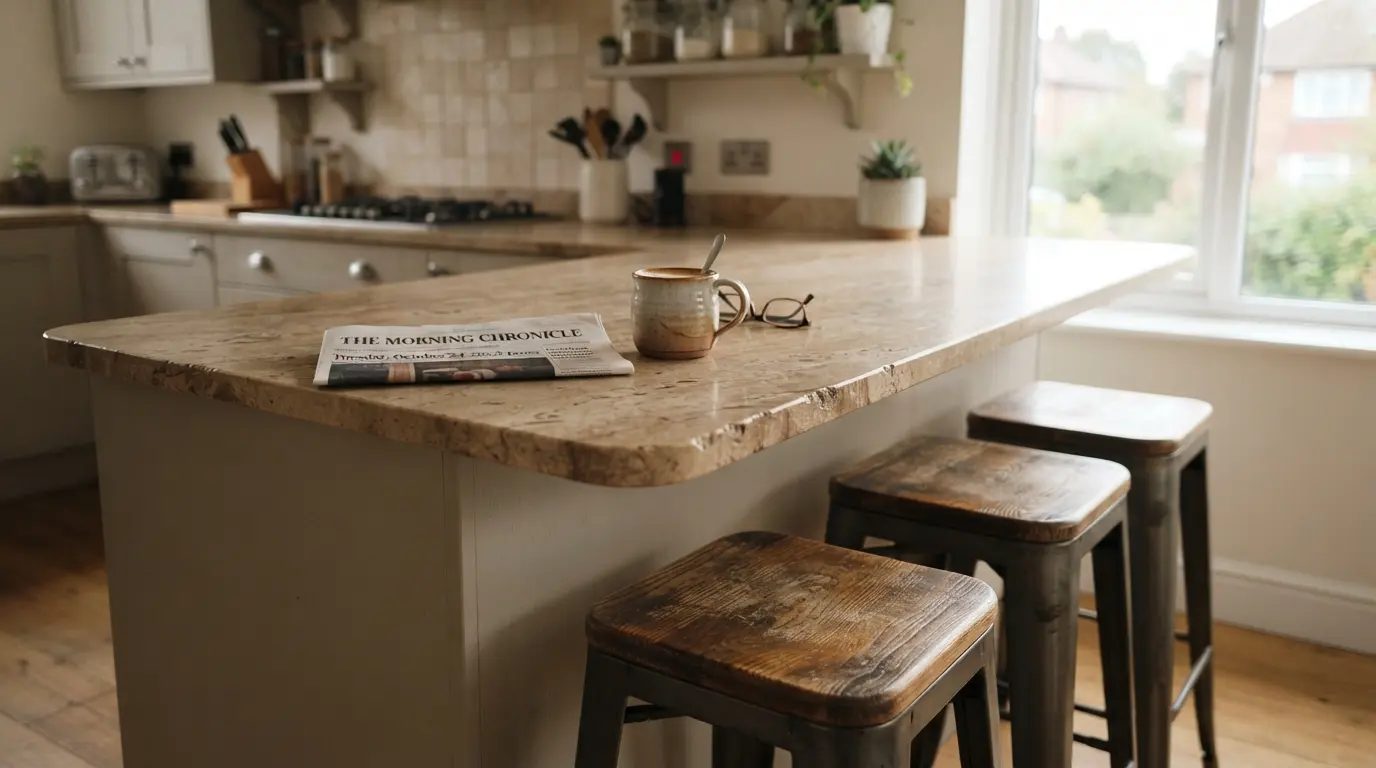
In a smaller kitchen or studio flat, a peninsula, a worktop extending from one wall rather than a freestanding island, can serve as breakfast bar, prep space, and de facto dining table all at once. This is one of the most space-efficient ideas on this list, since it avoids needing a separate table entirely, though it’s worth being realistic about how many people it can comfortably seat before committing to it as your only eating space. If it genuinely needs to serve as the household’s main dining spot rather than a quick-stop counter, plan for proper seating comfort, backed stools rather than backless, and enough width per person, rather than treating it purely as overflow prep space with stools added as an afterthought.
5. A Floating Ledge for an Open, Airy Look
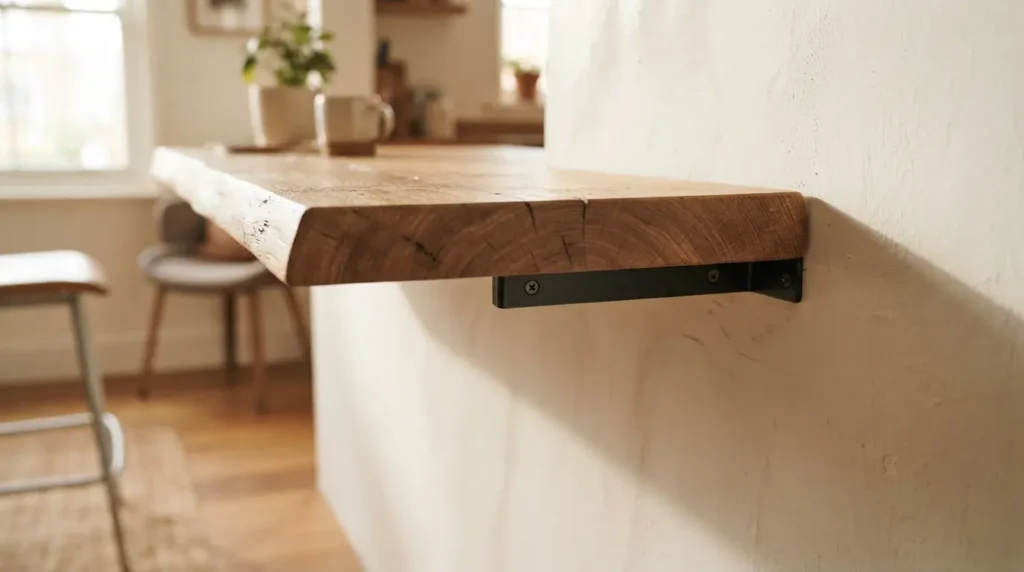
A wooden or stone ledge with no visible cabinets or legs underneath creates a genuinely light, uncluttered look, and it lets stools tuck fully underneath with nothing in the way. The honest structural reality: a floating ledge needs to be properly fixed into the wall or supported by a hidden bracket rated for the weight of the material plus anyone leaning on it, this is not a shelf-and-brackets DIY job for a stone or thick timber top, so budget for a structural fixing done properly rather than treating it as a simple install.
6. A Waterfall Edge as a Breakfast Bar Feature
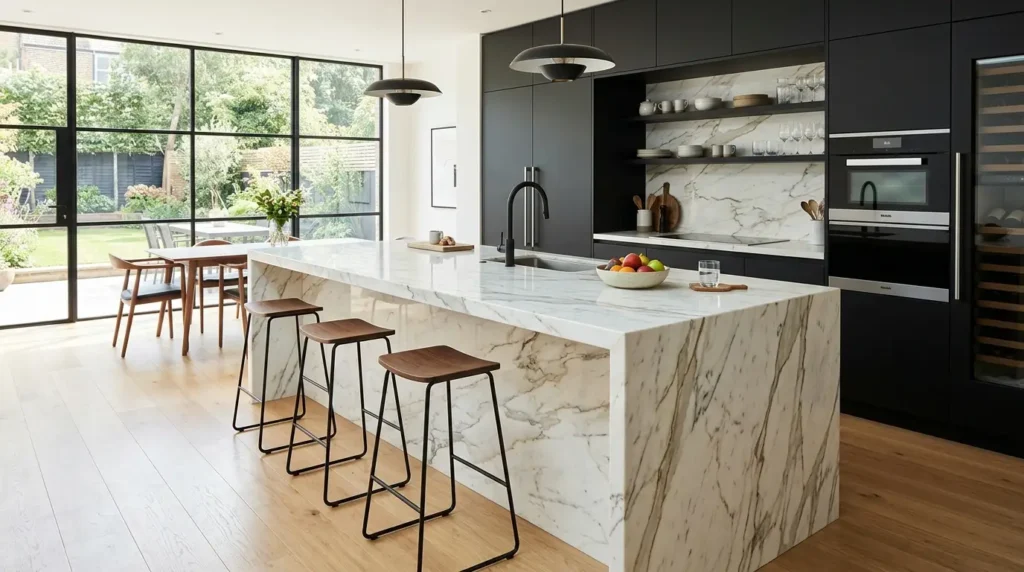
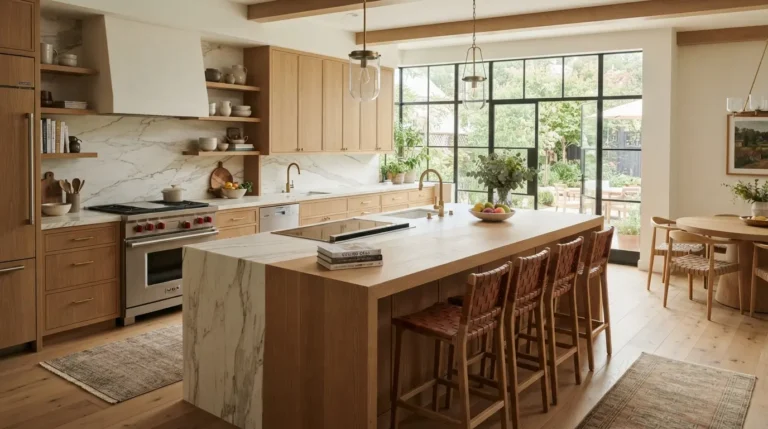
A waterfall edge, where the worktop material wraps down the side of the island in one continuous piece, brings a genuinely striking, seamless look to a breakfast bar end. It’s one of the more expensive choices on this list, since it uses considerably more material and needs precise mitred joints to look seamless rather than obviously pieced together, so it’s worth reserving for a kitchen where this end of the island is a genuine visual focal point rather than applying it everywhere out of habit.
7. An L-Shaped Bar for Extra Seating Around a Corner
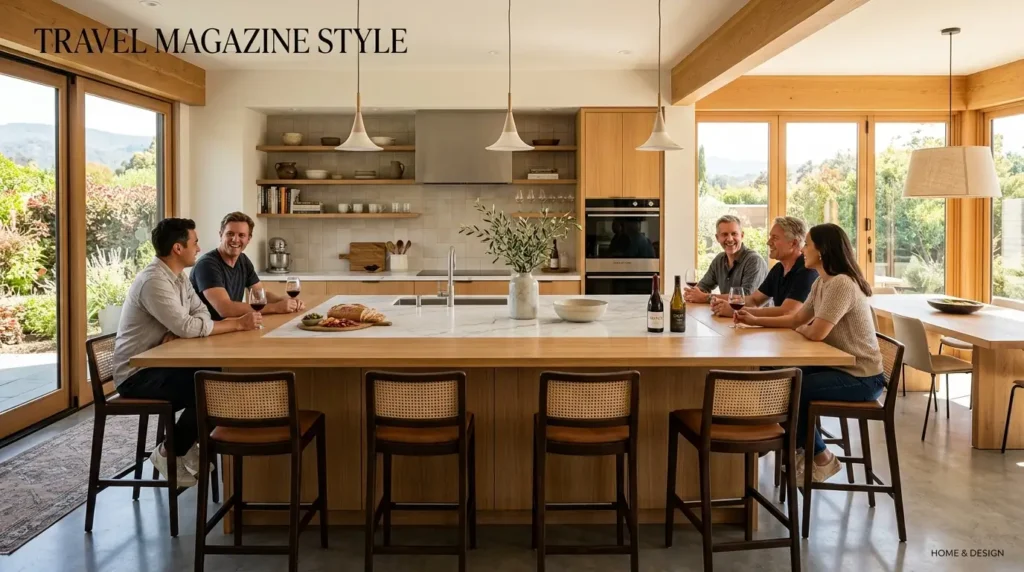
Wrapping the breakfast bar around a corner, rather than running it in a single straight line, genuinely increases seating capacity without extending the island’s overall footprint in one direction. It suits a kitchen where the island already turns a corner naturally, and it’s worth checking that stools on the inside corner still have enough turning and pull-out space, since a tight internal angle can leave that particular seat awkward to use even if the rest of the bar works well. Where the two runs meet, a slightly wider corner section, rather than a sharp, minimal angle, generally gives that seat the same comfort as the rest of the bar instead of leaving it as the compromise spot nobody wants to sit in.
8. A Round or Curved Bar for a Softer Focal Point
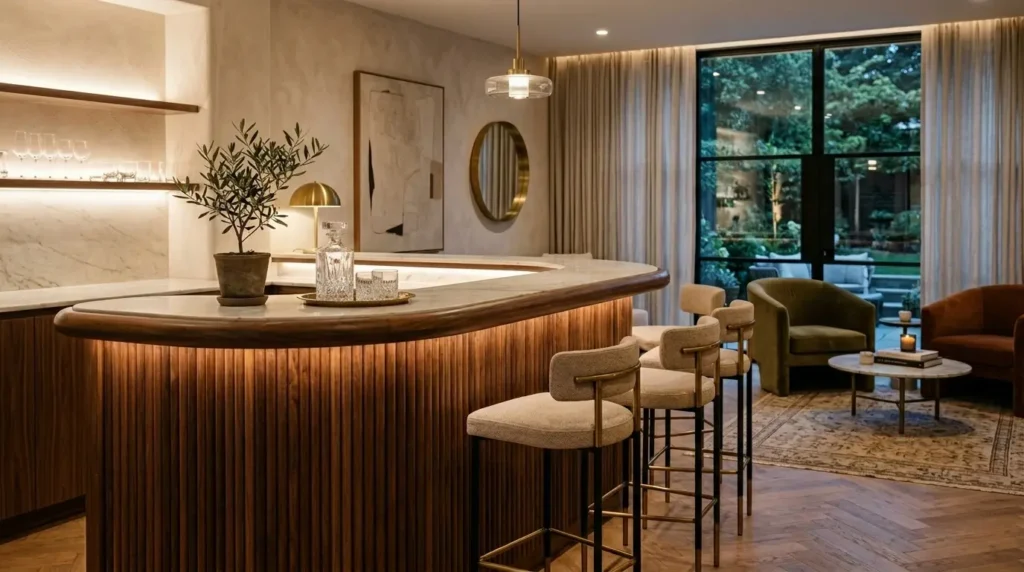
A curved or fully round breakfast bar softens a kitchen full of straight lines and worktop edges, and it genuinely suits a household with young children, since there are no sharp corners at head height. It’s a bespoke, made-to-measure job in almost every case, which pushes cost above a standard straight or L-shaped bar, so it’s worth treating as a genuine investment piece rather than a like-for-like swap with a straight island extension.
9. A Contrasting Material to Separate It From the Main Counter

Finishing the breakfast bar section in a different material or colour to the rest of the island, a warm timber block against a concrete or stone worktop, for instance, visually delineates the seating area from the prep zone even when they’re part of one continuous structure. This works particularly well when the bar doesn’t have a level change to do that job for you, giving the same sense of separation through material contrast instead.
10. A U-Shaped Worktop That Doubles as a Breakfast Bar
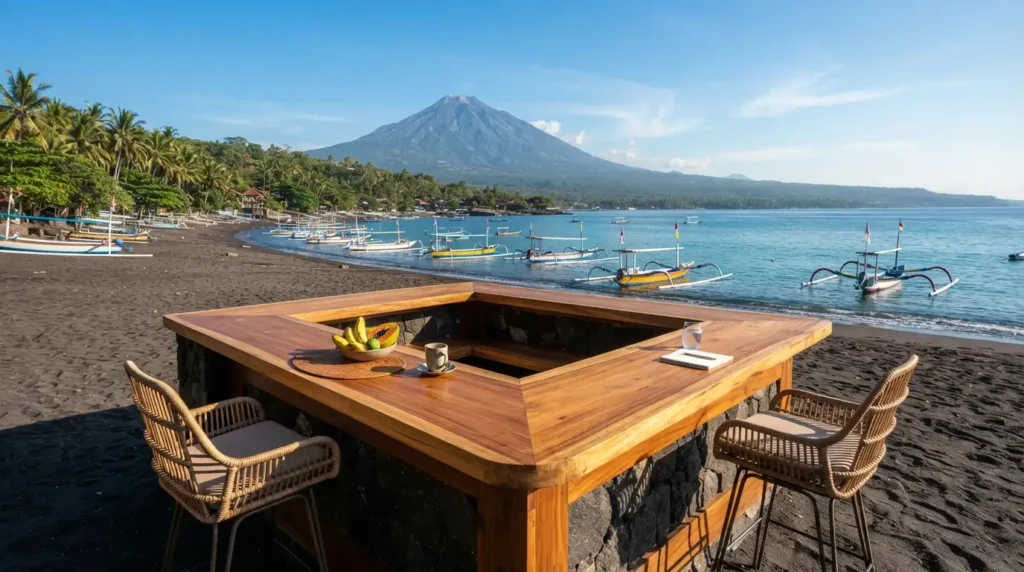
In a compact kitchen built around a U-shaped layout, one run of the worktop can double as informal seating without adding any extra structure at all. This is one of the most cost-effective ideas here, since you’re using space the kitchen already has rather than building anything new, though it works best when that particular run isn’t also your primary food-prep zone, competing demands on the same surface get old quickly in daily use.
11. A Single-Leg or Cantilevered Bar for a Minimal Look

A worktop extension supported by a single slim leg, rather than a full run of cabinets, creates a striking, minimal look with maximum legroom underneath. The structural reality worth understanding before committing: the leg needs to be positioned to properly counterbalance the cantilevered weight, and the worktop material itself needs to be strong enough not to flex under someone leaning on the unsupported end, both are engineering questions for your fabricator or installer, not just a styling choice.
12. Built-In Lighting Over the Bar for Genuine Task and Mood Light
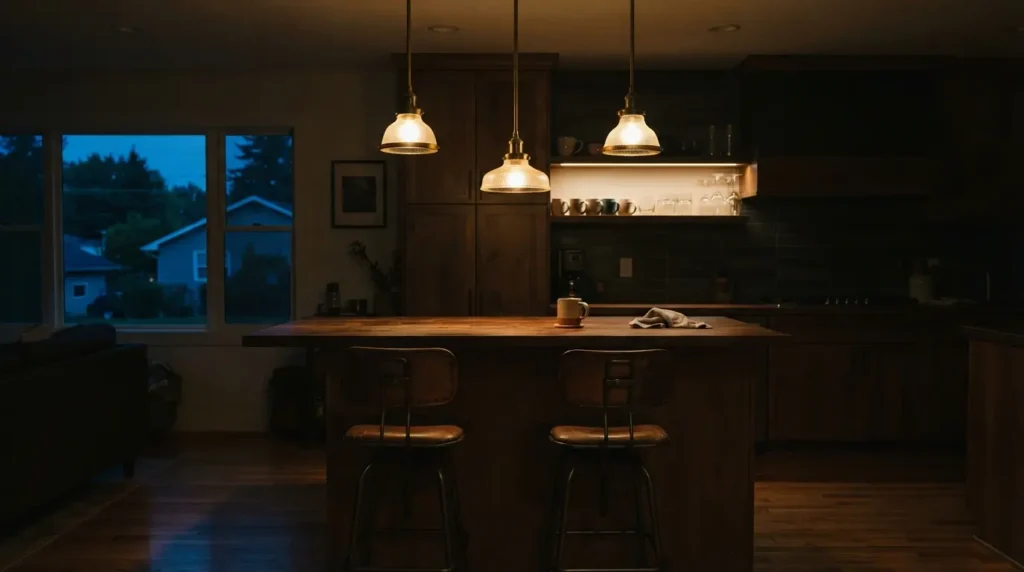
Pendant lighting positioned directly over a breakfast bar does real work beyond looks: it provides genuine task light for eating and working at the bar, separate from the main kitchen’s overhead lighting, and it visually anchors the seating area as its own zone within an open-plan space. Hang pendants at a height that lights the surface without sitting at eye level for someone standing at the bar, and put them on a separate dimmable circuit from the main kitchen lights if you want the bar to shift convincingly from bright prep light to a softer evening mood.
13. Plan for Sockets and Charging Points Before the Bar Goes In
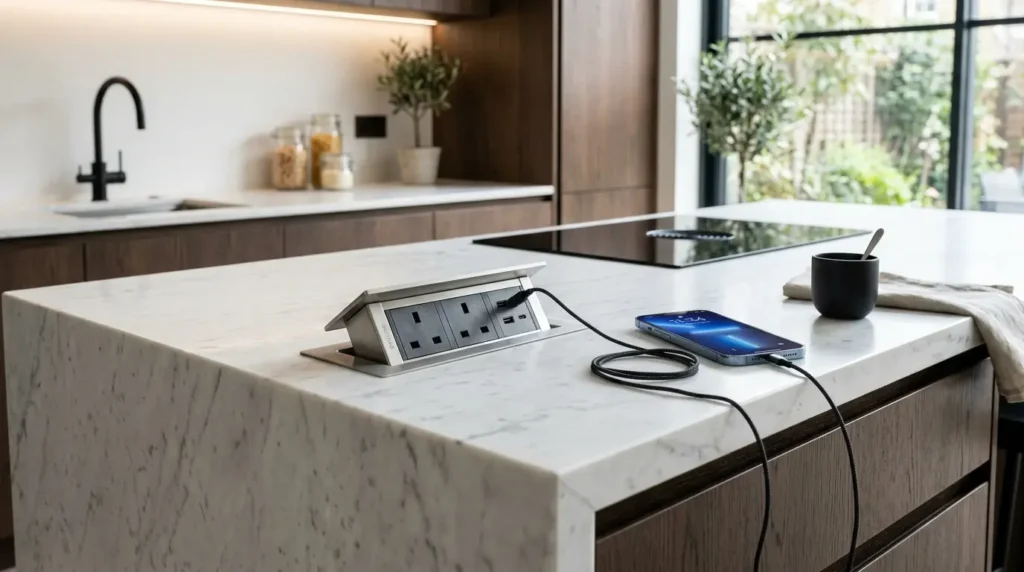
This is the detail every purely aesthetic breakfast bar guide skips, and it’s genuinely frustrating to fix after the fact. If the bar will be used for laptops, phone charging, or small appliances, plan socket positions into the design stage, ideally within the overhang or a nearby run of cabinets, rather than relying on a single socket at the far end of the island. Retrofitting power into a finished stone or solid worktop means cutting into a surface that’s expensive and difficult to modify cleanly, so this is worth deciding before the worktop template is cut, not after.
14. A Bar as a Room Divider in an Open-Plan Kitchen-Diner
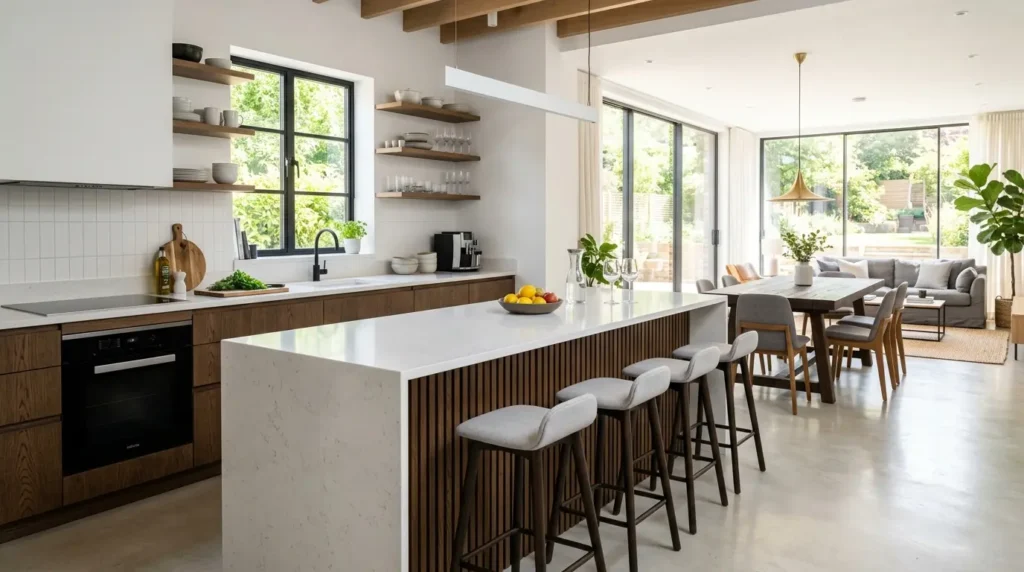
In an open-plan space, a breakfast bar positioned at the edge of the kitchen zone does genuine spatial work, marking where cooking ends and living or dining space begins, without needing a wall or a full room divider. This suits a raised or split-level bar particularly well, since the height change itself reinforces the zoning, and it’s a lower-cost way to define the space than a structural change to the room.
15. Common Breakfast Bar Design Mistakes to Avoid
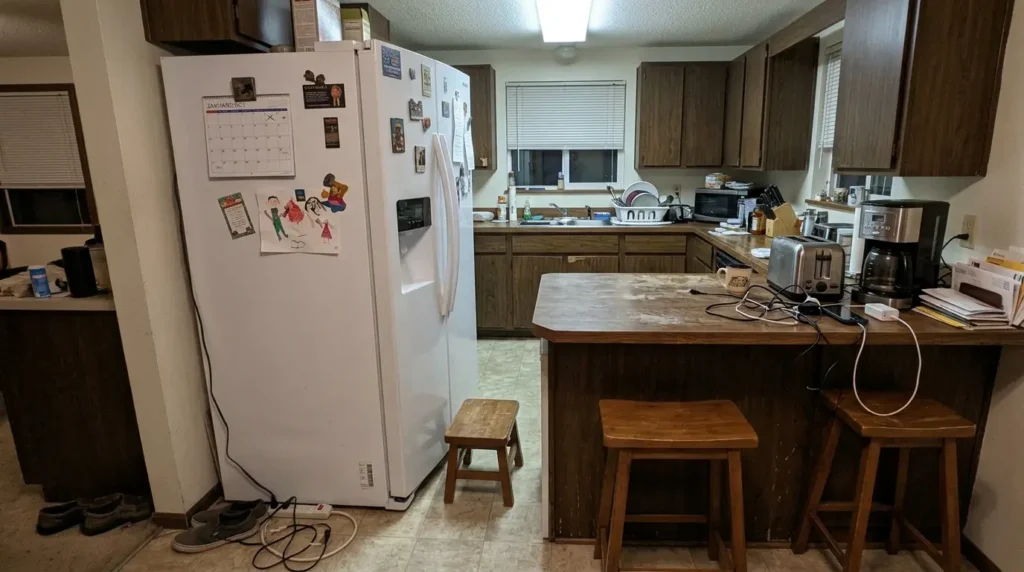
The most frequent mistake is an overhang too shallow for genuine comfort, chosen for a slim, minimal look rather than checked against real knee clearance. The second is a floating or cantilevered design without proper structural support, which either fails outright or develops a visible sag over years of use. The third is forgetting sockets and lighting until after the worktop is installed, both are far cheaper and easier to get right at the planning stage than to retrofit into a finished surface. The fourth, smaller but genuinely common, is not checking walkway clearance behind seated stools, a breakfast bar that blocks the main path through an open-plan kitchen gets used less, not more, however good it looks in photos.
Final Thoughts
The best breakfast bar ideas balance genuine style with the structural and practical details most inspiration content skips: overhang depth, proper support for anything floating or cantilevered, and sockets planned in before the worktop is cut. Choose the layout that suits your kitchen’s shape and how sociable you want the space to feel, then get those practical checks right, and the bar you build will genuinely get used every day, not just photographed once.
FAQs
How deep should a breakfast bar overhang be?
Aim for at least 30-35cm of unsupported depth for genuine knee clearance. Beyond that, most worktop materials need additional support such as corbels or a steel bracket, so check the limit for your specific material with your fabricator.
Does a floating breakfast bar need extra support?
Yes, almost always. A floating or cantilevered ledge needs a proper structural fixing into the wall or a hidden bracket rated for the material’s weight plus anyone leaning on it, it isn’t a simple shelf-and-bracket DIY job for stone or thick timber.
Should I plan sockets into my breakfast bar before it’s built?
Yes. Retrofitting power into a finished stone or solid worktop means cutting into an expensive, hard-to-modify surface, so decide socket positions at the design stage, ideally within the overhang or a nearby cabinet run.
What’s the difference between a peninsula and an island breakfast bar?
A peninsula extends from a wall or run of cabinets on one side only, while an island is freestanding with access on all sides. A peninsula generally suits a smaller kitchen better, since it doesn’t need clearance on every side the way an island does.
Is a waterfall edge worth the extra cost for a breakfast bar?
It depends on how much of a visual focal point that end of the island is. Waterfall edges use considerably more material and need precise joinery to look seamless, so they’re worth it where the bar is a genuine feature rather than applied as a default upgrade everywhere.