How to Install DIY Wall Panelling from Start to Finish

Installing DIY wall panelling from start to finish comes down to finding your wall’s true centre point before you fix anything, dry-fitting your first panel properly, then working outward with adhesive and a nail gun until the whole wall is covered. Most uneven, slightly crooked panelled walls trace back to one thing: starting from a corner or edge on a wall that isn’t actually straight, rather than working from a genuine centre point outward.
Measure the Wall and Find Your Centre Point First
Clear the space and measure the full width and height of the wall you’re panelling, this tells you how many panels you’ll need and whether any need trimming to fit your ceiling height. Since very few walls are perfectly straight or square, don’t start fixing panels from one edge and work your way across, instead, measure to find the genuine centre point of the wall and use that as your starting reference, sometimes called a plumb line. Working outward from the centre in both directions means any small unevenness in the wall gets distributed evenly across the whole width, rather than compounding into one obvious problem by the time you reach the far side.
Dry-Fit and Level Your First Panel Before Committing
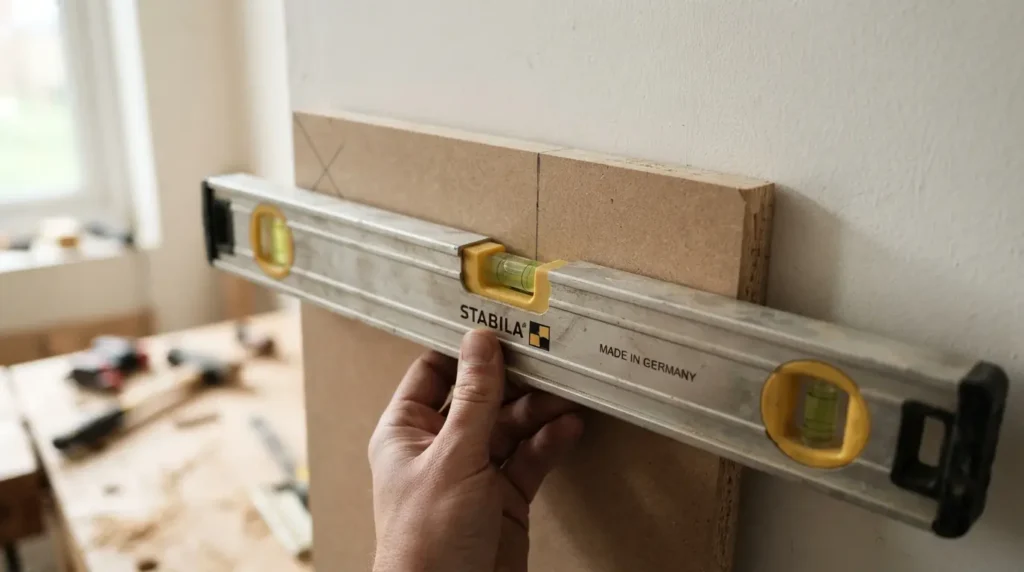
Before applying any adhesive, position your first panel against the wall at your marked centre point and check it properly with a spirit level, both that it’s genuinely vertical and that it’s sitting flush against the wall surface. Mark its position on the wall in pencil once you’re happy, and take your time over this step specifically, since this first panel effectively sets the accuracy for the entire wall. If it’s slightly off, that error carries through every subsequent panel you fix, so it’s worth measuring twice and checking the level from more than one angle before moving on.
Fix and Slot the Panels Into Place
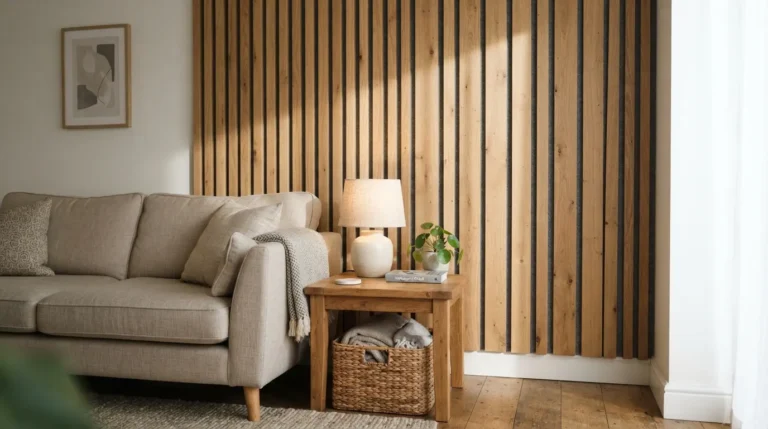
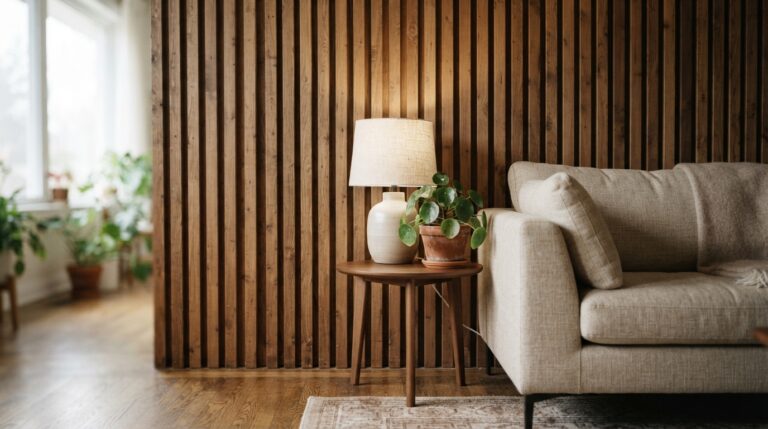
Once you’re confident in the position, apply a strong adhesive to the back of the panel and press it firmly onto the wall, then secure it further with a nail gun while the adhesive cures, this holds the panel steady rather than relying on the adhesive alone to set. Nail along the thicker sections of the panel specifically, rather than through thinner ridges or detailing, to avoid splitting the material. Many modern MDF panelling systems use an interlocking, slot-together design, so the next panel simply slides into the groove of the one before it, creating evenly spaced vertical detailing automatically without needing separate battens or spacers. Check each panel’s vertical alignment with your spirit level as you go, apply adhesive, press firmly, and secure with the nail gun, repeating this sequence across the wall in both directions from your centre point.
Cut Around Sockets and Switches Properly
Where a panel needs to fit around a plug socket or switch, align the panel in its intended position first and mark around the fitting directly onto the panel before applying any adhesive. Cut the marked section out with a jigsaw, then check the fit against the wall before fixing the panel permanently, this order, mark and cut before adhesive, avoids the genuinely awkward situation of realising a cut-out is wrong after the panel is already stuck to the wall.
Add a Picture Rail for a More Traditional Finish
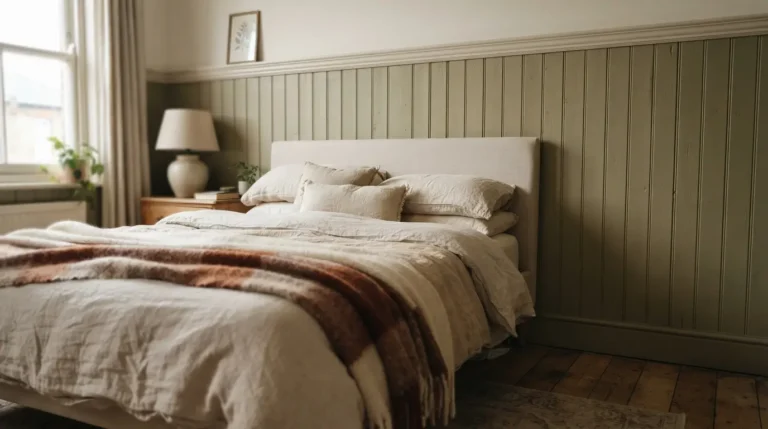
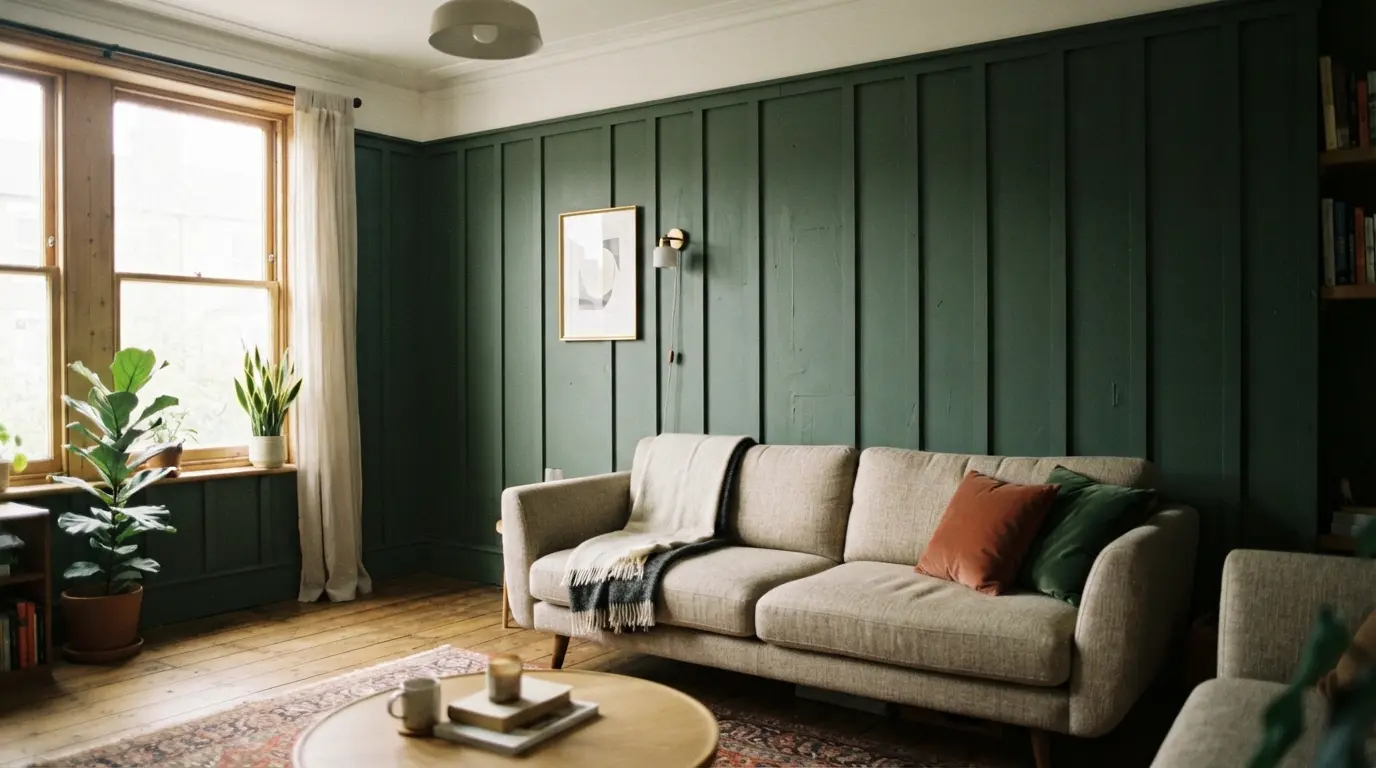
If you want a more decorative, traditional look, a picture rail fixed along the top of the panelling frames the whole feature neatly. Measure the wall’s width, cut your rail to size, mitring the corners if the rail needs to turn a corner, then apply adhesive and secure it with the nail gun the same way as the panels themselves. This is entirely optional, a clean top edge without a rail looks equally considered in a more contemporary scheme, so choose based on the style you’re actually going for rather than assuming a rail is a required finishing step.
Fill Nail Holes and Sand for a Seamless Base
Once every panel and any picture rail is fixed in place, fill each visible nail hole with wood filler, smoothing it with a finger or a scraper before it fully sets. Let the filler dry completely, then lightly sand the surface to remove any excess and level it flush with the surrounding panel. This step matters more than it might seem, skipping it or rushing the sanding is exactly how a wall ends up with visible dimples once it’s painted, undermining the smooth, professional finish the rest of the project achieves.
Caulk Every Edge Before You Paint

Run a bead of caulk along the top and bottom edges of the panelling, into every corner, along any gaps where panels meet the wall, and around any socket cut-outs. Smooth it with a wet finger or a proper caulking tool while it’s still workable, and let it dry fully before moving on to paint. This step does more than any other to hide small imperfections and joins, turning individual panels into what reads as one continuous, professionally finished wall rather than a series of visibly separate pieces.
Choose Water-Resistant MDF for a Kitchen or Bathroom
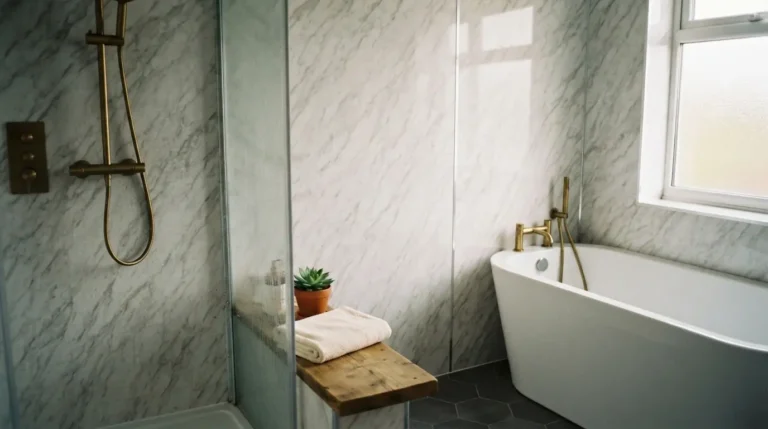
This is worth knowing honestly before you buy your panels. Standard MDF absorbs moisture, which makes it a poor choice for a kitchen or bathroom wall unless you specifically choose a water-resistant variant rated for those conditions. Apply a primer suited to your specific MDF type before painting, some panels need this more than others, and finish with your chosen topcoat, this style of panelling holds up well in both bold, saturated colours and softer neutrals, so the material choice matters more to the room’s longevity than the colour decision does.
Final Thoughts
Installing DIY wall panelling from start to finish really comes down to the preparation before the first panel goes up, finding a genuine centre point, dry-fitting and levelling that first panel properly, and taking the time on filling and caulking once everything’s fixed. Get that sequence right, and a straightforward panelling project delivers a wall that looks like a considered, professional feature, not an obvious weekend DIY job.
FAQs
How do I know where to start panelling on a wall?
Measure to find the wall’s genuine centre point rather than starting from one edge, since very few walls are perfectly straight. Working outward from the centre in both directions spreads any unevenness across the whole wall rather than letting it compound toward one side.
Do I need a nail gun to install wall panelling?
It’s not strictly essential, but a nail gun used alongside adhesive gives extra security while the adhesive cures, holding each panel steady rather than relying on the glue alone to set properly during that time.
Can I install wall panelling around plug sockets?
Yes, position the panel and mark around the socket before applying any adhesive, then cut the section out with a jigsaw and check the fit before fixing the panel permanently. Marking and cutting before adhesive avoids having to correct a mistake on an already-fixed panel.
What MDF should I use for a bathroom or kitchen panelled wall?
Choose a water-resistant MDF specifically rated for those conditions, since standard MDF absorbs moisture and isn’t suited to a room with regular steam or splashing.
How long does it take to panel a feature wall yourself?
A single feature wall is genuinely achievable in a few hours once you include measuring, fixing, filling, and caulking, though allow separate drying time for filler and caulk before painting, so treat it as a project spread across a day or a weekend rather than one continuous sitting.