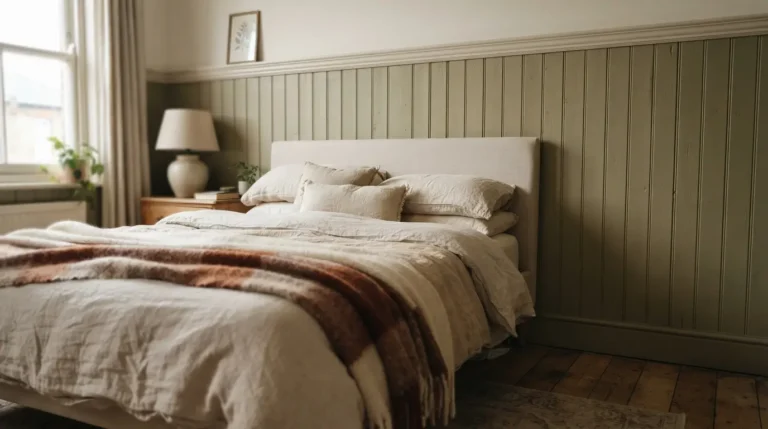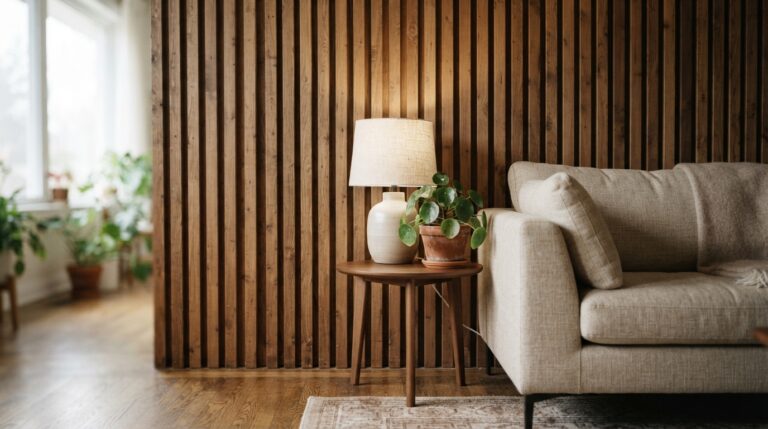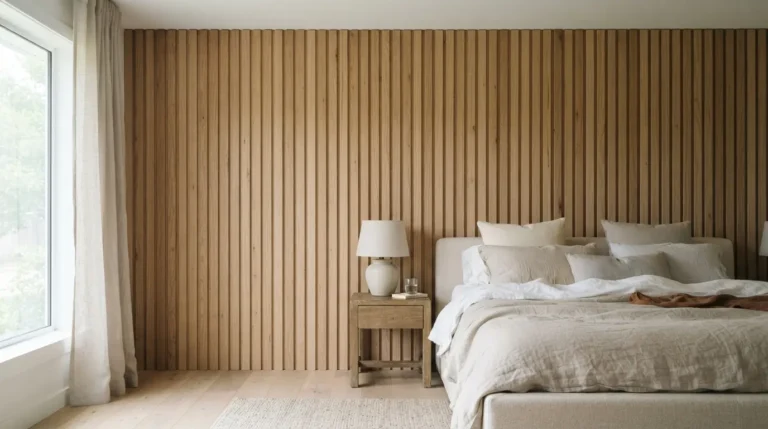
How to Create a DIY Wall Panel Effect with Wooden Mouldings

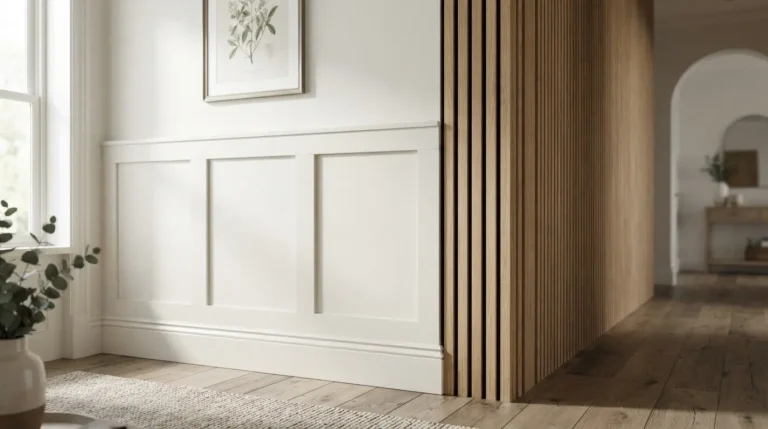
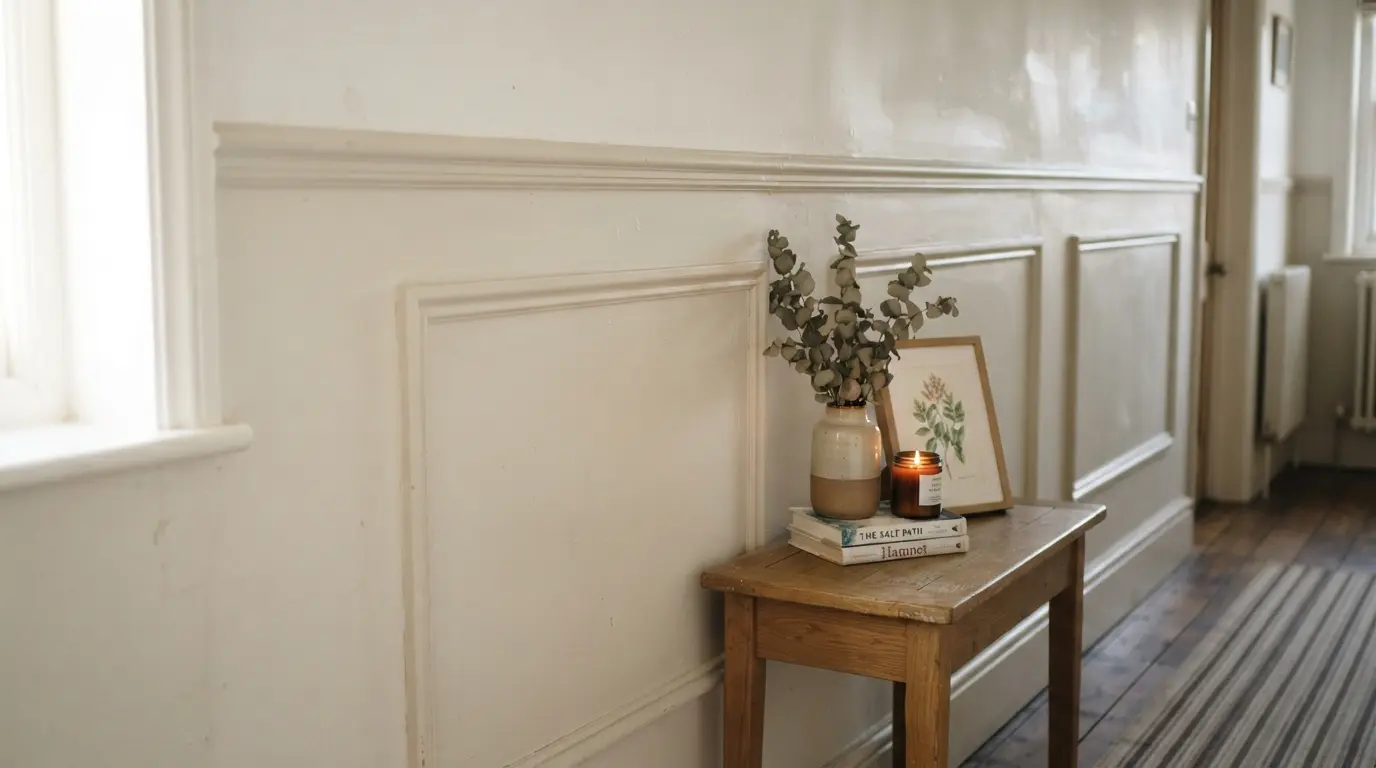
Creating a DIY wall panel effect with wooden mouldings means sticking pre-cut strips of decorative moulding directly onto a flat wall in a rectangular arrangement, rather than building full board or MDF panels from scratch. It’s a genuinely lower-cost, lower-material way to get the same architectural look, and it’s achievable over a weekend even if you’ve never tackled a wall treatment like this before.
Why Moulding Beats Full Panels for a Budget-Friendly Effect
A full MDF or board panelling system needs considerably more material, and therefore more cost, than simply applying moulding directly onto an existing flat wall. Since you’re only adding the beading and any dado rail rather than covering the entire wall surface, you use noticeably less timber overall, which keeps material costs down meaningfully compared with a full panel build. This technique works best on a wall that’s already in reasonably good, flat condition, since you’re relying on the existing surface as your base rather than creating a new one.
Sketch Your Layout on the Wall Before Cutting Anything

Before cutting a single piece of moulding, hold a length of it up against the wall and sketch out your intended layout directly onto the surface, marking where each panel section and any dado rail will sit. This step is genuinely worth taking seriously rather than rushing through, since working out the look by eye first and then confirming the exact measurements afterward saves considerably more time than committing to cuts based on guesswork. Step back and look at the sketched layout from a distance, checking the proportions and spacing feel right before you move on to actually measuring and cutting.
Work Out Your Cutting Angles Properly
For the corner joints where two pieces of moulding meet at an angle, work out your cut using a genuinely simple piece of maths: take the angle you want the corner to form, a standard 90-degree corner, for example, and divide it by two to get the angle each individual piece needs to be cut at, 45 degrees in this case. A tenon saw paired with an angle rule or protractor is genuinely sufficient for this, you don’t need a mitre saw specifically, though one does make the repeated angled cuts faster if you’re tackling a large area with many joints.
Fix the Moulding to the Wall With Adhesive
Once your pieces are cut, fix them to the wall using a strong grip filler adhesive rather than relying on nails alone. If your walls aren’t perfectly flush or flat, and older properties in particular rarely are, adding a few nails alongside the adhesive gives extra security while the adhesive cures, though this step isn’t necessary on a genuinely flat, modern wall. Press each piece firmly into place and hold or support it as needed while the adhesive grips, checking with a spirit level as you go rather than only at the end.
Fill, Caulk, and Prime Before Painting

Let the adhesive fully cure before doing anything further, rushing this step risks pieces shifting slightly once you start working around them. Once secure, apply a decorator’s caulk along every edge and join where the moulding meets the wall, this is what gives the finished panelling a clean, seamless look rather than visible gaps or shadow lines at each joint. Undercoat the whole area, both the moulding itself and the wall surface immediately around it, before moving on to your topcoat, since a proper undercoat gives you a genuinely even base for the final colour to sit on.
Choose Different Finishes Above and Below the Panelling
If you’re panelling only the lower portion of a wall, up to dado height, it’s worth using a different paint finish above and below that line rather than the same one throughout. A standard emulsion works well on the plain wall above, while an eggshell finish on the panelled section below holds up considerably better to daily contact and is genuinely easier to wipe clean, worth prioritising specifically in a hallway, stairwell, or any high-traffic area where the lower wall takes more knocks and marks than the wall above it ever will.
Adapting the Technique for a Staircase or Sloped Wall
This is where the project gets genuinely more involved, but it’s entirely achievable with a bit of extra care. Rather than relying purely on measurements, sketch the layout directly onto the sloped wall with chalk first, using the staircase’s existing lines, the stringer, the step edges, as a rough reference point to align your panelling against. Expect the height of your dado or panel line to differ between the flat section at the bottom of the stairs and the sloped section going up, since keeping a level line consistent against a rising staircase naturally means adjusting the panel height as it travels upward, this difference is normal and expected, not a sign you’ve measured something wrong. Trust your eye alongside your tape measure here, this is one part of the project where working out what genuinely looks right, then confirming the exact numbers, tends to give a better result than trying to calculate every angle before you’ve seen how it sits against the actual staircase.
Common Mistakes to Avoid
The most frequent mistake is skipping the sketch-first step and cutting moulding straight from calculated measurements without ever visualising the layout on the actual wall, which is how proportions end up feeling slightly off despite being technically correct on paper. The second is rushing the caulking step or skipping it on joints that look fine unpainted, gaps that seem negligible before painting often become genuinely visible once a single colour is covering everything. The third is assuming every wall is flat enough for adhesive alone, an older or uneven wall benefits from the extra security of a few nails alongside the adhesive, rather than discovering months later that a piece has come loose.
Final Thoughts
Creating a DIY wall panel effect with wooden mouldings really comes down to sketching your layout properly before cutting, taking the time to caulk every joint cleanly, and being willing to work by eye on any tricky sloped sections rather than forcing pure measurements to fit an uneven reality. Get those details right, and the finished effect will look like genuine architectural panelling, not an obvious DIY shortcut, at a fraction of the cost of a full panel system.
FAQs
What is the cheapest way to create a panelled wall effect?
Applying decorative moulding directly onto an existing flat wall, rather than building full board or MDF panels, is generally the most cost-effective route, since it uses considerably less material than covering the entire wall surface.
Do I need a mitre saw to cut moulding for wall panels?
No, a tenon saw combined with an angle rule or protractor is genuinely sufficient for standard angled cuts. A mitre saw speeds up the process if you’re working on a large area with many repeated joints, but it isn’t essential.
Can I create faux panelling on an uneven or older wall?
Yes, though it’s worth adding a few nails alongside your adhesive for extra security if the wall isn’t perfectly flat, which is common in older properties. On a genuinely flat, modern wall, adhesive alone is usually sufficient.
What paint finish should I use on moulding wall panels?
An eggshell finish on the panelled section holds up better to daily contact and wipes clean more easily than standard emulsion, particularly useful in a hallway or stairwell. A regular emulsion works fine on any plain wall above the panelling line.
How do I panel a sloped wall like a staircase?
Sketch the layout with chalk directly onto the wall first, using the staircase’s existing lines as a rough guide, and expect the panel height to shift gradually between the flat and sloped sections. Working by eye alongside your measurements tends to give a better result than relying on calculations alone.