How to Hang a Curtain Pole Perfectly Step by Step

Hanging a curtain pole perfectly comes down to measuring and marking properly before you drill, checking your wall type so the fixings actually hold, and levelling every bracket before you tighten anything fully. Most crooked, wobbly, or sagging poles trace back to one of these steps being rushed, not to a poor-quality pole itself.
Gather the Right Tools Before You Start
You’ll need a measuring tape, a pencil, a spirit level, a drill with the appropriate bits, wall plugs suited to your wall type, and a screwdriver. Having everything ready before you start, rather than discovering halfway through that you’re missing the right drill bit or wall plug, makes the whole job considerably smoother and genuinely achievable in well under an hour for a standard window.
Measure and Mark the Bracket Positions
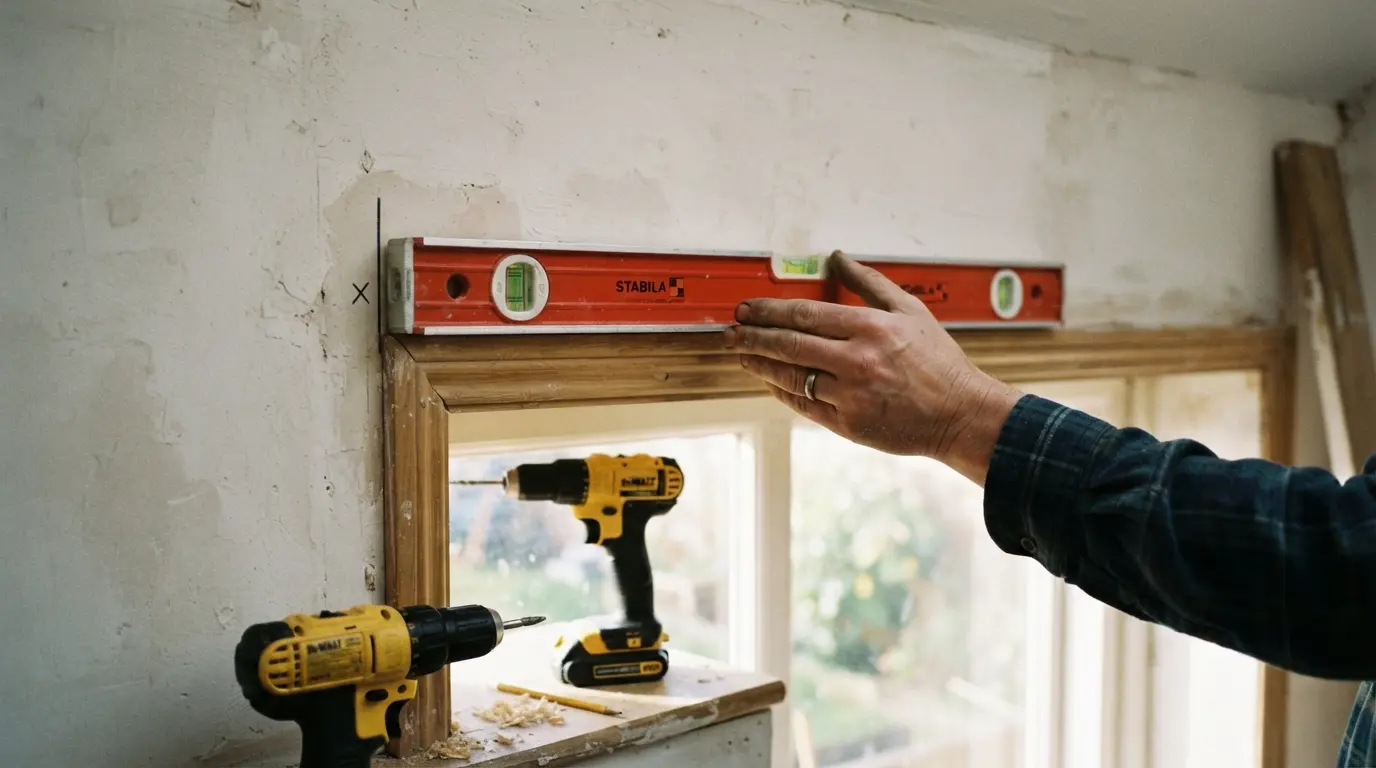
Position your pole roughly 10-20cm above the window frame, and extend it around 10cm beyond each side of the frame, this lets the curtains stack back off the glass when open rather than blocking part of the window. Mark the position of your end brackets at that measurement on both sides, and use your spirit level to check the two marks sit at exactly the same height before you drill anything, an uneven pole is one of the most common and entirely avoidable installation mistakes, and it’s far easier to catch with a level now than to notice once the pole is already up.
Check Your Wall Type Before You Drill
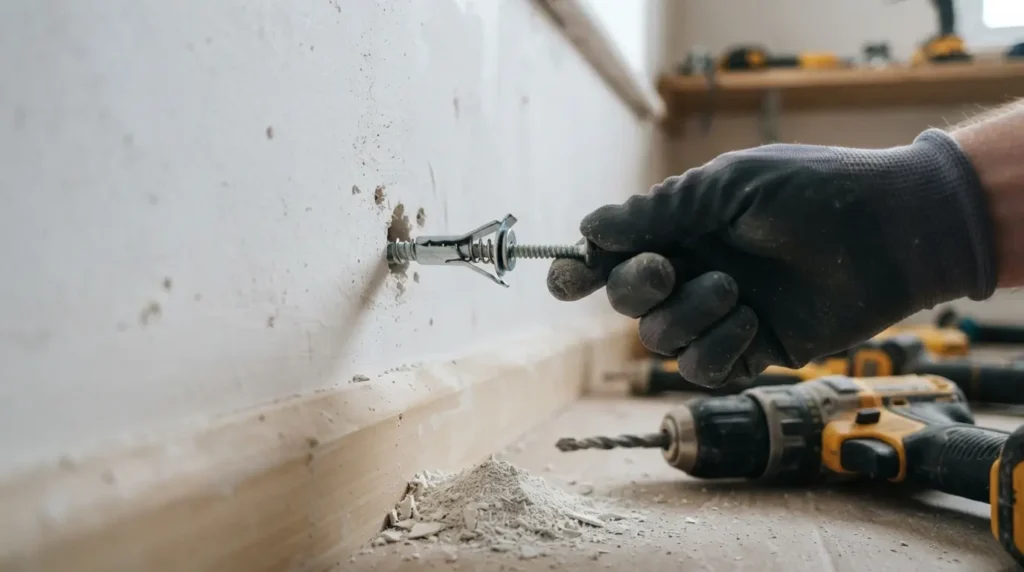
This is the detail most curtain fitting guides skip, and it genuinely determines whether your bracket holds long-term. A solid masonry wall takes a standard wall plug and screw reliably, but a plasterboard wall behaves very differently, standard plugs can pull straight out of the hollow cavity under the weight of a full curtain, particularly a heavier fabric. For plasterboard, use a cavity or toggle fixing specifically rated for the weight of your pole and curtains, or better still, locate the wooden stud behind the board and screw directly into it wherever your bracket position allows. If you’re not sure what’s behind your wall, a stud detector is a worthwhile small investment before you commit to drilling, since getting this wrong is how a bracket ends up pulling loose within months rather than holding for years.
Add a Central Bracket for Wide or Heavy Poles
Once your pole spans wider than around 180cm, or you’re hanging a genuinely heavyweight curtain, a central bracket becomes necessary rather than optional. Without it, a long pole can bow or sag under the curtain’s weight over time, and this is worth planning into your bracket layout from the measuring stage rather than adding as an afterthought once you notice the sag.
Drill, Plug, and Fit the Brackets Level
Drill your marked holes, fit wall plugs if your wall type requires them, and screw the brackets into place, checking with your spirit level again before fully tightening every screw. It’s worth leaving the screws slightly loose until you’ve confirmed every bracket, including any central support, sits level and correctly positioned, since fully tightening one bracket before checking the others can leave you fighting a small but visible misalignment once the pole is fitted.
Fit the Pole and Add Finials
Most bracket designs have a small screw on the bracket’s cup that you loosen to slide the pole into place, then tighten once the pole is sitting correctly. Add any decorative finials to the pole ends the same way, loosening their fixing screw, sliding the finial on, and tightening it in position. Once the pole is resting in all the brackets, do a final check that it’s sitting centrally and level before tightening every bracket screw fully.
Fitting a Track Instead of a Pole
A curtain track follows a similar process with a few differences worth knowing. Position it at the same rough height and width as a pole, roughly 10-20cm above the window and 10cm beyond each side, then mark your end brackets a couple of centimetres in from the track’s own ends. Space any additional brackets along the track evenly, no more than around 50cm apart, since a track relies on more frequent support along its length than a pole typically needs. Once the brackets are fixed and levelled, the track itself usually clips or slides into place, and gliders either clip onto the front of the track or slide on from the end before you hang your curtains.
Fitting a Pole or Track to a Bay Window
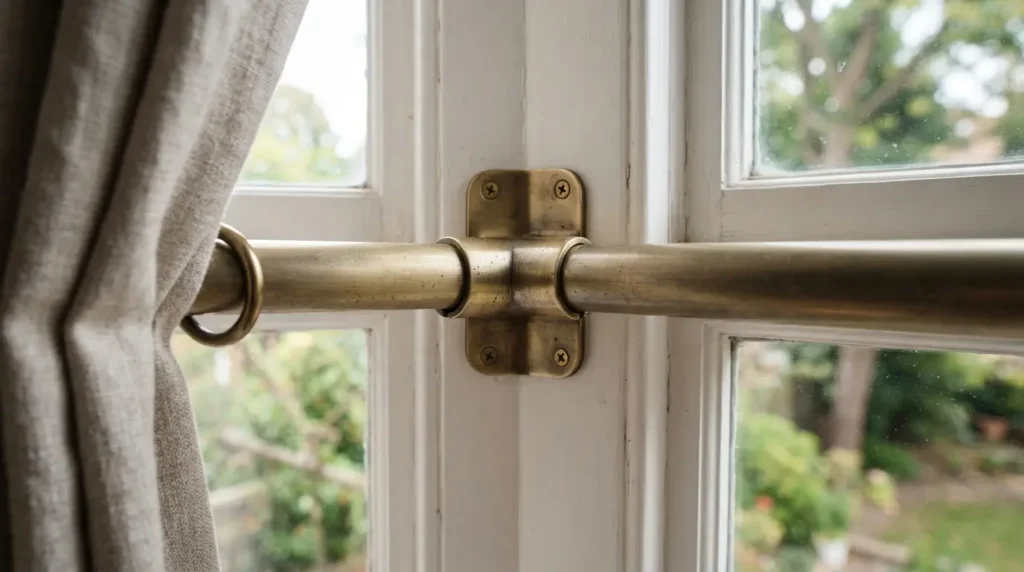
A bay window needs a few extra steps to accommodate its angles, but the payoff is a genuinely smooth, professional finish once it’s done properly. Lay all the pole or track sections out on the floor in front of the window first, this lets you plan your bracket positions accurately before committing to anything on the wall. Standard brackets go at the centre point of the window and at each end, roughly 10cm from where the pole or track will finish, while the special pass-over brackets at the bay’s corners need positioning so the bracket’s centre sits about 4cm to either side of the actual corner joint. Mark every position clearly, drill and fit as with a standard installation, checking each section is level before moving to the next, and fit the pole or track sections into place before adding any finials.
Final Thoughts
Hanging a curtain pole perfectly really comes down to the preparation, measuring and marking properly, checking your wall type, and levelling every bracket before you commit to drilling. Take the time on these steps rather than rushing to get the curtains up, and the finished pole will sit straight, hold securely, and look genuinely professional, not just adequate.
FAQs
How high above the window should a curtain pole be?
Roughly 10-20cm above the window frame is the general guide, giving curtains room to fall properly and stack back cleanly when open. Extend the pole around 10cm beyond each side of the frame as well.
Do I need a central bracket for a curtain pole?
Yes, once the pole spans wider than around 180cm, or if you’re hanging a genuinely heavyweight curtain. Without a central bracket, a long or heavily loaded pole can bow under the weight over time.
What fixings do I need for a plasterboard wall?
Standard wall plugs made for solid masonry aren’t reliable in a hollow plasterboard wall. Use a cavity or toggle fixing rated for your pole’s weight, or fix directly into a wooden stud behind the board wherever your bracket position allows.
How far apart should curtain track brackets be?
Space additional brackets no more than around 50cm apart along the track’s length, beyond the end brackets positioned a couple of centimetres in from each end. A track needs more frequent support than a pole typically does.
Can I fit a curtain pole to a bay window myself?
Yes, with a bit more care than a standard window. Lay the pole sections out on the floor first to plan your bracket positions, pay particular attention to the pass-over brackets at each corner, and check every section is level before moving on to the next.