How to Design a Kitchen from Scratch: A Step-by-Step Guide

To design a kitchen from scratch, start with how you actually use the space rather than style, set a realistic budget with contingency built in, measure the room precisely, then choose a layout, work triangle and storage plan before touching cabinet finishes or colours. Skip this order and you risk the most common regret designers hear: a kitchen that looks great on paper but frustrates you daily because the workflow was never properly thought through.
Start With How You Actually Use the Space
Before any measurements or mood boards, work out what your kitchen needs to do for your household, not just how it should look. This single step shapes every decision that follows, from layout to storage to whether an island even makes sense.
Write down honest answers to a few questions: what frustrates you about your current kitchen, who uses the space and when, and whether it doubles as a dining room, a homework station or an entertaining hub. A kitchen designed around a fantasy of how you might one day cook is different from one designed around how you actually live now, and the gap between those two things is where most kitchen regrets come from.
Set a Realistic Budget Before You Design Anything
A sensible starting point is to budget somewhere between 5% and 20% of your home’s current value, depending on the country and property market, then add a contingency of at least 10 to 15% on top for the unexpected. In the UK, a straightforward budget kitchen typically runs from roughly £5,000 to £10,000, a mid-range supply-and-installation project from around £10,000 to £15,000, and a bespoke or premium kitchen from £20,000 upward, though these figures vary widely by country and specification.
Build your budget around what you’ll actually touch and see every day: cabinet doors, worktops and appliances tend to matter more to daily satisfaction than what’s hidden inside the carcass. If money is tight, it’s often smarter to phase the project, tackling the units and layout now and upgrading a tap or light fitting later, than to compromise on the layout itself, since that’s the one thing that’s genuinely painful to change once it’s installed.
Measure Your Room and Map What You Can’t Move
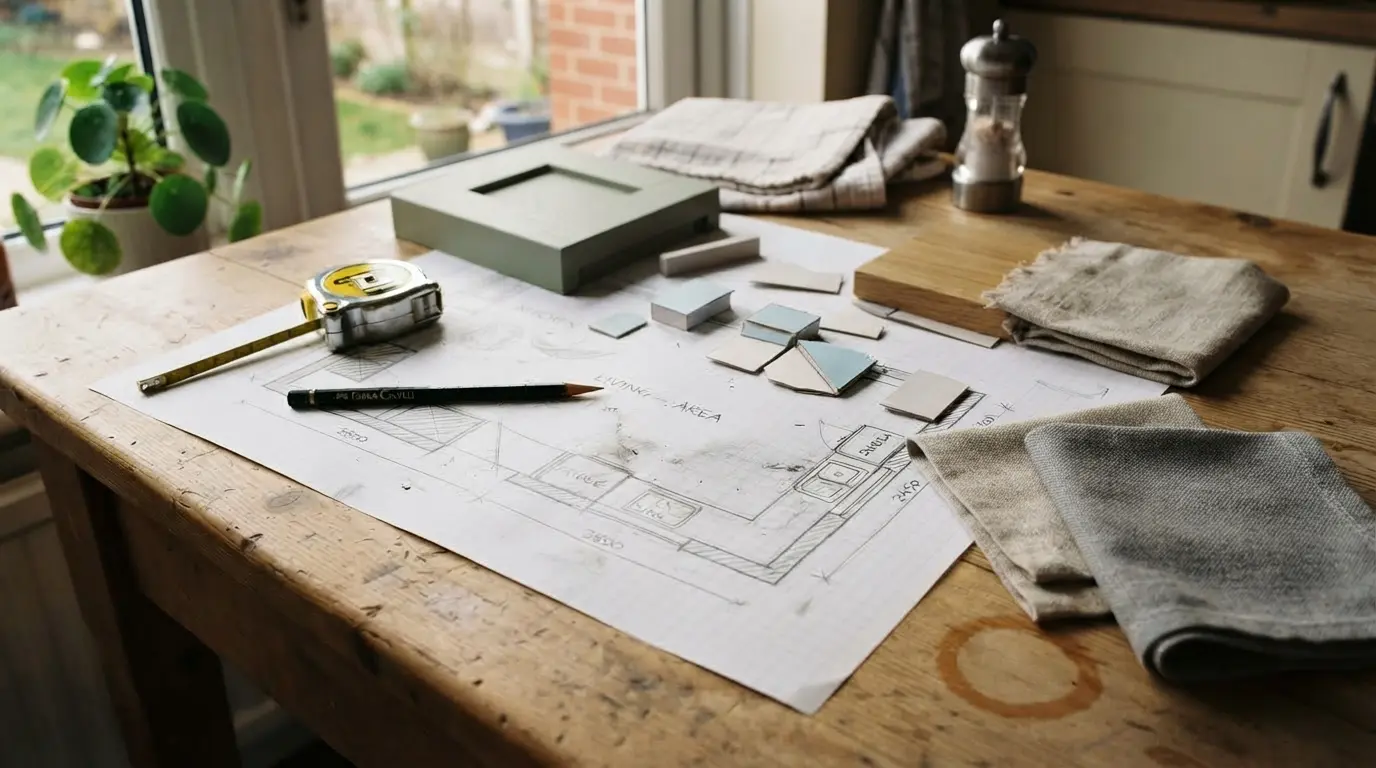
Take a tape measure (or a laser measure, if you have one) to every wall, and record the position of doors, windows, radiators, soil pipes, and your consumer unit or boiler. Note which way doors swing and the ceiling height, especially if it slopes, since all of this dictates what layout and storage will actually fit.
Moving plumbing and electrical points is one of the more expensive parts of a kitchen renovation, so unless you’re doing structural work anyway, it’s usually worth designing around the existing positions of your water and drainage rather than relocating them purely for aesthetics. Draw a simple scaled floor plan, even by hand with squared paper, and consider photocopying it so you can cut out to-scale shapes for cabinets and appliances and physically move them around before committing to anything.
Choose a Layout That Matches Your Room, Not Pinterest
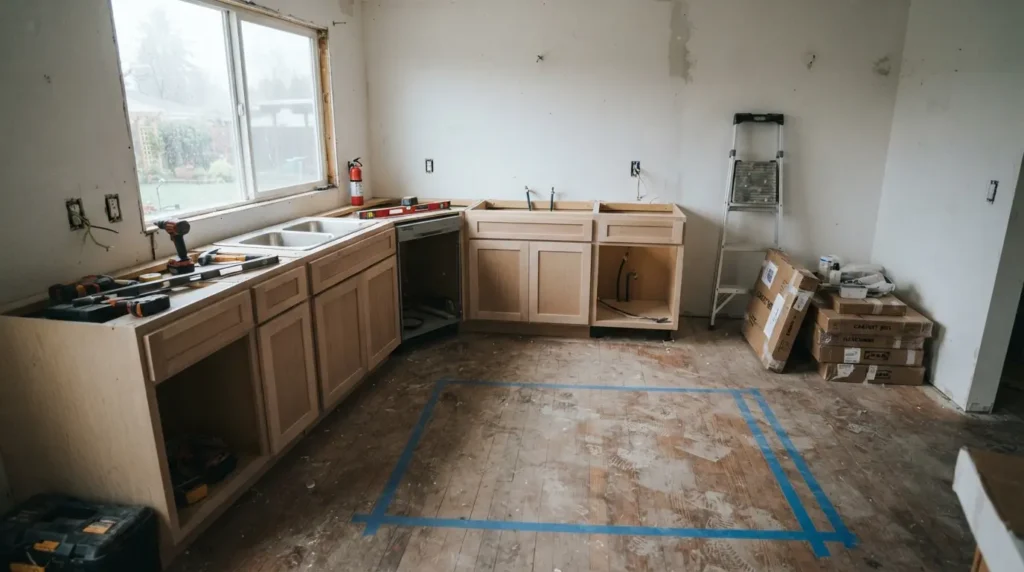
The right kitchen layout depends on your room’s proportions and how many people use the space at once, not on whichever configuration looks best in a magazine. A narrow room generally suits a galley or single-wall layout, a squarer room takes an L-shape or U-shape well, and only a genuinely spacious, open-plan room comfortably supports an island.
| Layout | Best Suited To | Typical Strength | Typical Trade-Off |
| Single-wall | Studios, narrow rooms, open-plan living | Simple, cost-effective | Limited storage, no true work triangle |
| Galley | Long, narrow kitchens | Everything within reach | Tight for more than one cook |
| L-shaped | Small to large, open-plan spaces | Flexible, leaves room for a table or island | Less storage than a U-shape of the same size |
| U-shaped | Medium to large family kitchens | Maximum storage and worktop | Needs real floor space to avoid feeling boxed in |
| Island or peninsula | Open-plan, larger kitchens | Social hub, extra prep space | Needs generous clearance on every side |
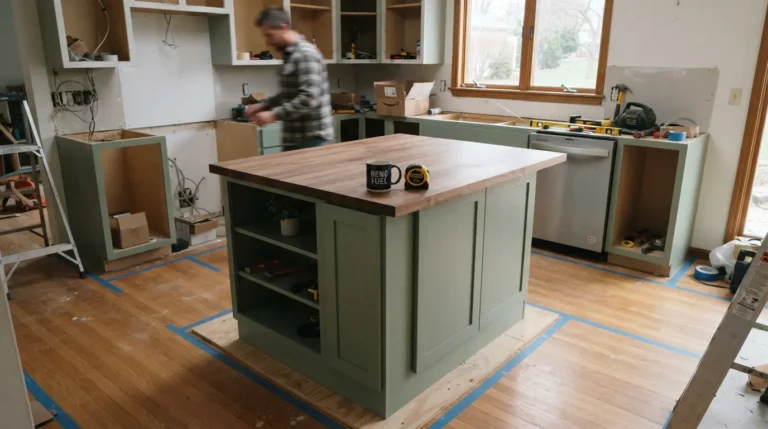
If you’re set on an island, most designers agree you need roughly 90cm to 120cm of clearance on every side, and at least 120cm where an oven or dishwasher door opens into the walkway. An island narrower than about 120cm wide and 60cm deep tends to look cramped and struggles to earn its keep as anything more than a narrow shelf.
Plan the Work Triangle and Kitchen Zones
The classic kitchen work triangle places the sink, hob and fridge at the three points of a rough triangle, with each side ideally around 1.2 metres and no single leg longer than about 2.4 metres. This isn’t a rigid rule so much as a sanity check: if fetching a pan from the fridge, filling it at the sink and reaching the hob involves crossing the room three times, the layout needs rethinking.
Beyond the triangle, break the kitchen into rough zones, prep, cooking, cleaning and storage, and design around them. Keep the dishwasher next to the sink so scraping and rinsing flows straight into loading, and position bins where they’re genuinely useful rather than tucked in a far corner. A good rule of thumb is to locate the dishwasher at the end of a run of units rather than in the middle, since an open door there won’t block anyone walking past.
Get Extraction, Plumbing and Electrics Right Early
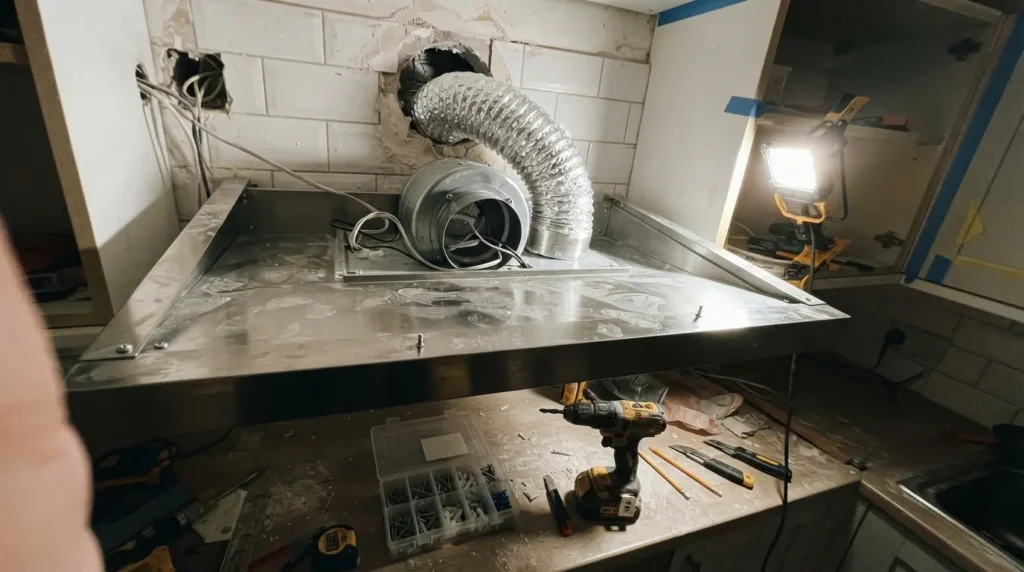
Ventilation is one of the areas fetched sources consistently flag as the thing people leave too late. Retrofitting an extractor hood after cabinets are installed is far harder and messier than planning the ducting route to an external wall from the outset, and countertop extraction systems that sit flush with a worktop are worth investigating if a traditional hood won’t work with your layout.
The same goes for electrics and plumbing generally. List every appliance that needs a socket and add a few spares for anything you’ll add later, check whether your consumer unit has spare capacity for new circuits, and decide early whether an island will need its own water and power run beneath the floor. Any of this involving gas or new circuits needs a qualified, registered tradesperson rather than a DIY attempt, both for safety and to keep any appliance warranties valid.
Nail Down Storage Before You Pick a Single Cabinet
Most people underestimate how much storage they actually need until they’ve emptied every cupboard in their current kitchen and made a list of what has to go somewhere. Do that audit before finalising cabinet sizes, since it’s far easier to plan a home for everything now than to discover six months in that there’s nowhere for the slow cooker.
Favour deep drawers over base cupboards for pots and pans, since you can see everything at a glance rather than kneeling to dig at the back, and use tall larder units or carousel corner units to claim awkward space that would otherwise be wasted. Open shelving looks good in photos and works well for items you use often or don’t mind on display, but it does need regular dusting and a degree of tidiness that not every household wants to maintain long-term.
Choose Materials That Match Your Lifestyle, Not Just Your Eye
Worktop and flooring choices should hold up to how you actually cook, not just look good in a showroom. Quartz and porcelain resist stains and scratches with minimal upkeep and suit busy family kitchens well; natural stone like marble or granite looks beautiful but is more porous, generally needs periodic sealing, and can etch from acidic spills; solid wood worktops add warmth but need regular oiling and careful protection around the sink.
The same logic applies to cabinet colours and flooring: pale, neutral tones tend to age better and hold resale appeal than a heavily trend-led palette, though a bold island or a two-tone scheme can add personality without committing the whole room to a fashion that dates within a few years.
Plan Lighting in Layers
Good kitchen lighting works in three layers: ambient lighting for general illumination, task lighting under wall units to properly light worktops for chopping and prep, and accent lighting to add warmth over open shelving or a kitchen island. Planning this before the ceiling is closed up and the units are fitted matters, because retrofitting sockets and switch drops afterward is disruptive and expensive.
Build In a Realistic Timeline
A full kitchen project, from the first design conversation to a finished installation, typically takes somewhere between three and six months, and most of that time sits in design, ordering and manufacturing lead times rather than the physical fit.
| Stage | Typical Duration |
| Initial consultation and design | 2 to 4 weeks |
| Revisions and finalising the design | 2 to 4 weeks |
| Ordering and manufacturing lead time | 6 to 12 weeks |
| Preparatory work (electrics, plumbing, structural) | 1 to 2 weeks, if required |
| Installation | 1 to 3 weeks |
Set up a temporary cooking area with a kettle, microwave and small fridge before the old kitchen comes out, and expect to live without a proper kitchen for one to three weeks during the installation itself. Planning permission generally isn’t needed for a like-for-like kitchen replacement, but building regulations can still apply to electrical work, drainage changes or any structural alteration, so check with your local authority if your project goes beyond a straightforward swap.
Conclusion
Learning how to design a kitchen from scratch comes down to sequencing: understand how you’ll use the space, set a real budget, measure precisely, then work through layout, work triangle, storage, materials and lighting in that order rather than starting with colours and finishes. Get the layout and the practical infrastructure right first, and the aesthetic choices become far easier and far less likely to be undone by a workflow problem you didn’t see coming. Take your time on the planning stage in particular, since it costs nothing extra and is the single biggest factor in whether you love your kitchen in five years or wish you’d done it differently.
FAQs
How much does it cost to design a kitchen from scratch?
Costs vary enormously by country and specification, but as a rough guide, budget kitchens typically start around £5,000 to £10,000, mid-range supply-and-fit projects run £10,000 to £15,000, and bespoke or premium kitchens start from £20,000 and climb depending on materials. Always add a contingency of 10 to 15% on top for unexpected costs.
How long does it take to design and install a new kitchen?
Most full projects take three to six months from the first design conversation to a finished installation, with the bulk of that time spent on design revisions and manufacturing lead times rather than the physical fit, which usually takes one to three weeks.
What is the most important thing to get right when designing a kitchen?
The layout and work triangle matter more than any single material or finish choice, since a poor layout creates daily friction that no amount of nice cabinetry can fix. Measuring the room accurately and planning extraction, plumbing and electrics before finalising cabinets is what prevents expensive changes later.
Do I need planning permission to design a new kitchen?
In most cases, no, a like-for-like kitchen replacement falls within permitted development. You may need approval if you’re removing a structural wall, extending the property, changing window sizes, or working on a listed building or a property in a conservation area, so it’s worth checking with your local authority if your project goes beyond a straightforward refit.
Should I hire a kitchen designer or plan it myself?
Planning a rough layout yourself is a useful first step and helps you communicate clearly with a professional, but a kitchen designer brings 3D visualisation, corner-storage solutions and a trained eye for workflow issues that are easy to miss on paper. Many companies offer a free initial design consultation, which is worth using even if you’re still at an early, undecided stage.