How to Add a Breakfast Bar to Your Kitchen

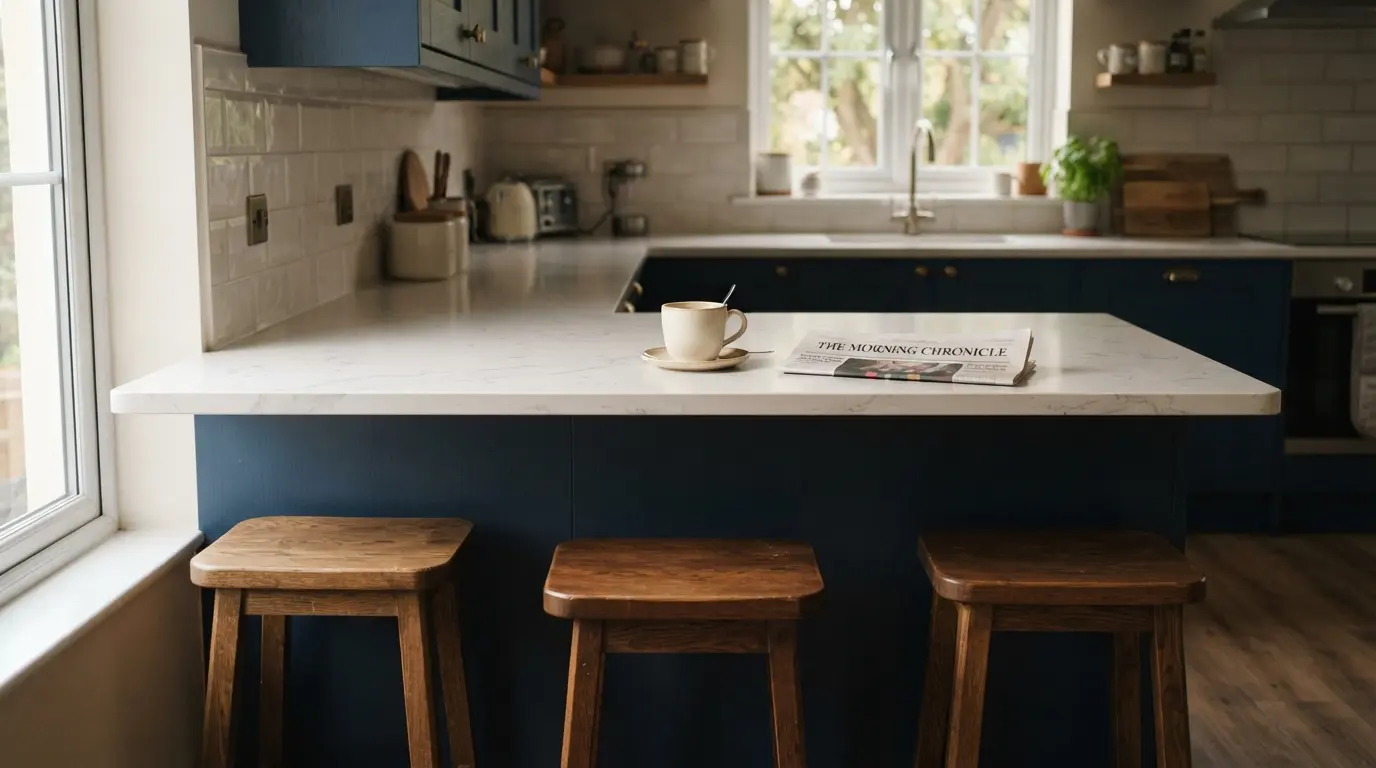
Adding a breakfast bar to your kitchen usually means extending an existing worktop, building a peninsula off a run of units, or fitting a slim wall-mounted counter with an overhang for stool seating, then getting the height, clearance and stool spacing right so it’s genuinely comfortable to use. It’s one of the few kitchen upgrades that adds real everyday function without swallowing your floor plan.
Most breakfast bar content shows you fifty styled photos and stops there. What it skips is the part that decides whether yours actually works: how much overhang your knees need, how close you can put it to the hob without breaking your workflow, and what a laminate or butcher block top looks like after two years of coffee rings and hot pans, not two days. If you want to add a breakfast bar that still functions well in year three, here’s the practical version.
What Counts as a Breakfast Bar (And Which Type Suits Your Kitchen)
A breakfast bar is a raised or standard-height counter with an overhang deep enough for stool seating, built as an extension of existing worktop or cabinetry rather than a standalone table. It differs from an island mainly in scale: a bar can be a slim wall-mounted shelf, while an island is a freestanding unit usable from every side.
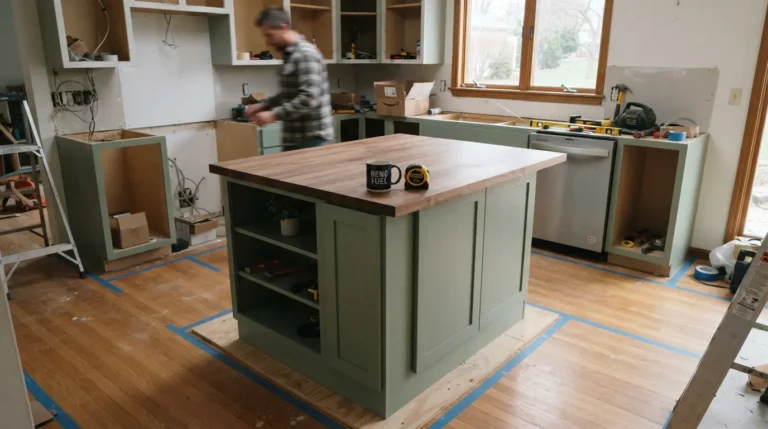
The layouts that come up most often when homeowners plan to add breakfast bar space are a peninsula extending from a run of units, a floating or wall-mounted bar fixed with concealed brackets, an island breakfast bar built with an overhang, a corner bar tucked into an awkward angle, and a fold-down or pull-out surface for kitchens with no spare floor at all. Which one fits depends almost entirely on your existing layout, not on which look you prefer in photos.
Check Your Space and Kitchen Layout Before You Commit
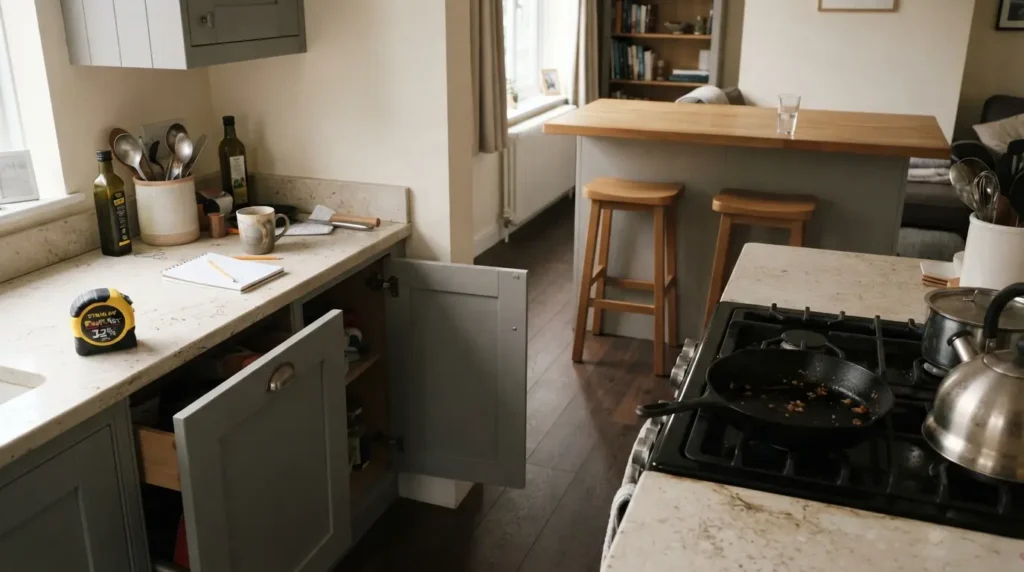
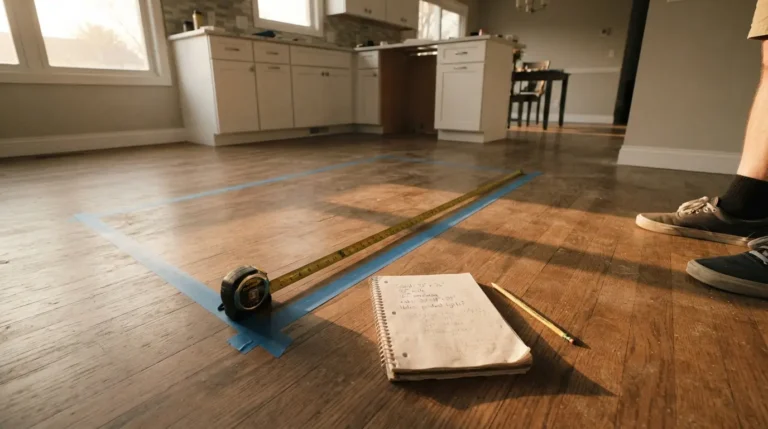
Before choosing a style, measure your available floor space and check how a breakfast bar will sit against your golden triangle, the working relationship between hob, sink and fridge. A bar that blocks that flow will annoy you within a week, however good it looks finished.
Leave clear walkways of at least 90cm to 100cm around any bar with seating, more if it sits on a route between the cooking zone and the rest of the kitchen. If you’re extending from a run of units into a peninsula, check that adjacent cabinet doors and drawers can still open fully once stools are pulled out. This is the single most common oversight in breakfast bar extension plans: the bar itself fits, but nobody checks whether the dishwasher door can open with someone sitting on the end stool.
Think about which direction the seating faces too. Positioning stools to face the hob or main work area lets whoever’s sitting there chat with whoever’s cooking, which is usually the entire point of adding one.
Choose Your Breakfast Bar Style
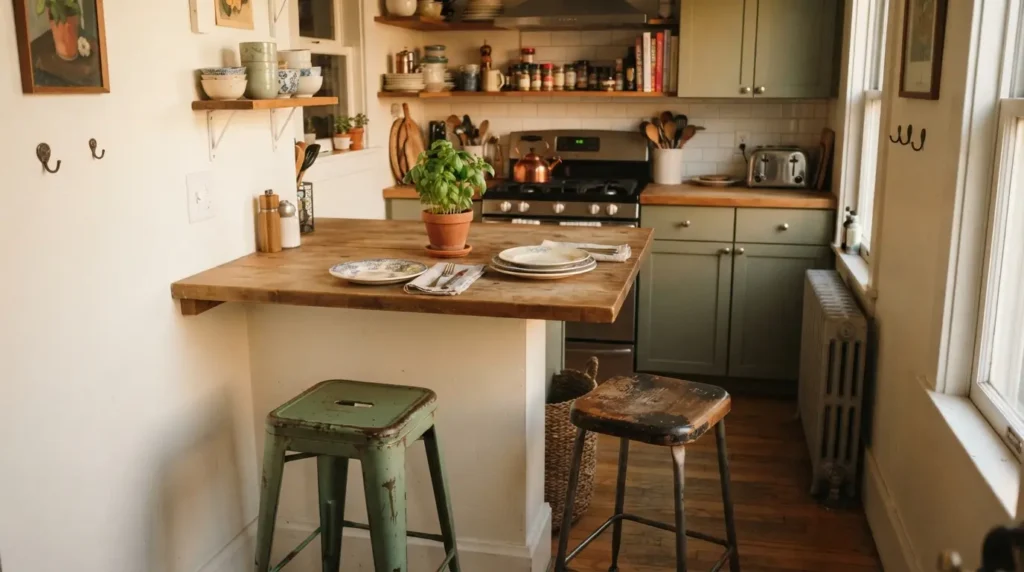
Once you know your available space, match it to a kitchen breakfast bar guide style rather than starting from a photo you liked.
Peninsula: extends from an existing run of units, gives you worktop on three sides, and works well where you want a defined boundary between kitchen and living space without a full wall.
Floating or wall-mounted bar: a slim timber or engineered stone top fixed with concealed brackets, no visible legs. Best in galley kitchens or anywhere floor space is genuinely tight, since it visually disappears more than a peninsula does.
Island breakfast bar: a freestanding unit with an overhang built in, usable from multiple sides. Needs the most floor space by some distance, generally at least 1.2 metres of clearance on every side for movement and seating.
Corner or L-shaped bar: makes use of an awkward angle that would otherwise be dead space, and creates a naturally cosy nook for one or two people rather than a full dining setup.
Fold-down or pull-out surface: hinges or slides away when not needed. The right call for very small kitchens or rented spaces, though it’s the option most likely to feel like a compromise rather than a proper seating spot.
Get the Height, Overhang and Stool Spacing Right
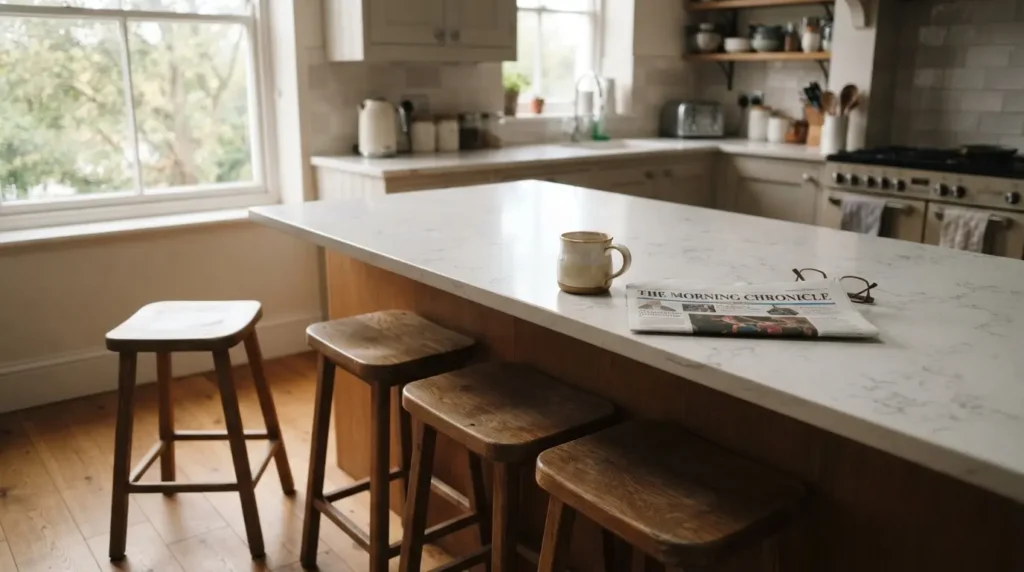
Getting these three measurements right is what separates a breakfast bar people actually use from one that just looks good empty.
- Set the counter height to match your layout. Standard worktop height (roughly 90cm) suits a bar built at the same level as the rest of your counters. A raised bar (around 105-110cm) needs tall stools but creates a clearer visual break between kitchen and seating area.
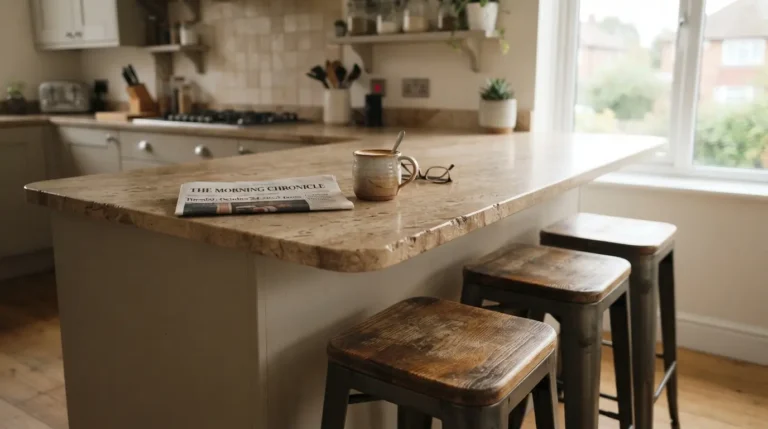
- Give at least 25-30cm of overhang so knees clear the cabinet or support beneath. Anything less and sitting there for more than ten minutes gets uncomfortable.
- Allow roughly 60cm of width per stool, even in a small kitchen. Squeezing stools closer looks fine in a render but means elbows knocking constantly in real use.
- Leave 75-90cm of clearance behind each stool for someone to walk past while others are seated, more if it’s on a main thoroughfare.
- Check the overhang can bear weight without support brackets beyond about 30cm. Longer overhangs need a corbel, leg, or bracket underneath, or the worktop material and thickness need to be rated for it.
Pick a Worktop Material That Can Take Daily Use

| Material | Look | Durability Reality | Approximate Cost* |
| Quartz | Consistent pattern, wide colour range | Very hard-wearing, resists stains and scratches well, doesn’t need sealing | Mid to high |
| Granite | Natural stone, unique veining | Extremely durable but needs periodic resealing to stay stain-resistant | Mid to high |
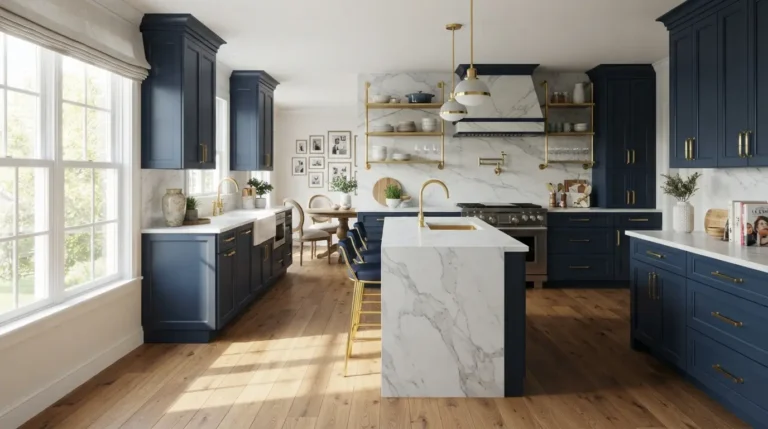
| Marble | Classic, high-end look | Beautiful when new but etches and stains easily from acidic spills like lemon or wine, needs regular sealing | High |
| Solid wood/butcher block | Warm, natural texture | Can be sanded back to remove scratches and burns, but needs oiling periodically and isn’t ideal right next to a hob or sink | Mid |
| Laminate | Wide style range, budget-friendly | Good value and easy to clean, but chips at edges over time and can’t be repaired like stone or wood | Low to mid |
*Costs are approximate per linear metre and vary significantly by country, thickness, and supplier.
The trade-off most people don’t hear until they’ve already ordered: marble photographs beautifully and is genuinely popular for breakfast bars because the veining reads well close-up, but it’s the highest-maintenance option on this list by some distance. If the bar will see daily coffee, toast and the odd wine glass, quartz or a well-sealed granite tends to hold up with far less upkeep. A good rule of thumb from projects I’ve worked on: choose the material for how it survives a Tuesday morning, not how it looks in a Saturday photo.
Add Storage Underneath Without Losing Legroom
A breakfast bar with integrated storage underneath earns its footprint twice over, but only if the storage doesn’t eat into the knee space stools need. Shallow drawers or a run of low cupboards on the non-seating side of a peninsula work well, since they don’t compete with anyone’s legs.
For a floating or wall-mounted bar, open shelving beneath is often more practical than doors, since you can slot cookbooks, glassware or everyday crockery within reach without needing floor clearance for a cupboard door to swing. Avoid deep base units directly under the overhang on the seating side; they’re the main reason people end up sitting sideways at their own breakfast bar.
Cost and Timeline to Add a Breakfast Bar
- Extending an existing worktop into a small peninsula or floating bar: typically £300 to £900 for materials and fitting on a straightforward job, more if new cabinetry or plumbing relocation is involved. Timeline: often a single day once the worktop is cut and delivered, though stone worktops usually need a template visit first and a wait of one to two weeks for fabrication.
- Full island breakfast bar with new cabinetry: costs vary widely by size and material but commonly run from £1,500 up to £5,000 or more for a bespoke stone-topped unit. Timeline: a few days for installation, plus lead time for cabinetry and worktop fabrication that can stretch the whole project to several weeks.
- Adding a breakfast bar as part of a wider kitchen remodel: it’s common for a breakfast bar to add somewhere around 10 to 15 percent to a small kitchen renovation budget rather than being priced as a standalone item, since electrics, flooring and cabinetry runs often need adjusting to suit.
A mistake I see often: people budget for the worktop and stools but forget the unglamorous parts, extra sockets if the bar will double as a work-from-home spot, and reinforcing the floor or wall fixings if it’s a genuinely long overhang or a heavy stone top. Those costs are easy to miss until the fitter flags them on the day.
Common Mistakes When Fitting a Breakfast Bar
Skipping the overhang-support check. A long overhang without a bracket, corbel or leg underneath can crack under weight over time, especially with quartz or laminate. Stone in particular needs proper support past roughly 30cm of unsupported overhang.
Choosing stool height before confirming counter height. Ordering stools before the worktop is finalised is one of the most common ordering errors; the two need to be measured together, not guessed separately.
Blocking the golden triangle. A bar that looks striking in a render but sits directly in the path between hob and sink turns into a daily irritation almost immediately.
Underestimating how much a marble or natural stone top will show wear. It looks stunning on day one; by month six, etch marks near where mugs and glasses sit are common if it isn’t sealed and cared for properly.
Overcrowding stool spacing to fit “one more seat.” Squeezing in an extra stool below the 60cm-per-person guide almost always gets used less than a properly spaced bar with one fewer seat.
Conclusion
Learning how to add a breakfast bar to your kitchen really comes down to three decisions: which layout suits your available space, whether your chosen worktop material can survive daily use rather than just photographing well, and getting the height, overhang and stool spacing right before you order anything. Get those three right and the styling choices, colours, stools, lighting, are the easy part that comes after. Measure your space properly first, and the rest of the project gets a lot less stressful.
FAQs
How much space do I need for a breakfast bar?
As a minimum, budget around 60cm of width per stool plus 75-90cm of clearance behind each seat for walking room. A floating or corner bar can work in tighter kitchens than a full island, which typically needs at least 1.2 metres of clearance on every side.
Can I fit a breakfast bar in a small kitchen?
Yes. Floating, wall-mounted, corner and fold-down bars are specifically suited to small kitchens, since they add seating without needing the floor space a full island requires.
What is the standard height for a breakfast bar?
Most breakfast bars sit either at standard worktop height (around 90cm, paired with regular kitchen chairs or low stools) or raised height (around 105-110cm, paired with bar stools). The choice depends on whether the bar is level with the rest of your worktop or built as a distinct raised section.
What’s the best worktop material for a breakfast bar?
Quartz and well-sealed granite tend to offer the best balance of durability and low maintenance for daily use. Wood adds warmth and can be resanded, laminate is the most budget-friendly, and marble looks striking but needs the most careful upkeep.
Do I need a professional to fit a breakfast bar, or can I DIY it?
Extending an existing laminate worktop into a simple bar is achievable as a DIY project for someone comfortable with basic carpentry. Anything involving stone worktops, structural support for a long overhang, or new plumbing or electrics is worth having a professional fitter handle, both for safety and for getting the overhang support right.