How to Plan and Layout a Gallery Wall Before Hanging

Planning the layout of a gallery wall on paper or with templates stops you drilling unnecessary holes and makes the finished arrangement look considered. Measure the usable wall first, decide the overall footprint, then mock up the positions before any frame goes near the wall. In UK homes the wall may not be square and furniture often dictates the width, so the plan has to respond to those limits. See our living room feature wall ideas for more context on how the gallery sits in the room.
Start with Wall and Furniture Measurements
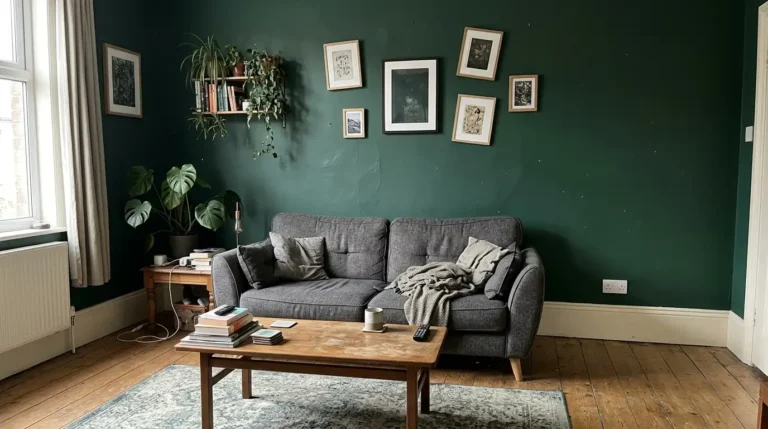
Record the clear wall width and height, noting any skirting, picture rail, light switches or door frames that reduce the usable area. If the gallery sits above a sofa or sideboard, measure the furniture width and keep the total gallery width to two thirds or three quarters of that measurement so it feels anchored. A typical three-seater sofa around 200 cm wide supports a gallery of 130 to 150 cm wide. Leave at least 15 cm between the top of the furniture and the lowest frame. Measure in more than one place because walls and floors are rarely perfectly level. Note the height of any existing picture rail so you can decide whether the gallery sits below it.
Choose a Layout Type That Fits the Space
A grid of identical frames gives a calm, ordered look and is easier to plan because every gap is the same. An organic or salon-style arrangement uses mixed sizes and orientations around one larger anchor piece and feels more collected. A linear row works well above a long sideboard or along a hallway. For a small wall, a three or five piece arrangement is usually enough. Sketch the chosen layout roughly on paper first so you can see whether the proportions suit the wall before you cut any templates. Consider the light in the room: darker walls can take denser arrangements while light walls benefit from more breathing room.
Use Paper Templates to Test the Arrangement
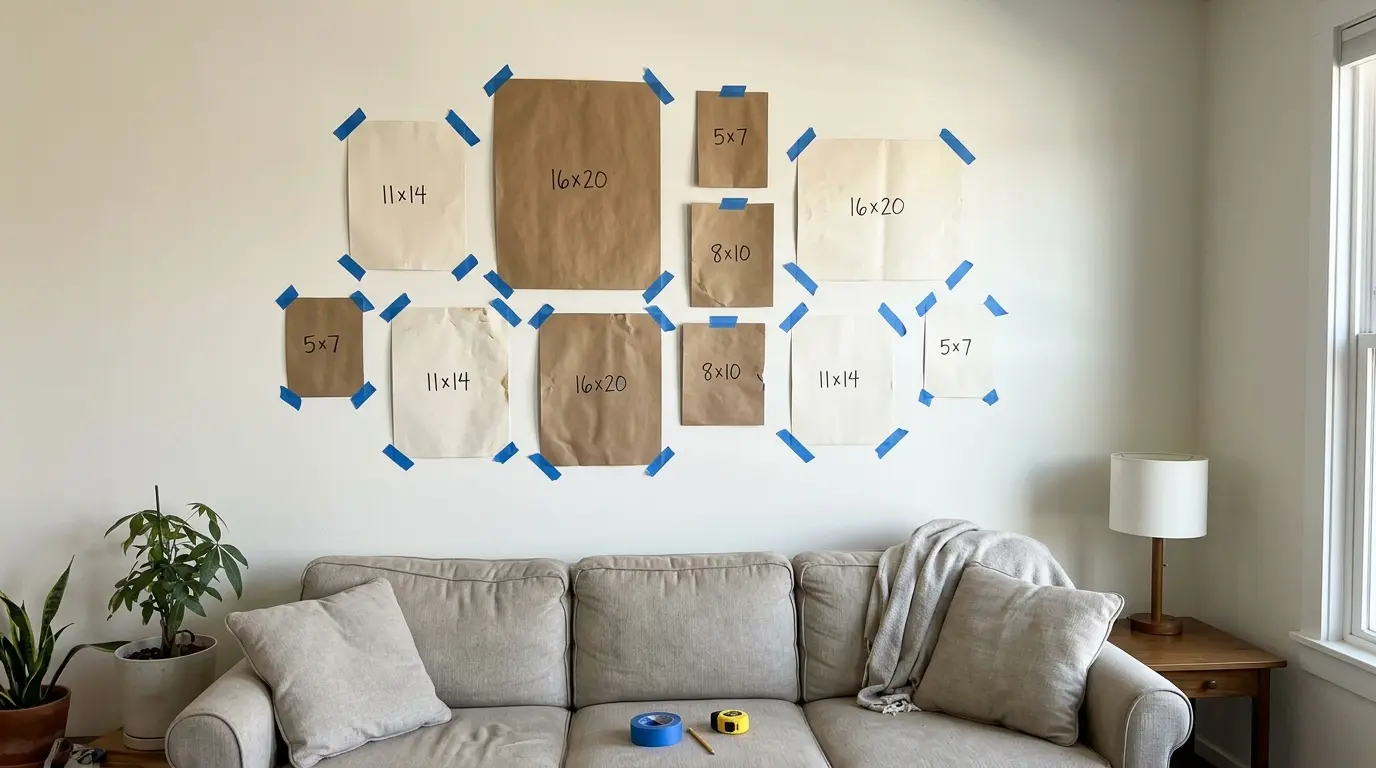
Cut brown paper or old wrapping paper to the exact outer dimensions of each frame and tape the templates to the wall with low-tack tape. Move them around until the spacing looks even and the group feels balanced from the usual viewing position. Live with the templates for at least a few hours or overnight. This method reveals whether a tall frame blocks a light switch or whether the whole arrangement sits too high for seated viewing. Photograph the final template layout so you have a reference when you start hanging. Label each template with the frame size so you do not mix them up.
Set Consistent Spacing and Eye-Level Centre
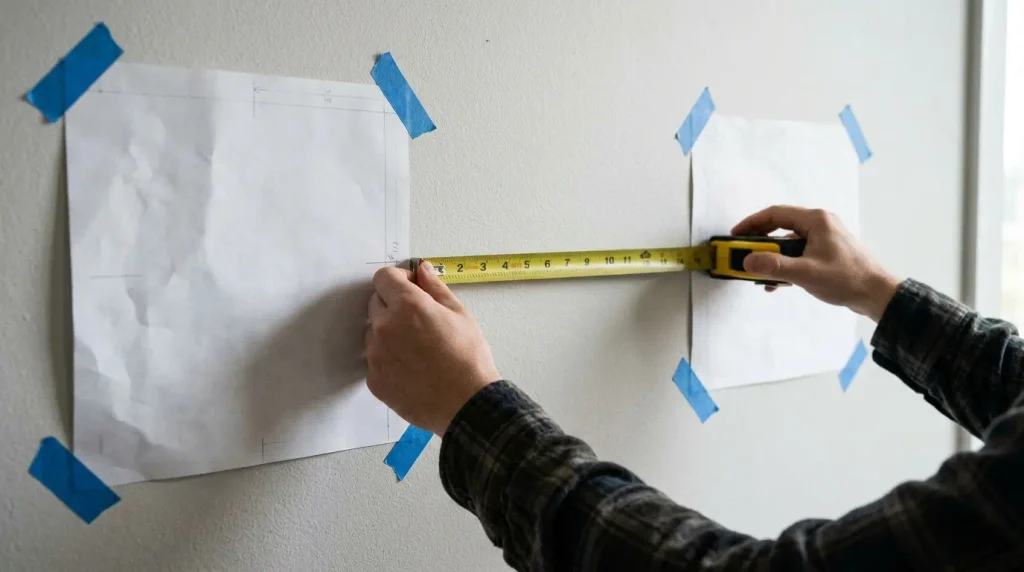
Keep the gap between every neighbouring frame the same, typically 5 to 8 cm on residential walls. The centre of the entire arrangement should sit around 145 to 150 cm from the floor so it meets average eye level. On a hallway you can push the centre slightly higher. Mark the centre height on the wall with a light pencil line or a strip of tape before you position the templates. Consistent spacing is what makes mixed frames look intentional rather than random. Use a long spirit level or laser level to confirm the horizontal alignment of the whole group.
Check Clearances and Obstacles
Confirm that no frame will cover a socket, switch or thermostat. Leave enough clearance so doors and windows open fully without hitting frames. If the wall has a picture rail, decide whether the gallery sits below it or whether you will remove the rail. Note any unevenness in the wall so you can pack out frames slightly if needed. In older properties, check for damp or loose plaster before committing to multiple fixings. Measure the swing of any nearby door to make sure the lowest frame stays clear.
Calculate the Finished Footprint Before Buying
Add the frame widths plus the planned gaps to get the total width, then do the same for height. For example, three 40 cm wide frames with two 6 cm gaps need 132 cm of wall. Compare that figure with the usable space you measured. If the total exceeds the clear area, reduce the number of frames or choose smaller sizes. Order samples of the largest and smallest frames so you can confirm the real outer dimensions match the templates. Ask the supplier for the exact outer measurement including the moulding.
Plan for Lighting and Viewing Angle
Consider where the main light falls and whether picture lights or adjustable lamps will be needed. A gallery that looks good in daylight can disappear under a single ceiling light. Stand in the usual seats and check that the centre of the arrangement is visible without craning your neck. If the room has a bay window, note how the light moves so you can avoid placing the most detailed prints in permanent shadow.
Common Planning Mistakes
Starting with the frames you already own without measuring the wall leads to overcrowding. Ignoring the furniture below makes the gallery float. Changing spacing halfway through the template stage creates uneven gaps that are hard to correct later. Skipping the overnight test means you only notice problems after the holes are drilled. Forgetting to check the wall type for suitable fixings can leave frames insecure.
Conclusion
A gallery wall that looks balanced starts with accurate measurements of the wall and the furniture below it, a chosen layout type, and paper templates that you live with before any nails go in. Set one consistent gap and one clear centre height, then check clearances and lighting. The time spent planning is shorter than filling and repainting extra holes.
FAQs
How do I plan a gallery wall layout?
Measure the usable wall, choose a layout type, cut paper templates to the frame sizes and tape them up for a day before hanging anything.
What is the best spacing for a gallery wall?
A consistent gap of 5 to 8 cm works for most UK rooms. Keep it the same between every frame.
Should the gallery wall match the furniture width?
Yes, aim for the total gallery width to be two thirds to three quarters of the sofa or sideboard below it so the group feels connected.
How long should I leave the templates up?
At least a few hours, ideally overnight, so you can check the arrangement in different lights and from the main seating positions.