How to Paint a Front Door for a Perfect Finish

Painting a front door for a perfect finish comes down to choosing the right paint type for your specific door material, preparing the surface thoroughly, and following the correct painting order for your door style, panelled or flush. Most front doors that end up with visible brush marks or an uneven, patchy finish weren’t let down by the paint colour, they were let down by rushed prep or painting in the wrong sequence.
Choose the Right Finish for Your Front Door
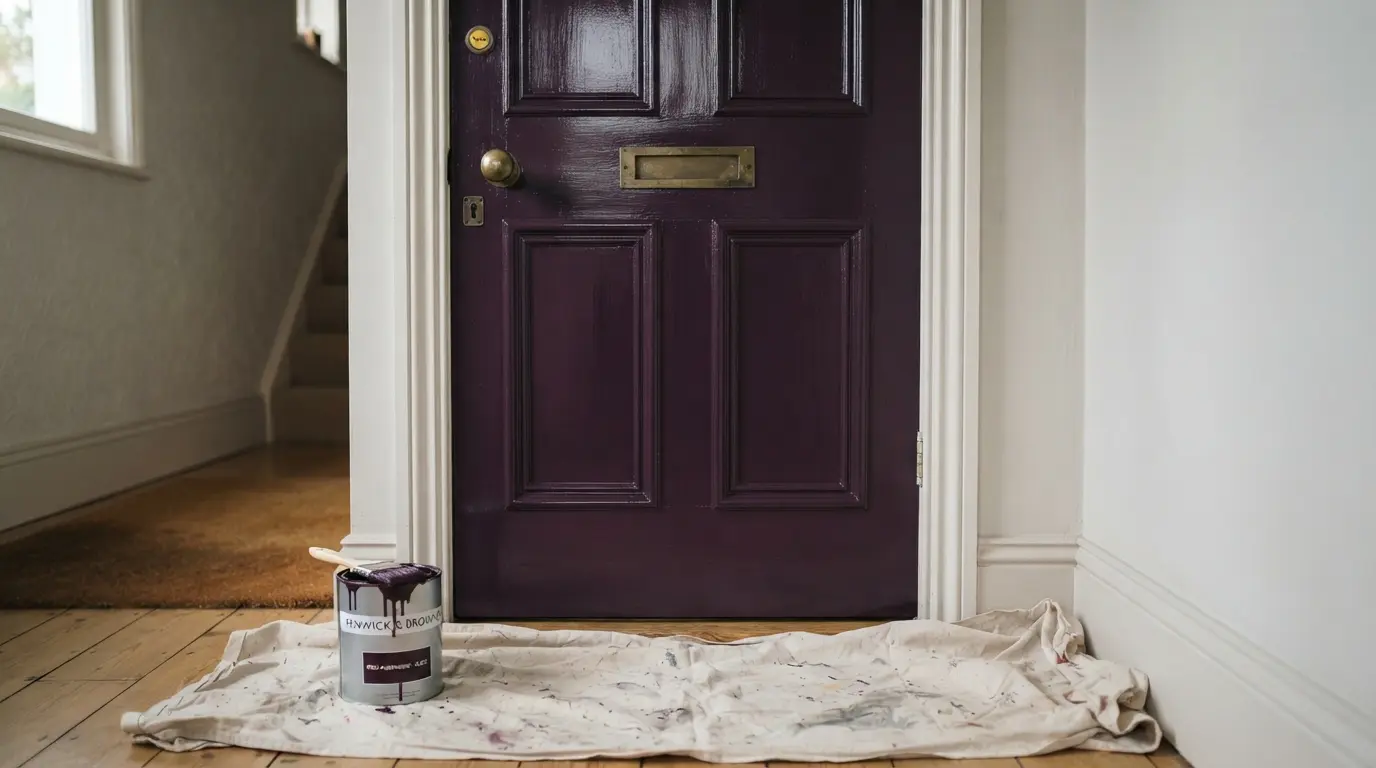
Exterior eggshell and gloss are both genuinely suitable finishes for a front door, and the choice comes down to how much sheen you actually want. A flatter eggshell finish, typically around 15% sheen, gives a softer, more understated look, while a gloss finish, sitting closer to 87-90% sheen, reads as considerably smarter and more polished, particularly effective on darker colours where the higher sheen really shows off the depth of the shade. Either way, choose a genuinely exterior-grade paint rather than an interior product, since a front door needs to handle weather exposure an interior door never faces.
Gather the Right Materials Before You Start
Before you begin, you’ll need a suitable primer, your chosen exterior topcoat, dust sheets to protect the surrounding area, medium grit sandpaper, a screwdriver or drill for removing fittings, and a genuinely good quality paintbrush. Skimping on the brush specifically is a false economy, a poor-quality brush sheds bristles and applies paint unevenly, undermining even careful prep work and a good paint choice.
Prepare a Wooden Front Door Properly
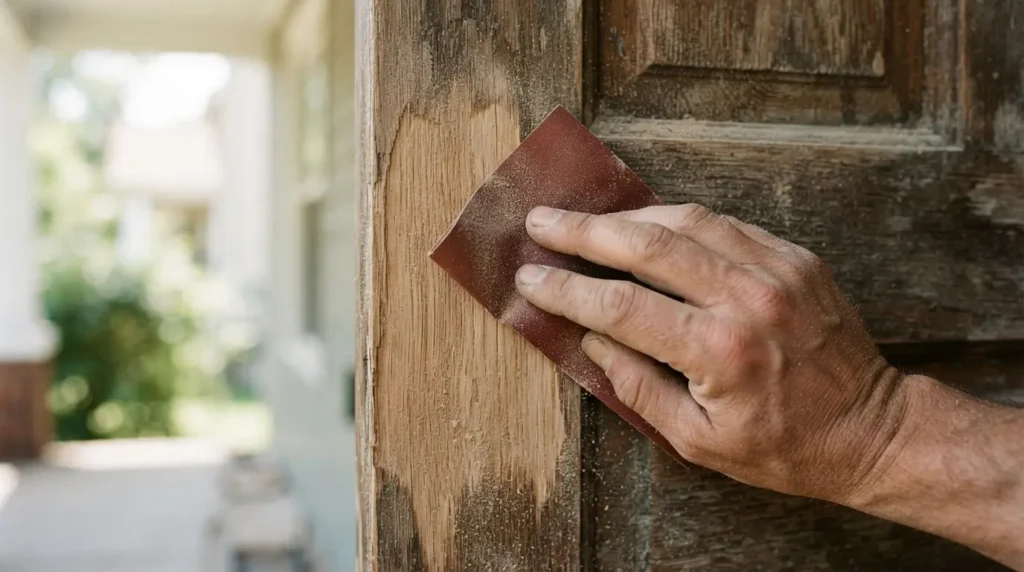
Start by removing all fittings, the door handle, locks, letterbox, anything that isn’t part of the door itself, since painting around fixed hardware is exactly how you end up with an uneven, amateurish edge. Sand the whole door with medium grit sandpaper, this removes any existing sheen or loose, flaking paint and gives the new coat something to properly grip. Wipe the door down with a soft cloth to remove all the dust from sanding, since any residue left behind will show up as a slightly gritty texture once you’ve painted over it. Apply one coat of a genuine all-surface primer and let it dry fully before moving on.
Prepare a Composite or uPVC Door Differently
The preparation for a composite or uPVC door follows a similar logic but needs one extra step. Remove any flaking paint and fill holes or damaged areas properly before you start. Apply your primer, then once that’s dried, apply a second coat of primer, this genuinely matters more here than on timber, since composite and uPVC surfaces benefit from that extra coat for both protection and a richer depth of colour in the finished topcoat. Skipping this second primer coat on a composite or uPVC door is a common reason the final colour ends up looking slightly flat or uneven compared with the same paint applied over a properly primed wooden door.
Paint a Panelled Door in the Correct Order
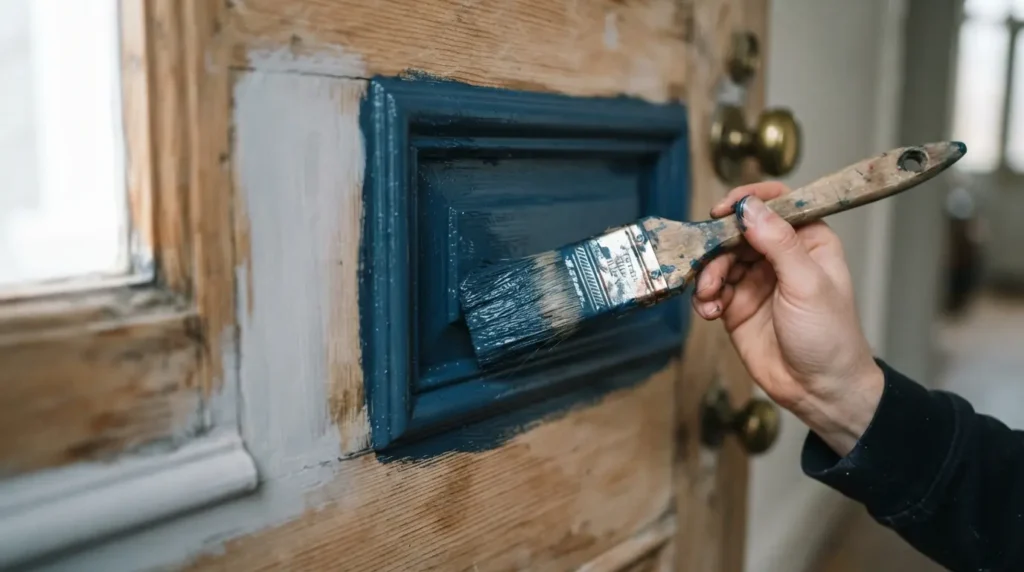
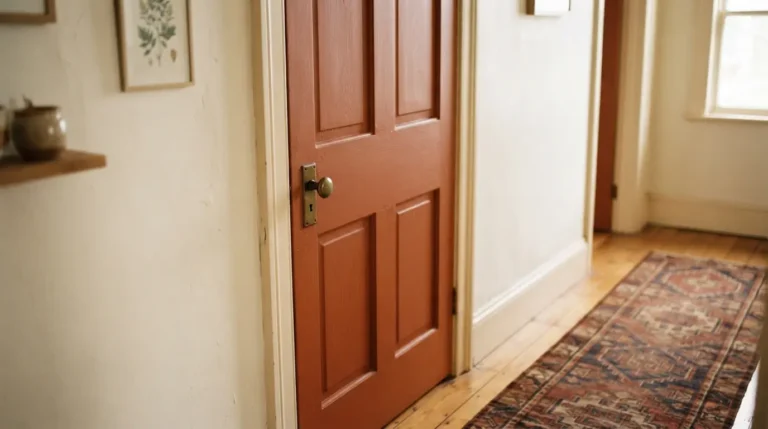
This is worth following precisely, since painting a panelled door in the wrong sequence is one of the most common reasons the finish looks uneven once it’s dry. Start with the panel mouldings, the raised or recessed detailing around each panel, then move on to the inner panels themselves. Next, paint the centre stile, the vertical piece running down the middle of the door, followed by the horizontal panels or cross rails. Move to the outer panels after that, and finish with the edges of the door last. This order genuinely matters because it lets you work from the most detailed, fiddly areas out toward the simplest, largest surfaces, keeping wet edges workable as you go rather than painting yourself into an awkward corner partway through.
Paint a Flush Door Section by Section
A flush door, with its flat, unbroken surface, needs a different approach entirely. Work in clearly defined sections rather than trying to cover the whole door in one continuous pass, and as you complete each section, use horizontal strokes to blend it into the section beside it. The critical detail here is keeping the paint at each section’s edge genuinely wet while you move to the next one, if an edge dries before you blend the adjoining section into it, the join becomes visible and the finish looks uneven rather than seamless. Working in smaller, sectioned-off areas rather than rushing to cover the whole door at once is what actually delivers the best result here.
Choose a Quality Brush and Paint With the Grain
Whichever door style you’re working with, apply your paint in the direction of the wood’s natural grain to avoid streaking, this is a small detail that makes a genuinely noticeable difference to how professional the finished surface looks. A good quality brush holds its shape and releases paint evenly, letting you actually achieve this clean, grain-following application rather than fighting a brush that sheds bristles or applies paint in an uneven, patchy way.
Let the Door Cure Properly Before Regular Use
This is worth being honest about, since it’s easy to assume a door is ready for normal use once it feels dry to the touch. Touch-dry and fully cured are two genuinely different things, a paint surface can feel dry within a matter of hours but still needs considerably longer, often several days depending on the specific product and weather conditions, to reach its full hardness and durability. Avoid slamming the door, leaning objects against it, or subjecting it to heavy daily use during this curing window, since paint that hasn’t fully hardened is more vulnerable to marking, denting, or peeling than it will be once properly cured.
Final Thoughts
Painting a front door for a perfect finish really comes down to matching your prep and primer approach to the door’s actual material, then following the correct painting order for a panelled or flush design rather than rushing straight to the topcoat. Take the time on preparation and sequence, and let the paint properly cure before putting the door back into daily use, and the finished result will look genuinely professional, not just freshly painted.
FAQs
What paint finish is best for a front door?
Both exterior eggshell and gloss work well, the choice depends on how much sheen you want. Eggshell gives a softer, flatter look, while gloss delivers a smarter, more polished finish that particularly suits darker colours.
Do I need to prime a front door before painting?
Yes, always. Wooden doors generally need one coat of a suitable primer after sanding and cleaning, while composite and uPVC doors benefit from two coats of primer for better protection and a richer final colour.
What order should I paint a panelled front door in?
Start with the panel mouldings, then the inner panels, followed by the centre stile, the horizontal panels or cross rails, the outer panels, and finish with the edges last. This order keeps your wet edges workable throughout the process.
How do I stop brush marks on a front door?
Use a genuinely good quality brush, apply paint in the direction of the wood grain, and for flush doors specifically, keep each section’s edge wet and blend into the next section with horizontal strokes before it dries.
How long should paint dry before using the front door normally?
Touch-dry and fully cured aren’t the same thing, a door can feel dry to the touch within hours but often needs several days to fully harden depending on the paint and weather conditions. Avoid heavy use or slamming the door during this window.