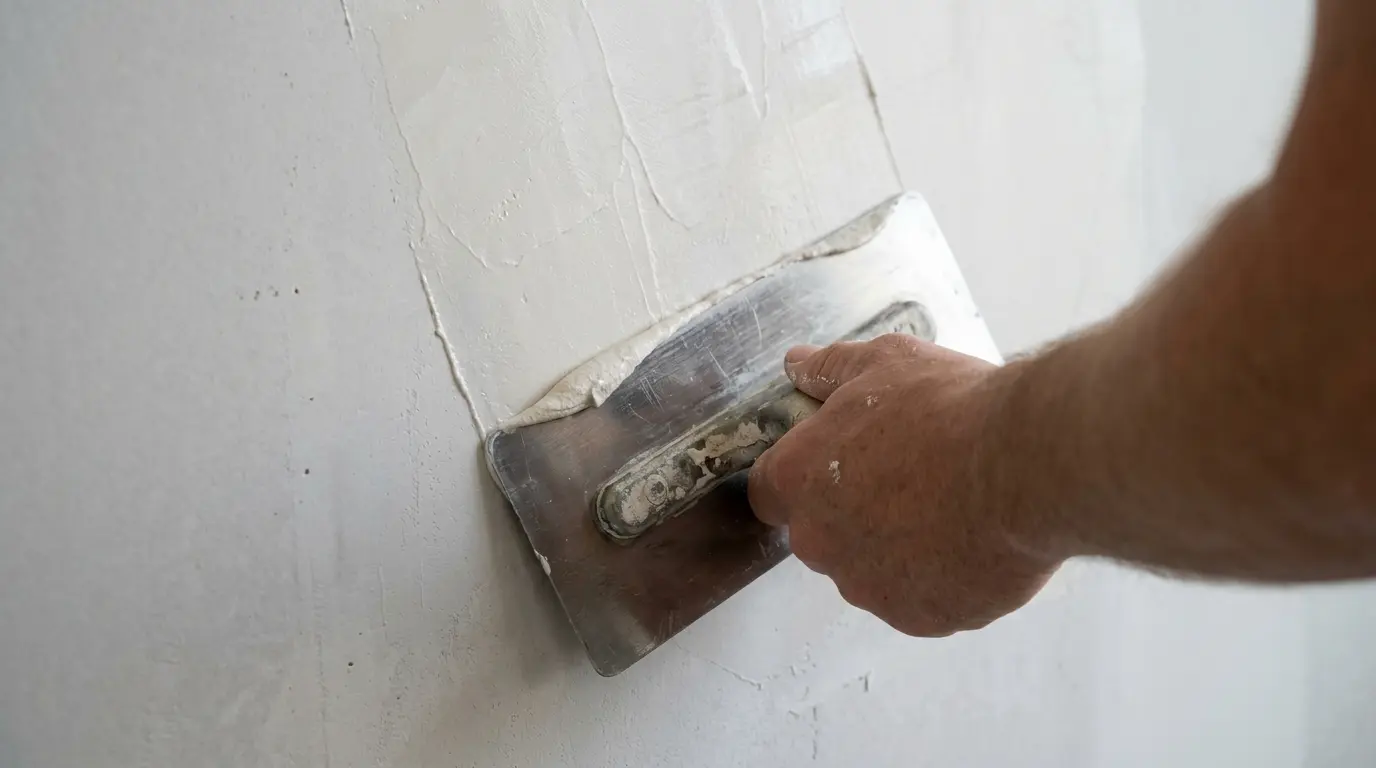
How to Apply Venetian Plaster to a Wall at Home

Applying Venetian plaster at home creates a soft, polished, organic texture that catches light differently from ordinary paint. The finish is durable, breathable, and suits living rooms, bedrooms, and hallways in UK homes. It requires patience, the right tools, and multiple thin coats rather than one thick layer. This guide covers the practical steps from preparation to final burnishing so the result looks intentional. In typical UK rooms with changeable light the subtle movement in the surface adds depth without the flatness of standard emulsion.
Venetian plaster is a lime-based or acrylic polished plaster. Always work on a sound, primed substrate. For general wall preparation context see how to add wall panelling to a living room.
Prepare the Wall and Gather Materials
The wall must be clean, dry, and free of loose paint or wallpaper. Fill any holes and sand smooth. Apply a suitable primer so the plaster bonds evenly. In UK homes older plaster can be uneven; skim any major dips first. You will need Venetian plaster, a flexible stainless-steel trowel, a hawk or tray, fine sandpaper, and a burnishing tool or clean trowel for the final polish. Work in a well-ventilated room and protect floors and skirting. A stable temperature around 15–20 °C helps the plaster work consistently.
Order enough material for two or three thin coats plus a little extra. Typical coverage is stated on the tub; measure the wall area accurately. Temperature and humidity affect drying, so avoid very cold or damp days. In a standard UK room the whole process usually takes two to three days including drying time between coats. Always buy from the same batch if possible so the colour and consistency match across the wall.
Apply the First Thin Coat
Load a small amount of plaster onto the trowel and apply in thin, overlapping strokes at varying angles. Keep the coat thin; thick layers crack. Work in manageable sections. The first coat creates the base texture. Let it dry fully according to the manufacturer’s instructions, usually several hours. Lightly sand any high spots once dry, then wipe clean. The aim is a relatively even but not perfectly smooth surface. In a 4 m by 3 m wall you will typically use one tub for the first coat if coverage is as stated.
In UK light the texture will show more clearly on the finished wall, so keep the first coat consistent. Avoid stopping mid-wall if possible so the joins are less visible. If you must stop, feather the edge carefully. In a typical 2.4 m high room work from the top down or in horizontal bands so gravity helps rather than hinders the application.
Apply Subsequent Coats and Build Texture
Apply a second thin coat in the same way, overlapping strokes and varying the angle. This builds depth and hides any imperfections from the first coat. Some people add a third coat for more movement. Let each coat dry fully before the next. Sand lightly between coats if needed. The texture should feel organic rather than uniform. In living rooms this depth catches light beautifully without looking artificial. Vary the trowel angle slightly on each pass so the surface has natural movement rather than repeating patterns.
For a more polished look keep the final coat thinner. For a softer, more rustic effect leave a little more variation. Always follow the product instructions for drying times, as UK humidity can slow the process. In north-facing rooms the texture reads more clearly, so a slightly softer finish often looks better than a high shine.
Burnish and Finish the Surface

Once the final coat is dry but not fully cured, burnish the surface with a clean trowel or dedicated burnishing tool. Press firmly and move in overlapping passes to bring up the polish. The more you burnish, the shinier the finish becomes. Wipe away any residue. Some products benefit from a final wax or sealer; check the manufacturer’s guidance. In high-traffic areas a light sealer helps protect the surface. Work in good light so you can see the sheen developing evenly across the wall.
Allow the wall to cure fully before placing furniture against it. The finished surface is hard-wearing but can be marked by sharp objects. In hallways or living rooms the soft sheen adds depth without the maintenance of high-gloss paint.
Common Mistakes and Checks
Applying coats too thick, not allowing full drying time, and skipping the primer are the most common errors. Working in poor light makes it hard to see the texture. In cold UK rooms drying takes longer. Always test a small area first. If the wall is very uneven, address that before plastering. Order extra material because running out mid-coat is difficult to match later. Protect adjacent surfaces carefully; Venetian plaster is hard to remove once it sets.
Conclusion
Applying Venetian plaster at home is a patient process that rewards careful thin coats and proper burnishing. Prepare the wall, work methodically, and allow full drying times. The result is a luxurious, organic finish that suits UK interiors and lasts well when done correctly. With practice the technique becomes quicker, and the soft movement in the surface adds character that paint alone cannot achieve.
FAQs
Is Venetian plaster suitable for beginners?
Yes, if you practise on a small area first and keep the coats thin. The main skill is consistent trowel pressure rather than perfect smoothness. Most people improve noticeably after the first square metre.
How many coats of Venetian plaster do I need?
Usually two or three thin coats. More coats add depth but increase time. Follow the product instructions. In practice two well-applied coats are enough for most living rooms and bedrooms.
Can I apply Venetian plaster in a bathroom?
Only with a suitable product and sealer. Most standard Venetian plasters are better in dry rooms. Check the manufacturer’s guidance for wet areas. In bathrooms a dedicated moisture-resistant system is usually safer.
How long does Venetian plaster take to dry?
Each coat usually needs several hours. Full cure can take days. UK humidity and temperature affect the times, so always check the product data. Do not rush the next coat; incomplete drying is a common cause of cracking.
Do I need to seal Venetian plaster?
Some products benefit from a wax or sealer, especially in higher-traffic areas. Follow the manufacturer’s recommendations for the best protection. A light sealer also makes cleaning easier in hallways.
What tools do I need for Venetian plaster?
A flexible stainless-steel trowel, hawk, fine sandpaper, and a clean burnishing tool. Good lighting and a stable working temperature also help.