How to Install Shiplap Wall Panelling in Any Room

Installing shiplap wall panelling adds horizontal texture and a relaxed, coastal or farmhouse feel that works in living rooms, bedrooms, bathrooms, and hallways across the UK. The boards can be real timber, MDF, or PVC depending on the room’s moisture levels. Success depends on a flat substrate, consistent gaps or overlaps, and proper expansion allowance. This guide covers the practical steps from preparation to finishing so the result looks intentional rather than rushed. In a typical UK semi or terrace the horizontal lines can visually widen a narrow room while protecting the lower wall from everyday knocks. Many homeowners choose this finish because it hides minor wall imperfections once painted and adds warmth without the cost of full timber cladding.
Shiplap differs from plain tongue-and-groove mainly in the visible joint profile. Many UK suppliers sell ready-profiled MDF or softwood boards specifically for this look. For general panelling context see how to add wall panelling to a living room.
Prepare the Wall and Choose the Right Material
Remove skirting, loose wallpaper, and any high spots. The wall must be dry and reasonably flat. Mark a level starting line 20–30 mm above the finished floor. For bathrooms or kitchens choose moisture-resistant MDF or PVC shiplap; ordinary MDF will swell if it gets damp. Softwood works well in dry rooms but needs sealing. Typical board widths are 100–150 mm; longer lengths reduce the number of end joints. Check the wall with a long straight edge in both directions. Any significant dip or hump will show once the boards are fixed and painted, so fill or batten as needed before you start.
You will need a fine-tooth saw, adhesive, panel pins or screws, a spirit level, and spacers if you want consistent gaps. Check access for long boards. Order 10–15 per cent extra. In older UK houses walls are often out of square, so measure height in several places. A track saw or circular saw with a clamped guide gives the cleanest cuts. Score MDF faces before cutting to reduce chipping. Work with dust extraction because the fine particles from MDF are harmful. Wear a mask and eye protection throughout the cutting stage.
Start with the First Board and Maintain Level

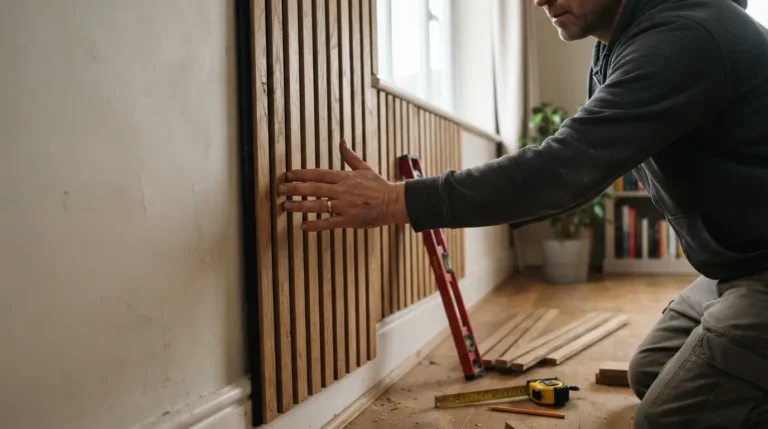
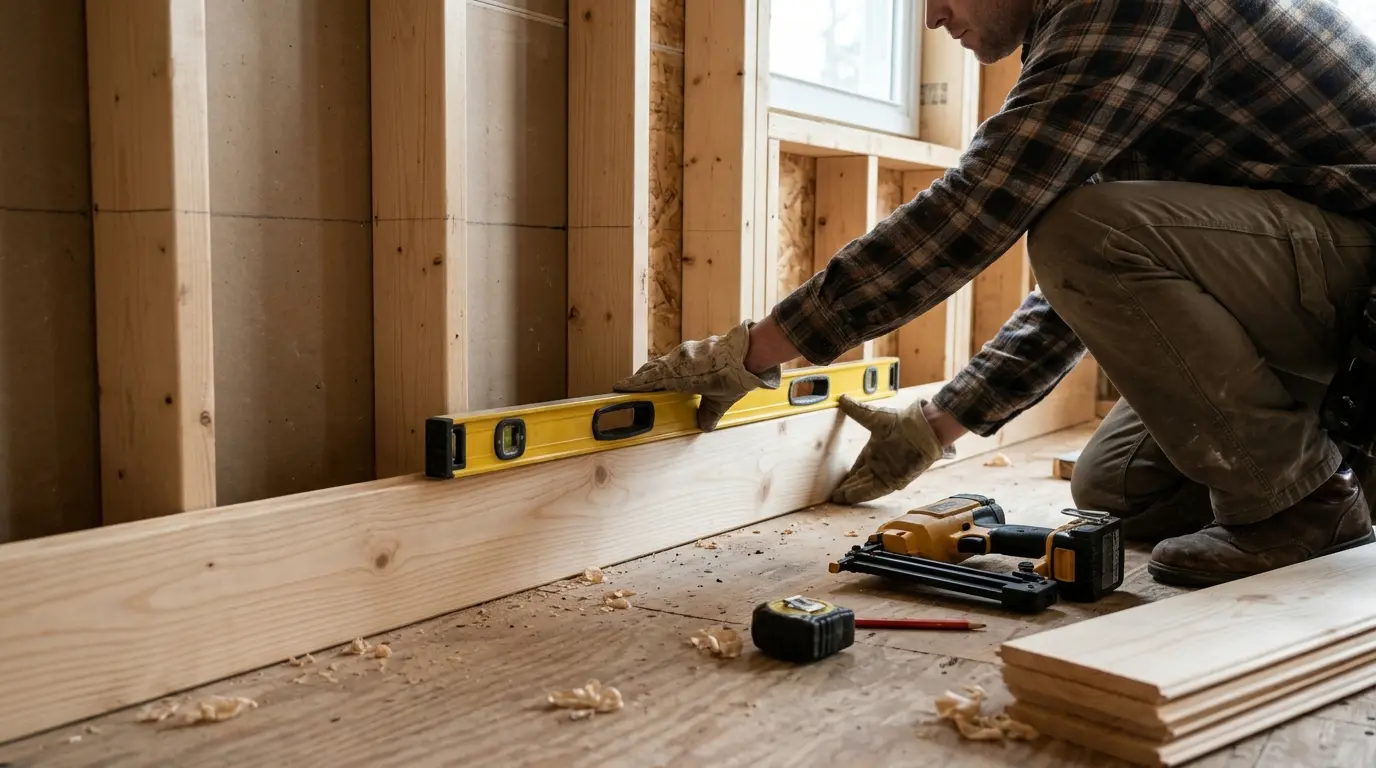
Cut the first board to length, allowing for expansion gaps at each end. Fix it to the reference line, checking it is perfectly level. Apply adhesive and pin or screw into studs. Subsequent boards either overlap the previous one by the profiled edge or sit with a small shadow gap. Use a spacer for consistency. Work across the wall, checking level every two or three boards. A small error early on becomes obvious by the end of the wall. In a 2.4 m high room you will typically need 15–20 boards depending on width, so consistency matters.
Around windows and doors, cut boards carefully and finish the edges with trim or a clean cut. Leave expansion gaps at the perimeter. Dry-fit awkward pieces before fixing. In hallways keep clearances for doors and furniture so the panelling does not feel cramped. For a full wall in a 4 m wide room you may need to join boards end to end; stagger the joints so they do not line up vertically and create a weak visual line. Support the boards fully while cutting to avoid tear-out.
Finish Joints, Edges and Top
Once all boards are fixed, fill any small gaps or pin holes with flexible filler. Sand smooth. Fit skirting at the base and a top trim or cornice if required. Prime all cut ends and faces thoroughly, especially on MDF. Paint with emulsion or eggshell. In wet areas use a suitable finish and seal edges carefully. Allow the adhesive to cure fully before painting. Leave at least 24 hours. In a coastal-style scheme keep the colour soft white or pale grey so the horizontal lines remain calm rather than busy.
For kitchen use, pay attention to the area above worktops. The method in how to add wall panelling to a kitchen includes extra sealing tips that also apply to shiplap. Keep a minimum clearance of 50 mm above the worktop so splash water does not sit against the boards. Seal the bottom edge thoroughly if the panelling stops above the worktop. In living rooms the same boards can run full height for a more immersive effect, provided the wall is flat enough.
Common Mistakes to Avoid
Skipping the level check on the first board, forgetting expansion gaps, and painting without priming cut ends are the most common problems. Fixing over damp walls traps moisture. In bathrooms always use the correct grade of board. Measure twice around sockets and radiators. If the wall is very uneven, fix battens first to create a flat plane. Batten spacing of 400–600 mm works for most boards. Check that any existing paint is sound; high-sheen finishes may need sanding for adhesion. Allow extra time for cutting around obstacles because the horizontal lines make small errors more visible.
Conclusion
Installing shiplap wall panelling is achievable in any room once the substrate is prepared and the first board is set perfectly level. Choose the right material for the moisture level, leave expansion gaps, and prime thoroughly. The horizontal lines add texture and calm without requiring specialist skills. In a coastal or relaxed scheme the finished wall pairs well with soft textiles and natural materials. Take the time to check level frequently and the result will look professional. With careful measuring the whole project can usually be completed over a weekend for a single feature wall.
FAQs
What material is best for shiplap in a bathroom?
Moisture-resistant MDF or PVC. Ordinary MDF or untreated softwood will swell and fail in humid conditions. Seal all edges carefully.
How wide should shiplap boards be?
100–150 mm is the most common and practical width. Narrower boards create more joints; wider boards cover the wall faster but need a flatter substrate.
Do I need to leave expansion gaps with shiplap?
Yes, 5–10 mm at the ends and perimeter. Cover with skirting or trim. This prevents buckling when humidity changes.
Can I install shiplap over existing tiles?
Only if the tiles are sound and flat. In most cases it is better to remove them or fix battens over them. Adhesive alone may not hold long-term.
How do I finish the ends of shiplap boards?
Cut them cleanly, prime the cut ends, and either butt to a corner trim or leave a shadow gap. Avoid leaving raw MDF edges unprimed.
Is shiplap suitable for a small room?
Yes. Horizontal boards can make a narrow room feel wider. Keep the colour light and the boards consistent so the lines do not overwhelm the space.