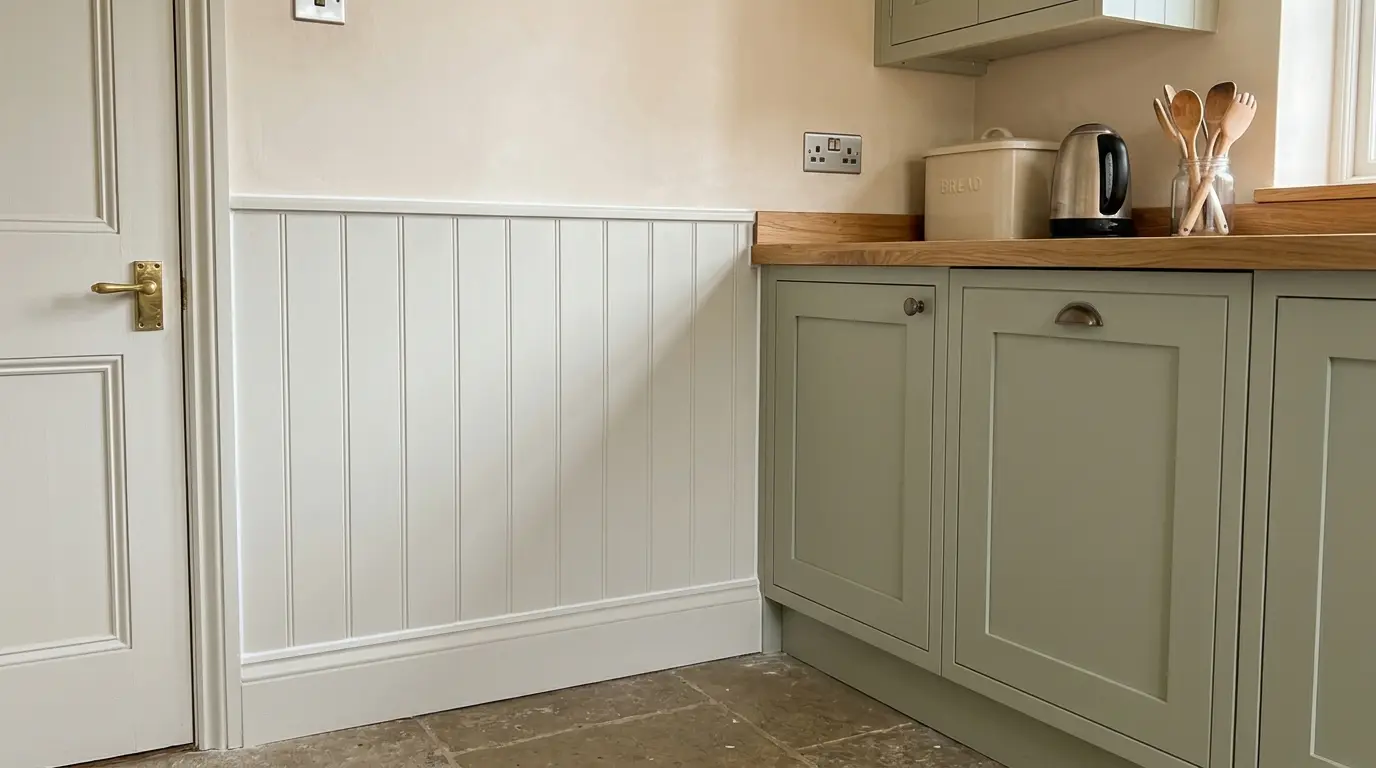
How to Add Wall Panelling to a Kitchen

Adding wall panelling to a kitchen brings structure and a finished look without a full renovation. In UK kitchens the key is choosing moisture-resistant materials, keeping panelling away from the direct splash zones around the sink and hob, and planning clearances for worktops, sockets and cabinet edges before you order. This guide walks through the practical decisions: materials, heights, preparation and the common mistakes that waste time and money.
Choose the Right Material for a Kitchen
Moisture-resistant MDF is the standard choice for kitchen panelling in UK homes. Standard MDF swells if it gets damp and cannot be recovered. Use 9 mm to 12 mm thickness for most overlay or frame styles. For areas that see occasional steam but are not directly wet, MR MDF primed and painted with a durable eggshell or satin works well. Keep panelling at least 300 mm away from the hob and sink splashback zone. PVC or polyurethane mouldings are an alternative if you want something that will not absorb moisture at all. Always prime the backs and edges before fitting so any moisture that reaches the rear does not cause problems later.
Decide on Height and Layout
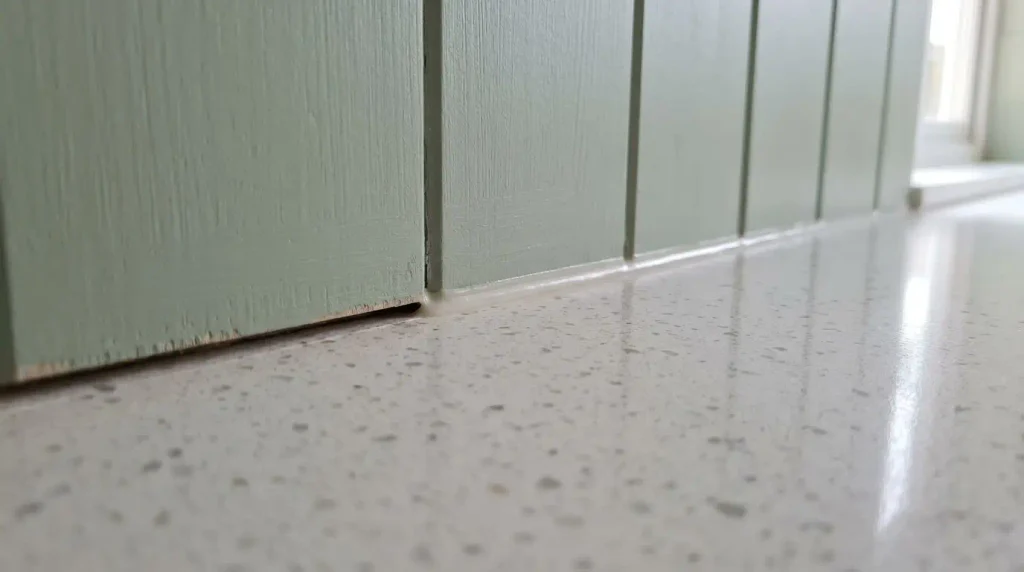
Half-height panelling to 900 mm or 1 000 mm is the most practical in most kitchens. It protects the wall below the worktop line and stops at a clean architectural point. Full-height panelling works on an end wall or the wall opposite the run of cabinets if you want a more dramatic feature. Measure the wall at several points because kitchen walls are rarely perfectly square. Plan panel widths so the end panels are not narrower than 200 mm. Leave at least 10 mm clearance above the worktop if the panelling sits below it, and check that the panels do not interfere with the opening of wall cabinets. Mark the layout on the wall with a laser level before cutting anything.
Prepare the Wall and Measure Accurately
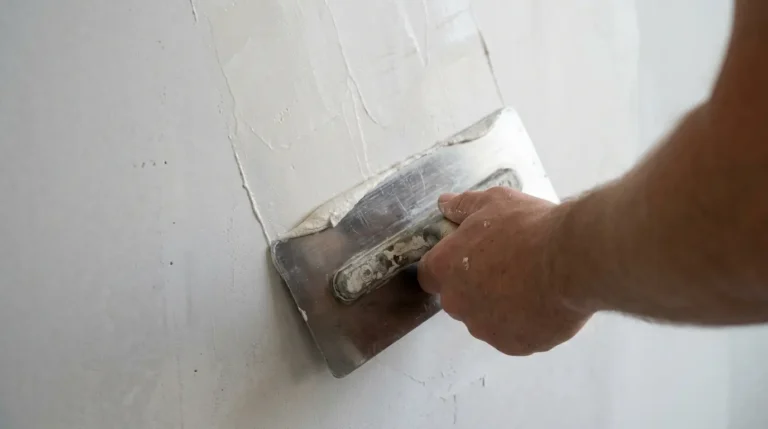
Remove any wallpaper completely and wash the wall with sugar soap to remove grease, which is common in kitchens. Fill holes and sand glossy paint so adhesive grips. Locate studs if you are fixing into a timber-frame wall. For masonry walls, plan appropriate plugs and screws or use a combination of adhesive and mechanical fixings. Measure the full height and width, noting positions of sockets, switches and any pipework. Add 10 percent extra material for cuts and mistakes. Dry-fit the first few panels to check the layout before committing to adhesive.
Fix the Panels Correctly
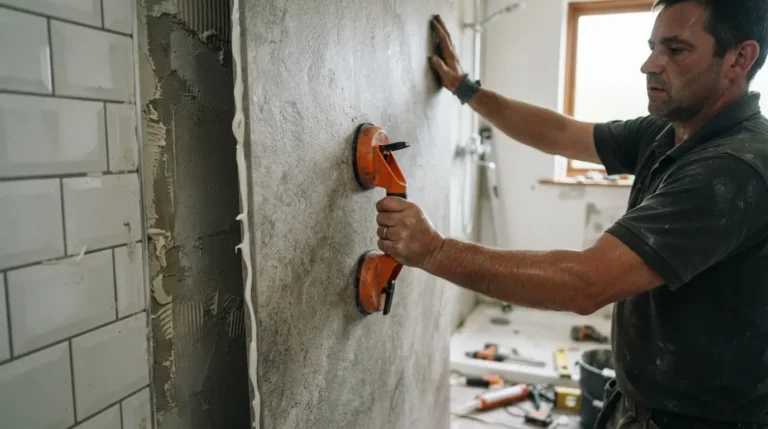
Apply a suitable grab adhesive in a continuous bead or wave pattern to the back of each panel. Press firmly and hold in place. Supplement with pins or screws into studs where possible, especially for larger panels. Work from one end and check level frequently. Leave expansion gaps at the ends of long runs. Once fixed, fill nail holes, caulk the edges and the joint with the worktop or skirting, then sand smooth. Prime any bare edges before painting. A durable eggshell or satin finish is easier to wipe clean than a flat matt in a kitchen.
Common Mistakes to Avoid
The biggest mistake is using standard MDF near a sink or in a steamy kitchen. It will swell. Another is placing panelling too close to the hob so heat and grease affect the finish. Failing to prime the backs and edges allows moisture to enter from behind. Skipping the level check leads to panels that look crooked against the worktop line. Ordering without measuring the actual wall heights at multiple points results in gaps or panels that do not reach the intended height. Finally, ignoring socket positions means awkward cuts that are hard to finish cleanly.
Conclusion
Kitchen panelling works when you choose moisture-resistant material, keep it clear of direct splash zones, and plan the heights and clearances carefully. Measure thoroughly, prepare the wall properly, and finish with a durable paint. Get these practical points right and the panelling will look intentional and last in a working kitchen.
FAQs
Can I use panelling behind a kitchen sink?
Only if you use a fully waterproof system such as PVC and treat it as a splashback. Standard or even moisture-resistant MDF should stay at least 300 mm away from the sink and hob.
What thickness of MDF is best for kitchen panelling?
9 mm to 12 mm moisture-resistant MDF is the practical choice for most kitchen applications. It is rigid enough for a quality finish and easier to handle than thicker boards.
How high should kitchen panelling be?
900 mm to 1 000 mm is the most useful height. It protects the wall below worktop level and creates a clean line. Full height is better reserved for feature walls away from the main cooking zone.
Do I need to prime the backs of the panels?
Yes. Prime all edges and the reverse side before fitting. This reduces the risk of moisture causing swelling from behind, which is especially important in a kitchen.