10 Green Bathroom Ideas for a Fresh and Natural Feel

Green bathroom ideas work because green is the one colour that reads as calming rather than cold, whether it’s a barely-there sage or a full emerald wall. The 10 ideas below cover the full range, from low-risk textile swaps to full tile commitments, along with the bathroom-specific practical checks (ventilation, moisture-rated paint, grout maintenance) that most green bathroom guides skip entirely.
1. Start With Sage as Your Safest Green
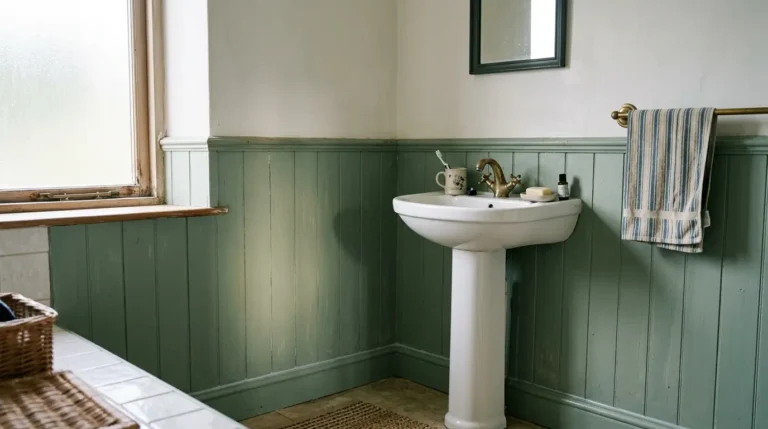
Sage green is the closest thing to a neutral that green gets, which makes it the lowest-risk way into a green bathroom. It reads warm rather than cold in most lighting, works with wood, brass, and white without a fight, and doesn’t overwhelm a small room the way a saturated shade can. If you’re not sure green is for you at all, sage is the shade least likely to feel like a mistake in a year. A full repaint in sage typically sits at the lower end of what you’d spend on any of the ideas here, a weekend project rather than a renovation, which makes it a sensible place to start if you’re testing the waters before committing to tile or a new vanity.
2. Commit Fully With a Forest or Emerald Wall
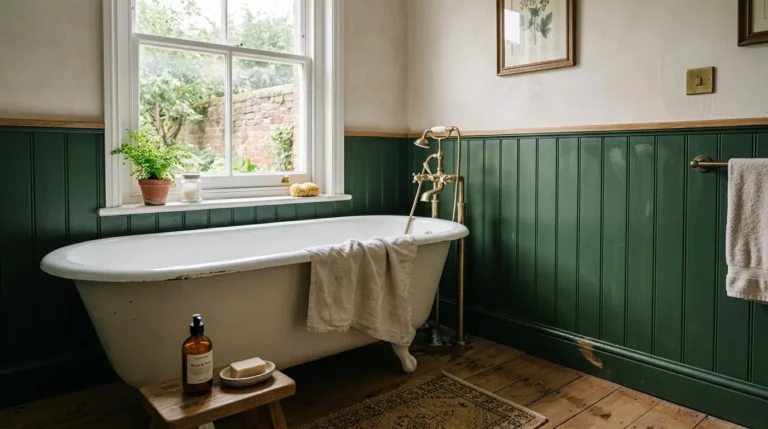
A deep forest or emerald wall makes a genuine statement, but it comes with a bathroom-specific catch most guides never mention: any paint used in a bathroom needs to be moisture-rated (often labelled “bathroom” or “kitchen and bathroom” paint), or it will peel and blister within a year or two from steam and condensation. Deep colours also show condensation more obviously than pale ones, so a dark wall in a bathroom with weak extraction can start to look patchy with damp faster than a lighter shade would. Run the extractor fan for a good while after every shower and this stops being a problem, it’s a maintenance habit, not a reason to avoid the colour. Expect a specialist moisture-rated paint to cost more per tin than standard emulsion, but it’s a false saving to use the cheaper option in a room that generates this much steam; the repaint you’ll need in a year or two costs more in time and money than paying for the right paint the first time.
3. Add Texture With Green Zellige or Handmade Tile
Handmade tiles in a forest or olive green, with their slightly irregular glaze, catch light in a way flat tile can’t and turn a shower wall into a genuine feature. The trade-off worth knowing before you commit: textured, handmade tile has more grout lines than large-format tile, and grout in a bathroom is the part that actually shows wear first, it darkens and can develop mould in the lines well before the tile itself looks tired. A sealed, epoxy-based grout costs more upfront but resists staining and mould far better than standard cement grout, and it’s worth the difference in a wet room specifically. Handmade tile also typically costs more per square metre than a mass-produced equivalent and takes an experienced tiler longer to lay evenly because of the natural variation in each piece, so budget for both the material and the extra labour time if you’re hiring a professional rather than assuming it prices the same as a standard subway tile job.
4. Paint or Replace the Vanity in Green
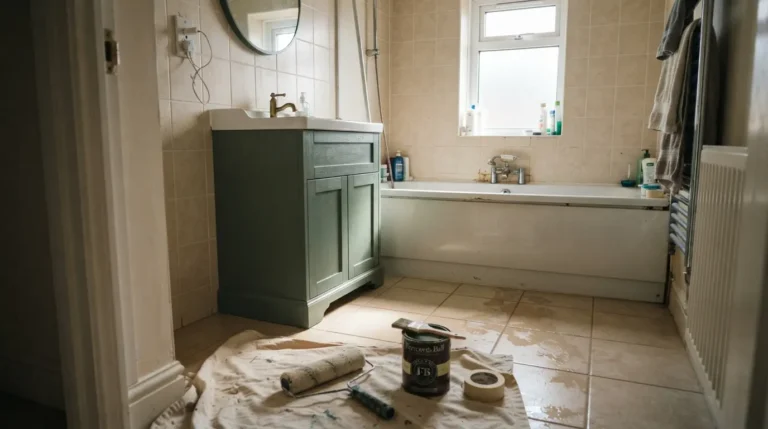
A green vanity is one of the highest-impact, lowest-disruption changes on this list, since it doesn’t touch tile or plumbing. Painting an existing vanity in a durable, moisture-rated cabinet paint is the cheaper route and achievable in a weekend; buying a new green vanity costs more but guarantees a factory finish that won’t need repainting in a few years the way a DIY job sometimes does. Either way, pair it with a white marble or quartz top to keep the room feeling light rather than heavy. If you’re painting an existing vanity yourself, a light sand and a proper primer before the coloured coats make the biggest difference to how long the finish actually lasts, skipping this step is the single most common reason a DIY cabinet repaint starts chipping at the edges within months.
5. Make a Statement With a Green Freestanding Bath
A green freestanding tub, in sage, olive, or a deeper forest, becomes the room’s obvious focal point on its own. Before you commit, check two practical things a lot of buying guides skip: a freestanding tub needs either a floor-mounted or wall-mounted filler, which is a different (and sometimes pricier) plumbing job than a standard bath, and freestanding baths are heavy once filled, so it’s worth confirming your floor structure can take the load, especially in an older property or an upper-floor bathroom. A stone-resin freestanding bath holds heat noticeably longer than a standard acrylic one, which matters more than it sounds if you actually like a long soak rather than a quick wash, though it also costs meaningfully more and weighs considerably more once full, which brings the floor-loading question back into play.
6. Ground the Floor With Green Penny or Patterned Tile
Green penny tile or a patterned encaustic-style floor adds texture underfoot without putting colour on every surface. One genuinely bathroom-specific detail worth checking: smaller tile formats like penny tile have more grout lines per square metre, which means more grip underfoot, a real safety plus in a wet room, but also more grout to keep clean. If slip resistance matters more than pattern, ask for the tile’s slip rating before buying rather than judging by the photo alone. Penny tile and other small-format mosaic floors also take longer to lay than a large-format tile of the same area, since there’s simply more individual pieces and more grout lines to set, so factor that into labour costs if you’re having it professionally fitted rather than assuming it prices the same as a straightforward large-tile floor.
7. Bring In Plants That Actually Survive the Humidity
Not every plant that looks good in a bathroom photo actually thrives in one. Ferns, pothos, and trailing ivy genuinely like the humidity a bathroom provides and will do well even in average light. Succulents and cacti, despite showing up constantly in bathroom styling photos, generally dislike the moisture and low light and tend to rot within a few months in a real bathroom rather than a styled one. If natural light is limited, a genuinely low-light plant like a pothos will outlast almost anything else on this list without extra effort. Give any bathroom plant a spot away from direct contact with hot shower spray, even humidity-loving plants can suffer if they’re constantly splashed with hot water rather than just surrounded by warm, moist air, and wipe dust off the leaves occasionally so they can still photosynthesise properly in what’s usually the lowest-light room in the house.
8. Test the Look First With Textiles and Accessories
If you’re not ready to commit to paint or tile, sage green towels, a bath mat, and a linen shower curtain bring the colour in without touching a single permanent surface. This is the lowest-cost, lowest-risk way to live with green before deciding whether to go further, and everything here can be swapped out in an afternoon if the shade doesn’t grow on you the way you hoped. It’s also the best way to test how a specific green actually looks in your bathroom’s light throughout the day, a colour that looks perfect on a paint swatch or in a product photo can shift noticeably once it’s sitting under your own bathroom’s mix of natural and artificial light, and a towel is a far cheaper way to find that out than a wall of tile.
9. Pair Green With Brass or Black Fixtures
Green and brass is a genuinely reliable pairing, warm metal against a cool or earthy green rarely clashes. Unlacquered brass develops a patina over time, which some people love and others find looks tarnished rather than aged, so it’s worth knowing that going in rather than being surprised by it in a year. Matte black is the other common pairing and gives a cooler, more contemporary look against darker greens, but it shows water spots and limescale more visibly than brass, so it needs a quick wipe-down more often to stay looking sharp in a hard water area. Chrome remains the lowest-maintenance option of the three if you’d rather not think about patina or limescale marks at all, though it reads noticeably cooler against green than either brass or black, so it suits a more contemporary, less earthy take on the palette.
10. Common Green Bathroom Mistakes to Avoid
The most frequent mistake is choosing a deep, saturated shade for a small bathroom with poor extraction, the colour itself isn’t the problem, but it hides less and shows condensation and early damp patches faster than a pale colour would, so ventilation matters more as the shade gets darker. The second is using standard, non-moisture-rated paint in a bathroom because it happened to be the right green, it will peel far sooner than a bathroom-specific formulation. The third is going all-in on an expensive, trend-forward tile shade rather than starting with swappable textiles, tile is a permanent, costly commitment, and a shade that feels exciting now is the one most likely to feel dated first; a more muted, natural green (sage, olive, forest) tends to age far better in a fixed surface than a bright or unusual tone. A fourth, smaller mistake worth naming: matching grout too closely to a coloured tile can make a wall look flat and slightly artificial in photos, while a grout one or two shades lighter or darker than the tile itself tends to look more intentional and shows less obvious wear over time.
Final Thoughts
The best green bathroom ideas balance genuine atmosphere with a few practical checks most guides skip entirely: moisture-rated paint, real ventilation habits, grout that can actually handle a wet room, and plants that survive the humidity rather than just photograph well in it. Start with the lowest-risk option that appeals to you, whether that’s a set of sage towels or a full tiled shower, and let the room tell you how far to take it from there.
FAQs
Which green shade is safest for a small bathroom?
Sage is the most forgiving choice, since it reads close to a warm neutral in most lighting and doesn’t make a small space feel enclosed the way a very dark or saturated green can.
Does green work with brass fixtures?
Yes, it’s one of the most reliable pairings in bathroom design. Warm brass against a cool or earthy green rarely looks wrong, though unlacquered brass will patina and darken over time.
How do I stop a green bathroom from feeling damp or developing mould?
Use a moisture-rated paint, run the extractor fan after every shower, and choose a sealed, mould-resistant grout for tiled areas. Darker colours don’t cause damp, but they show early signs of it faster than pale ones do.
What’s the best plant for a green bathroom?
Ferns and pothos genuinely thrive in bathroom humidity and low light. Succulents and cacti look the part in photos but generally struggle and rot in a real bathroom environment over a few months.
Is a green bathroom expensive to achieve?
Not necessarily. Textiles, a few plants, and accessories cost very little and can be swapped freely; paint is a moderate mid-range project; full tile or a freestanding bath sit at the top of the budget range and are worth reserving for a shade you’re confident you’ll still like in five years.
How do I keep a green bathroom from feeling dated?
Anchor any permanent surface, tile, cabinetry, a bath, in a muted, natural green like sage, olive, or forest rather than a bright or unusual trend shade, and introduce bolder greens through textiles and accessories that are easy to change later.