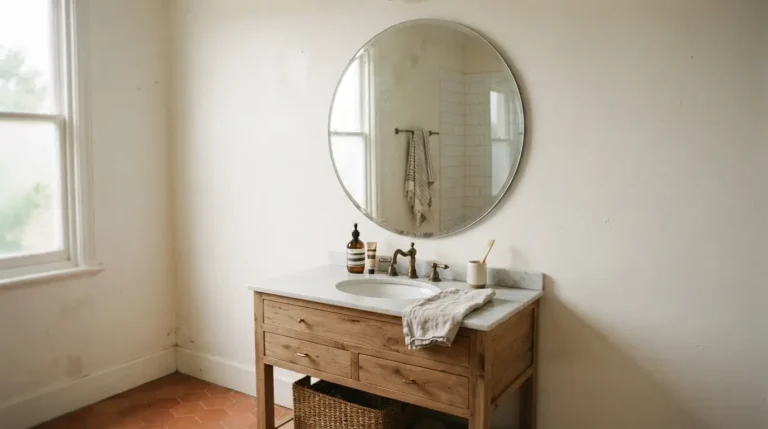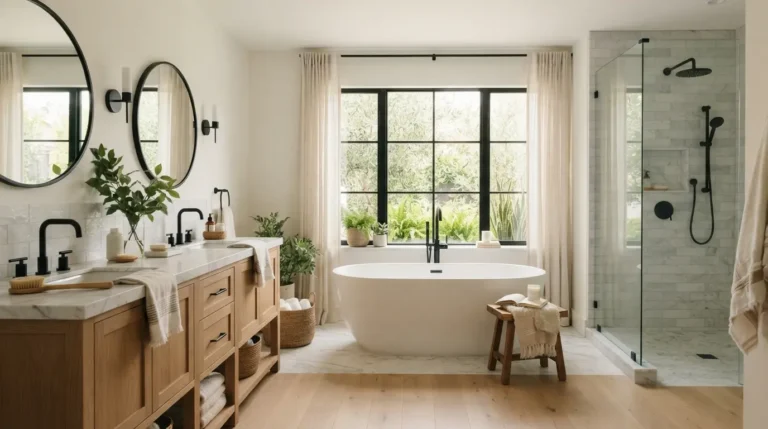
12 Bathroom Wall Panelling Ideas for a Designer Look

Designer-looking bathroom wall panelling comes from matching the panel to the zone, then choosing a proportion, colour and finish that suits the room. Use waterproof laminate, acrylic or PVC panels inside the shower, and painted moisture-resistant MDF or tongue and groove elsewhere. Height, colour and sealed edges matter more than budget.
Search for wall panels for a bathroom and you get two different products: decorative timber panelling and waterproof shower panels. Retailers rarely say which belongs where, and “waterproof” claims vary widely. These 12 bathroom wall panelling ideas are sorted by zone, so you buy the right thing once.
Bathroom Wall Panelling Ideas for Dry Walls
Dry walls are anywhere beyond direct shower spray, and they suit decorative panelling in moisture-resistant MDF or well-sealed timber. It adds texture, hides uneven walls and pipework, and repaints easily. Keep it out of the shower enclosure, and prime every face and edge before painting.
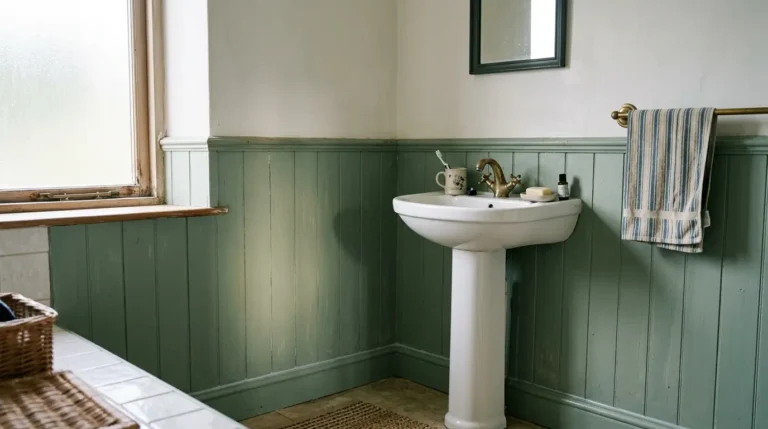
1. Half-Height Tongue and Groove in a Soft Painted Finish
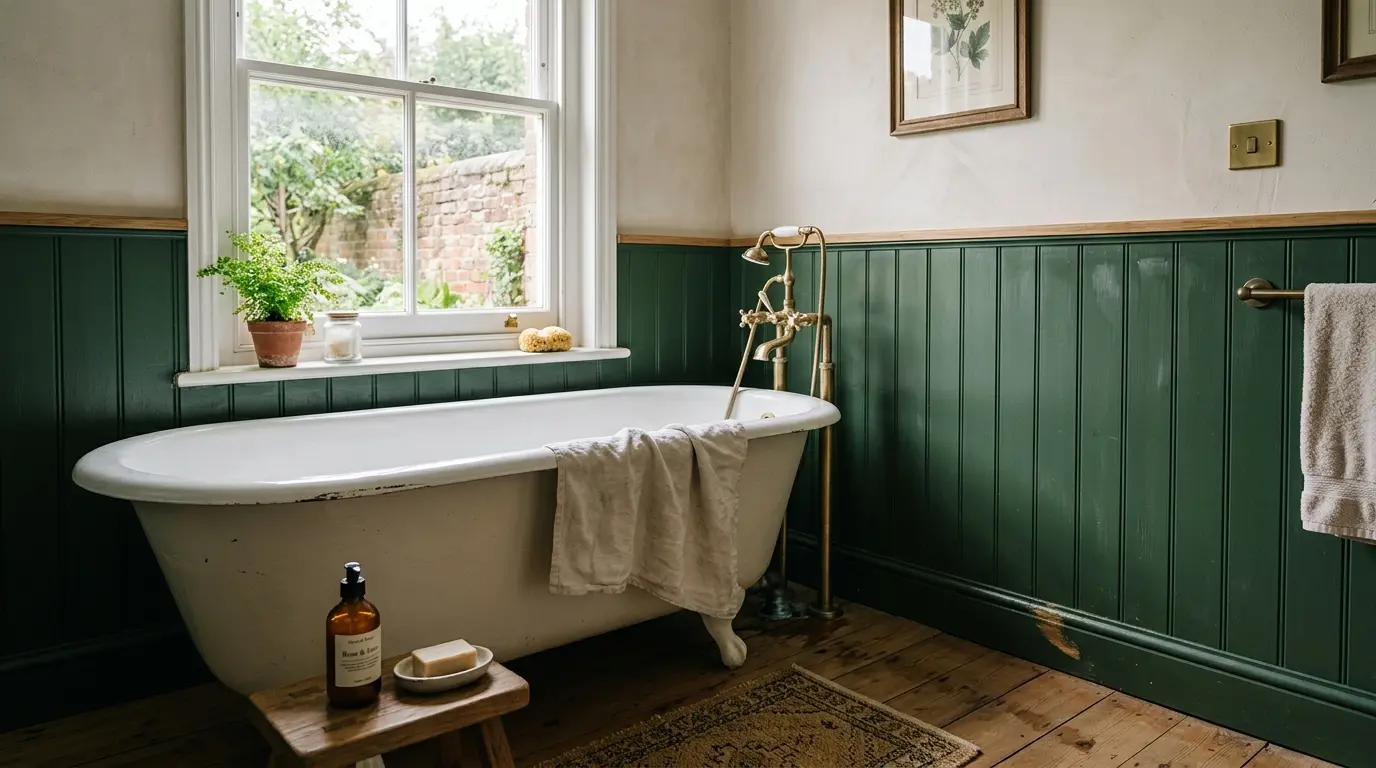
Half-height tongue and groove is the safest route to a panelled bathroom. Boards run up roughly a third to a half of the wall, finished with a capping rail, then paint or wallpaper above. It protects the wall most exposed to knocks and splashes and suits any bathroom size. Paint it to match your skirting and door trim for continuity, and check your rail is deep enough to sit over the board thickness.
2. Full-Height Vertical Tongue and Groove
Vertical boards stretch the eye upward, so full-height tongue and groove suits small, low or narrow bathrooms. Laid horizontally, the same boards lengthen the room instead. Fixing to battens leaves a cavity you can insulate, and one panelling specialist says even 25mm of insulation can make a dramatic difference in older solid-walled homes, with a vapour barrier on the warm side. Battens do steal a little floor space, so measure tight rooms first.
3. Shaker-Style Square Panelling Below the Dado
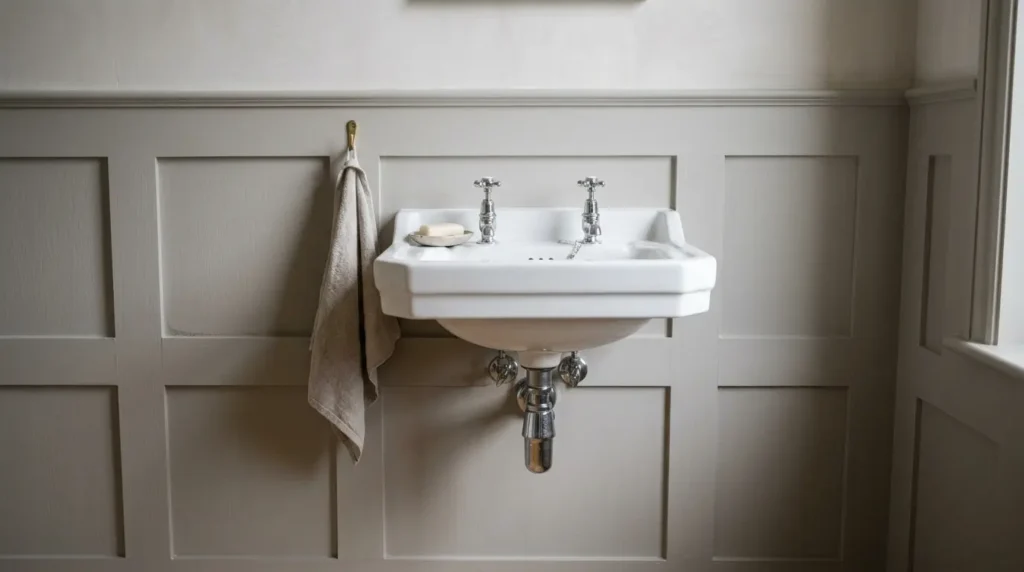
Shaker-style panelling arranges square frames across the wall for a tailored finish. It works best below the dado rail or on one or two feature walls, because four walls of square panelling can feel closed in. In a small bathroom, use square panelling on the shortest walls and vertical tongue and groove on the longer ones. The trade-off is more mouldings and recesses, which collect dust and need sealing at every joint.
4. Panelling Topped With Wallpaper
Panelling below and bold wallpaper above is a classic designer move, because the panelling lets you enjoy a strong print without overwhelming the room. Pair dark or busy paper with simple white tongue and groove. Alternatively, fill the gaps between panels with paper for a framed, gallery effect. Choose a wipeable, bathroom-suitable paper and keep it out of the splash zone.
5. Colour-Drenched Panelling in a Dark Shade
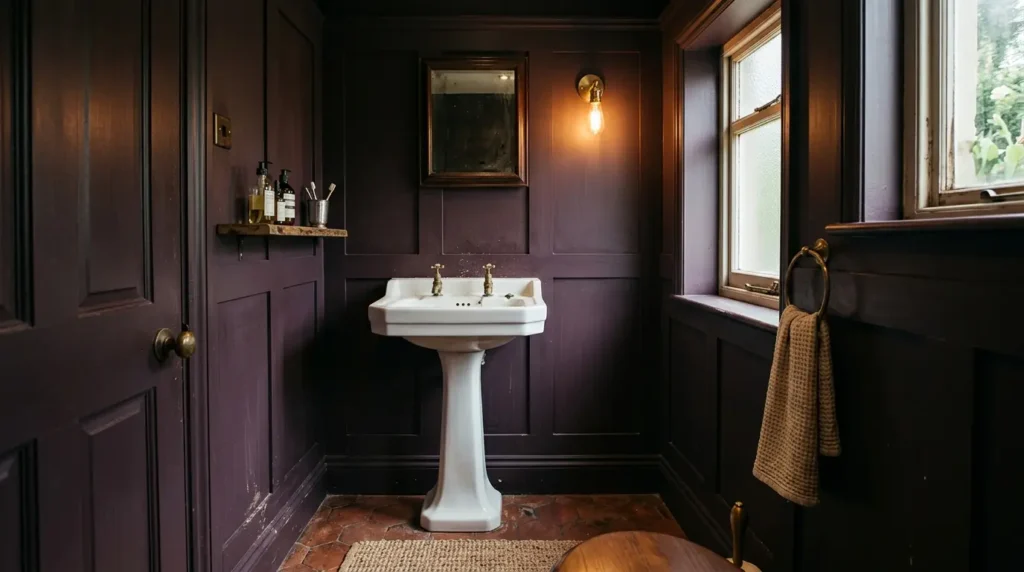
Dark panelling makes a small bathroom feel cocooned rather than cramped, if it is done properly. Deep aubergine, forest green, navy and burgundy all suit panelling, and a lighter shade above the picture rail draws the eye upward. Painting walls, panelling and trim in one colour is increasingly popular. Expect dark paint to show limescale and scuffs, and add warm, dimmable lighting so the room stays inviting.
6. A Panelled Bath Surround
A panelled bath surround makes a plain bath look built-in. The easiest bath panel idea is a painted tongue and groove or shaker-style MDF front, matched to the walls or a shade deeper. Acrylic and wood-effect bath panels are the low-maintenance alternatives. Whichever you choose, make it removable, because you will need access to the bath’s plumbing. Seal the bottom edge, which sits closest to spills.
Waterproof Wall Panels for Bathrooms and Showers
Engineered wall panels in PVC, laminate, acrylic or compact tile are made for wet zones. They come in large sheets, typically 2.4m high, with no grout to maintain. Cut them with ordinary DIY tools, and take care over joints and edges, because sealant does the real waterproofing work.
7. Marble-Effect Panels
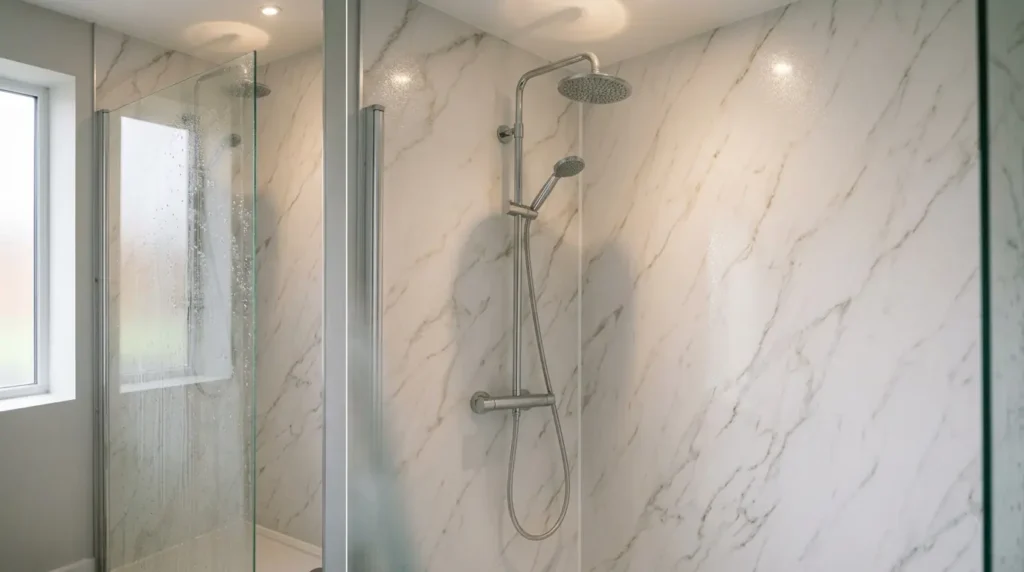
Marble-effect panels give the look of stone without grout lines or heavy slabs. White marble with gold or soft blue veining suits a guest ensuite or cloakroom, and light colours bounce light around a small room. Laminate and acrylic versions are common. Choose a subtle vein pattern, because bold veining can look obviously repeated across several panels.
8. Concrete, Slate or Stone-Effect Panels
Concrete and slate-effect panels create a calm, minimalist backdrop that lets your fittings stand out. In a small bathroom, panel only the shower area and warm it up with neutral paint so the room does not feel dark. Natural concrete tones reflect more light than charcoal slate. Pair them with a backlit mirror for a sleek finish. Textured matt finishes hold soap film more readily than gloss, so plan to wipe them often.
9. Slatted Wood-Effect Panels for a Spa Feel
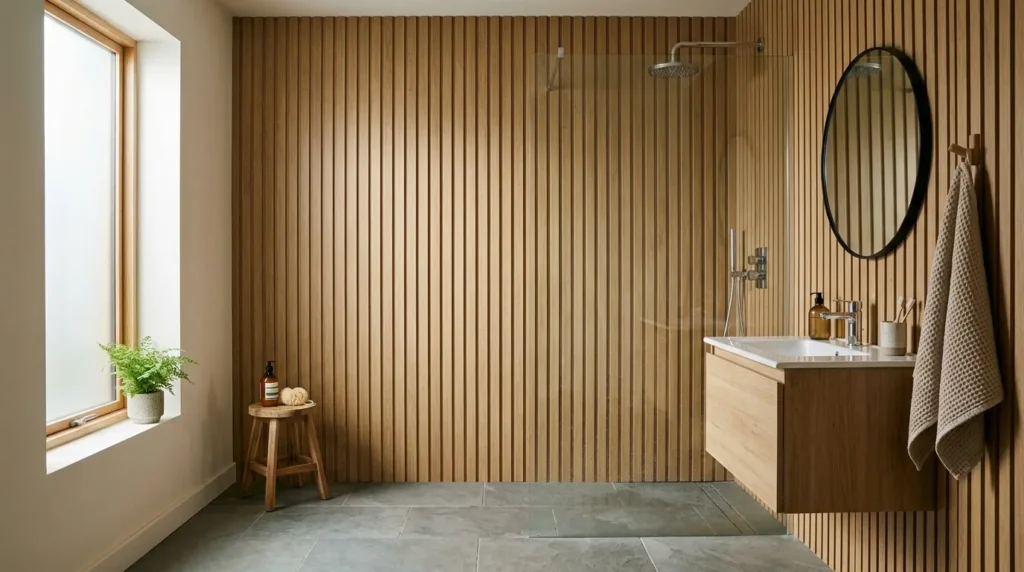
Slatted wood-effect panels give a Nordic spa look without the upkeep of real wood. Waterproof versions come in oak and walnut finishes and can be fitted vertically, horizontally or diagonally. Vertical slats add height, while horizontal ones add width. Real timber slats belong on dry walls only, whereas waterproof wood-effect panels can go inside the shower. Order a sample first, because some prints look repetitive across a large wall.
10. Terrazzo or Large-Format Tile-Effect Panels
Terrazzo and large tile-effect panels give a designer look with fewer joints than real tile. Terrazzo-effect panels cost less than the real material and suit playful or Scandinavian schemes. Compact tile panels are the closest match to real tiling, using an embossed composite with no grout. Larger formats read calmer in small rooms because there are fewer lines. Laminate and compact tile usually need trims on outer edges and corners, so budget for them.
11. Bold Colour or Printed Acrylic Panels
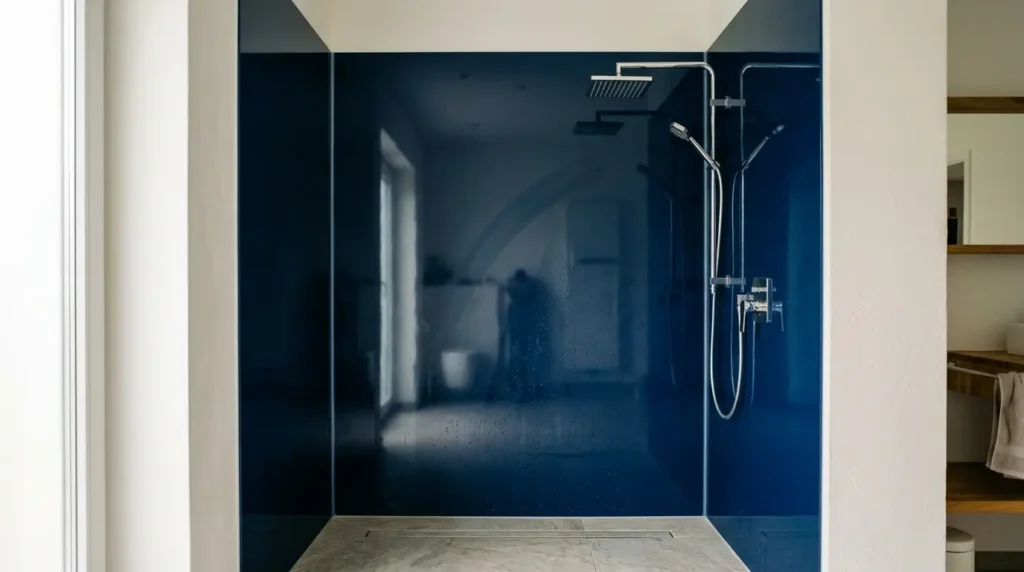
Acrylic panels are the best route to bold colour or pattern in a shower. They are 4mm rear-printed sheets with a glossy finish, and solid colours can be matched to a shade of your choice. Unlike laminate, they need no trims, only sealant at the joints. Choose one statement print or a deep navy or forest green for the shower wall, and keep everything else quiet. Gloss shows water marks, so a quick squeegee after showering helps.
12. Waterproof Panels in the Shower, Painted Panelling Everywhere Else
The most convincing panelled bathroom uses two products: waterproof panels inside the shower and painted panelling on the dry walls. Match the colours so the join reads as designed. Put a feature wall on the wall furthest from the door, or behind the bath, to add depth. Extend PVC or painted boards to the ceiling for a full-room finish. Finish the meeting point with a trim or a neat sealant line, because splashes hit there first.
Which Bathroom Wall Panels Suit Which Areas?
Use timber or MDF panelling on dry walls and engineered waterproof panels in wet zones. Sources disagree on the word “waterproof”, so treat sealed timber as splash-resistant only. Engineered panels are waterproof, but only as good as their joints, so seal every edge and follow the maker’s instructions.
| Panel type | Best for | Wet-zone verdict | Edges and joints | Main catch |
| Moisture-resistant MDF (tongue and groove, shaker) | Dry walls, half-height, bath surround | Splash-resistant only when primed and painted | Prime every cut edge | Swells if edges stay bare |
| Solid timber, sealed | Rustic or natural looks | Water-resistant, but keep out of the shower enclosure | Seal every face, use marine-grade sealant | Moves with humidity; re-seal every few years |
| PVC | Whole room, ceilings, shower | Waterproof | Click-together joints with sanitary silicone | Can dent; some finishes look plasticky |
| Laminate (MDF core) | Shower, marble and terrazzo looks | Waterproof with edges trimmed | Watertight trims on outer edges | Trims add cost |
| Acrylic | Shower, bold colour | Waterproof | No trims; sealant at joints | Gloss shows marks |
| Compact tile | Tile look without grout | Waterproof | Trims on outer edges and corners | Trims add to the total |
What Bathroom Wall Panelling Costs and How Long It Takes
Painted MDF panelling for a small bathroom typically costs roughly £150 to £450 in materials, and waterproof shower panels roughly £250 to £900 for an alcove including trims and sealant. Prices are approximate and vary by country. Fitting usually takes half a day to two days, plus curing.
| Job | Approx. materials (GBP) | Fitting time | Upkeep and lifespan |
| Half-height painted MDF, small bathroom | £150 to £450 | 1 to 2 days including painting | Repaint every few years; check sealant yearly |
| Full-height painted panelling, one wall | £150 to £400 | 1 to 2 days | As above |
| Waterproof panels, shower alcove | £250 to £900 | Half to 1 day, plus curing | Commonly quoted at around 10 years or more; some guarantees run up to 30 years |
| Whole-room waterproof panels | £500 to £1,500 | 1 to 2 days | As above |
| Painted bath panel | £40 to £150 | Half a day | Repaint as needed |
| Tradesperson labour | Roughly £150 to £250 per day in the UK | As above | Varies by region |
Panels usually cost less to fit than tiles, because there is no grouting and no waiting for adhesive to set. One retailer says a panel wall can go up in a couple of hours, but for a real bathroom with cut-outs, trims and curing, plan for a day. Timber panelling is generally cheaper per square metre than tiles, especially designer tiles, and can be repainted later to update the look. Printed acrylic and decorative laminate can cost as much as mid-range tiles, so compare before assuming panels are cheaper.
Fitting, Moisture and Maintenance: What to Check Before You Buy
Moisture control decides whether a panelled bathroom lasts. Prime and seal every cut edge, use silicone at joints in wet zones, and run an extractor fan. Panels can go over clean, degreased tiles, but check that trims, sockets and fittings still work. Inspect sealant yearly and replace any cracked beads.
- Over existing tiles: engineered panels can fit over sound tiles that are cleaned and degreased. This saves demolition but adds thickness at edges and around taps.
- Uneven walls: timber panelling hides uneven walls and pipework. Battens can level a badly out-of-square wall and leave room for insulation.
- Trims: laminate and compact tile need edge trims. Order them with the panels so colours and finishes match.
- Ventilation: a weak fan leaves paint, sealant and panel edges fighting condensation daily.
- Screw holes: any fixing through a panel in a wet zone should be sealed with silicone.
- Cleaning: wipe painted panelling and engineered panels with a soft cloth and mild soap, and avoid abrasive pads.
- Professional help: simple dry-wall panelling suits DIY. For shower alcoves with complex cuts, one retailer advises using an expert.
Conclusion
The best bathroom wall panelling ideas start with zoning: waterproof panels where water hits and painted panelling where it does not. Choose a height and colour that suit the room, seal every edge and joint, and order trims early. Do that and a panelled bathroom looks designed rather than decorated. Request samples, measure your walls, and plan the shower zone first.
FAQs
Can you put wall panelling in a bathroom?
Yes. Use waterproof engineered panels in wet zones and painted moisture-resistant MDF or sealed timber on dry walls. Keep timber out of the shower enclosure, prime every edge, and ventilate well. Untreated wood near direct water is the usual cause of swelling and peeling.
What is the difference between bathroom wall panels and decorative panelling?
Bathroom wall panels, often called shower panels or wet walls, are engineered sheets in PVC, laminate, acrylic or compact tile made for wet areas. Decorative panelling is tongue and groove, shaker or slat boards in MDF or timber, used for style on dry walls.
Are bathroom wall panels really waterproof?
The panel material itself usually is, but the joints decide performance. PVC, laminate, acrylic and compact tile are waterproof when trimmed and sealed correctly. Timber and MDF panelling are only water-resistant, so keep them out of the shower enclosure and check sealant yearly.
Can I fit bathroom panels over existing tiles?
Often yes. Engineered panels can go over sound tiles that are clean, dry and degreased. Loose or cracked tiles should come off first. Check that trims, taps and sockets still fit, because the panel adds thickness on top of the tile.
Is panelling cheaper than tiles?
Usually, per square metre, especially against designer tiles, and it is generally faster to fit. Timber panelling can be repainted to change the look. Printed acrylic or decorative laminate can cost as much as mid-range tiles, so compare total costs including trims and sealant.
What height should bathroom panelling be?
A good rule of thumb is between a third and a half of the wall height, often around 900mm to 1200mm from the floor. The bottom third suits protection, while going higher suits larger rooms. Full-height panelling works in small bathrooms to add height.
What is the best wall panel for a small bathroom?
Vertical panels, light colours and large sheets with few joints work best. Panel only the shower area to keep the room bright, or put a feature wall on the wall furthest from the door. Vertical tongue and groove adds height, while horizontal slats add width.
How long do bathroom wall panels last?
Engineered bathroom panels are commonly quoted at around 10 years or more, and some come with guarantees of up to 30 years. Painted timber panelling lasts as long as the paint and sealant are maintained, and usually needs repainting every few years.