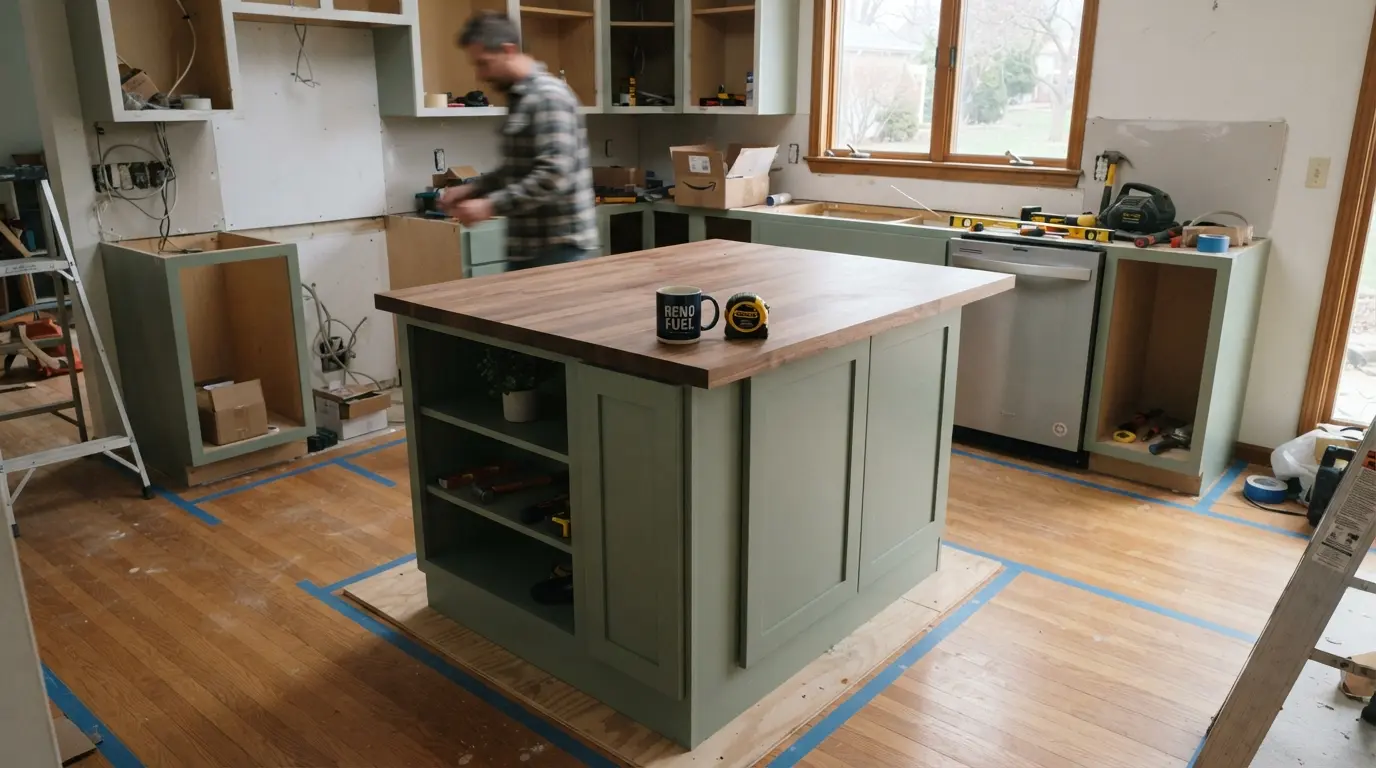
How to Add a Kitchen Island to Any Kitchen: A Step by Step Guide

Adding a kitchen island to any kitchen is possible even in tight or awkward layouts, as long as you plan around clearance space, existing plumbing and electrics, and how the island will actually be used. The trick is treating it as a proper retrofit project, not just a furniture purchase, especially if your kitchen was never designed with one in mind.
If you have ever stood in your kitchen with a tape measure wondering whether an island will fit or just make everything feel cramped, you are not alone. Most homeowners who want to add a kitchen island are working with a kitchen that already exists, not a blank new build, and that changes almost everything about how you plan one. This guide walks through the whole process, from checking your space to choosing the right island type and budgeting realistically.
Can You Add a Kitchen Island to Any Kitchen?
Most kitchens can take some form of island if you are willing to adjust the design to fit the space rather than forcing a standard size in. Even narrow galley kitchens and small square rooms can usually fit a slim, mobile, or peninsula style island once you have measured clearances properly and worked out what the island needs to do.
The honest answer is that not every kitchen suits a full fixed island, and that is fine. If your kitchen is under about 2.7 to 3 metres wide once you subtract cabinetry depth, a fixed island will likely choke the walkway. In that case a rolling kitchen cart, a slim prep table, or a peninsula attached to an existing run of cabinets gives you most of the benefit without the squeeze.
How Much Space Do You Need to Plan a Kitchen Island?
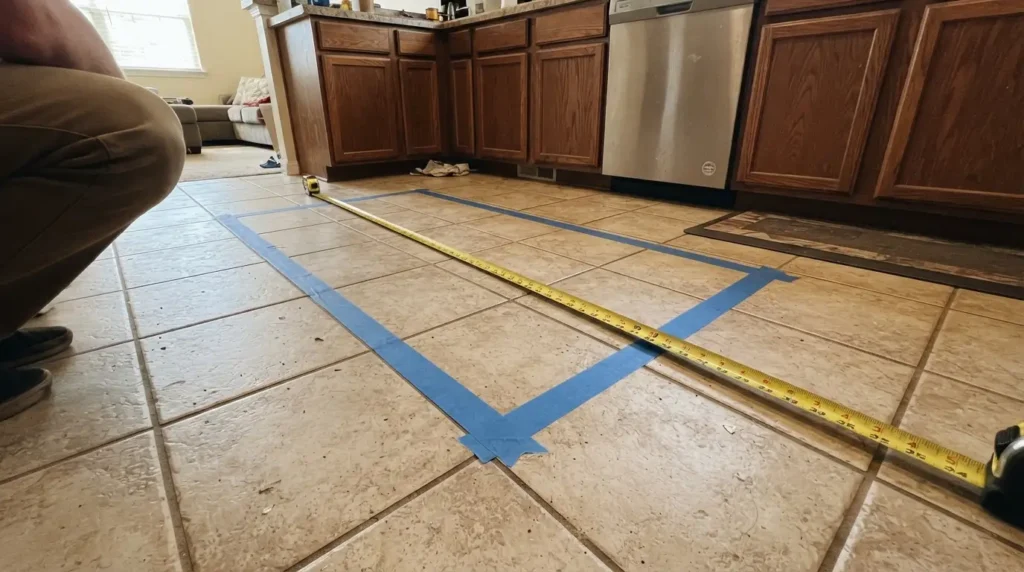
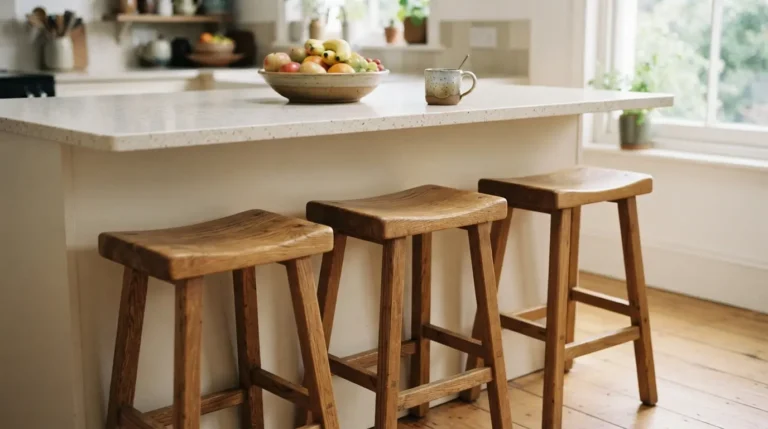
You need at least 900mm to 1200mm of clear floor space on every side of the island, rising to 1060mm to 1220mm (roughly 42 to 48 inches) if people will be seated on one side. Anything tighter and you will find drawers, appliance doors, and foot traffic constantly getting in each other’s way.
This is the step people skip, and it is the one that causes the most regret. Before you buy a single unit, mark the proposed island footprint on the floor with masking tape and actually walk around it for a day or two. Open your fridge and oven doors while the tape is down. A good rule of thumb used across the trade is a minimum of 900mm to 1200mm between the island and any adjacent counter or cabinet run, with slightly more clearance needed on the side where a cooktop sits, since hot pans and close walkways do not mix well.
| Area | Minimum clearance |
| Walkway around island | 900mm to 1200mm (36 to 48 inches) |
| Between cooktop and island | Around 1000mm (40 inches) |
| Per seat width at breakfast bar | Around 600mm (24 inches) |
| Behind a single row of seating | 900mm (36 inches) |
| Behind two rows of seating | 1200mm (48 inches) |
These figures vary slightly depending on which design guide you follow and whether local building codes apply, so treat them as a sound starting point rather than a fixed rule, and always test with tape on your own floor before committing.
How Do You Fit an Island Into a Small or Awkward Kitchen?
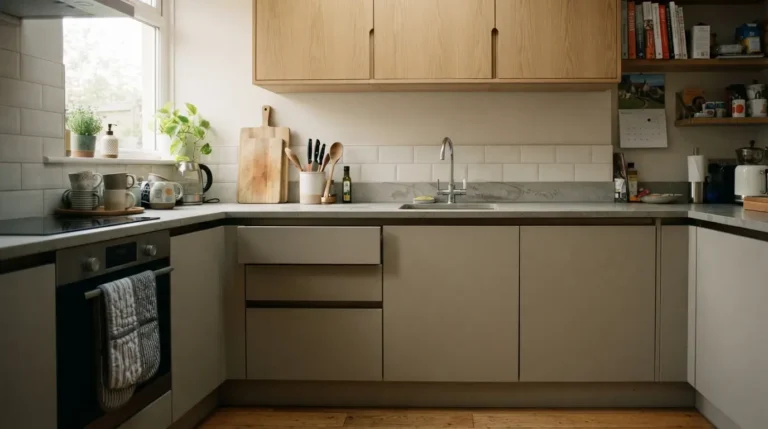
In a small kitchen, the way to fit an island in is to shrink its role rather than force a full sized version into a space that cannot support one. A slim prep island, a square island with a single integrated appliance, or a peninsula attached to existing cabinetry all give you extra worktop and storage without blocking the room’s main paths.
A few practical options if your kitchen genuinely feels too tight for a standard island:
- Choose a narrow rectangular island purely for prep and storage, without seating, if your galley kitchen has just enough spare width
- Build a square island around one central appliance, such as a hob or sink, rather than trying to fit a full run of cabinets
- Fit a peninsula instead, since it only needs clearance on three sides and uses one existing wall for support
- Use a mobile island on locking castors if you want the flexibility to roll it out of the way entirely when it is not needed
Awkward layouts, such as rooms with sloped ceilings or an odd alcove, often work better once appliances are moved flush against the walls, freeing up the centre of the room for the island itself rather than competing with wall units for floor space.
How Do You Plan the Layout and Position of a Kitchen Island?
Position the island so it supports the working triangle between your sink, hob, and fridge rather than cutting across it. In an L shaped kitchen, run the island parallel to the longest counter. In a U shaped or open plan kitchen, centre it so it is reachable from every side without blocking any doorway or appliance door swing.
Alignment matters as much as position. A parallel alignment against the main counter run creates a tidy, organised feel and suits L shaped and galley kitchens well. A perpendicular alignment works better in open plan or U shaped rooms because it naturally separates the cooking zone from the dining or living area. An angled island can look striking in a large or irregular room, though it uses more floor space and is harder to retrofit into an existing footprint.
Think about what the island is actually for before you finalise its position. A prep island wants to sit close to the sink and main counter. A cooking island, with a hob or built in appliance, needs extra ventilation clearance and should sit near the existing cooking wall so gas or electrical runs are shorter and cheaper. A dining or seating island works best set slightly apart, along the room’s edge, so it does not interrupt the main cooking workflow.
What Does It Cost to Add a Kitchen Island to an Existing Kitchen?
Retrofitting an island into a kitchen that was not built with one typically costs more than adding one during a full renovation, because you are often opening up flooring to run new plumbing or electrical circuits. As a rough guide, a simple freestanding or cabinet based island with no plumbing might cost somewhere in the range of £800 to £2,500, while an island with an integrated sink or hob, plus the associated pipework, wiring, and ventilation, commonly runs from £2,500 to £6,000 or more depending on worktop material and the complexity of the retrofit.
These figures vary considerably by country, by region within a country, and by whether you are buying flat pack cabinets, a rigid built kitchen island, or a bespoke carpentered piece, so treat them as a starting point for budgeting conversations rather than a quote. Worktop choice moves the price a lot too. Laminate is the most affordable and, contrary to what people assume, modern laminate is genuinely durable and low maintenance. Stone and quartz worktops cost significantly more and need a stronger, properly supported base, particularly if you want a breakfast bar overhang.
One detail that catches people out during a retrofit is the unsupported overhang limit. Most fabricators will not support more than about 250mm to 300mm of worktop overhang without extra bracket or leg support underneath, so if you are planning stool seating, budget for that support hardware from the start rather than discovering the problem after the worktop template has been cut.
Do You Need an Electrician or Plumber to Add a Kitchen Island?
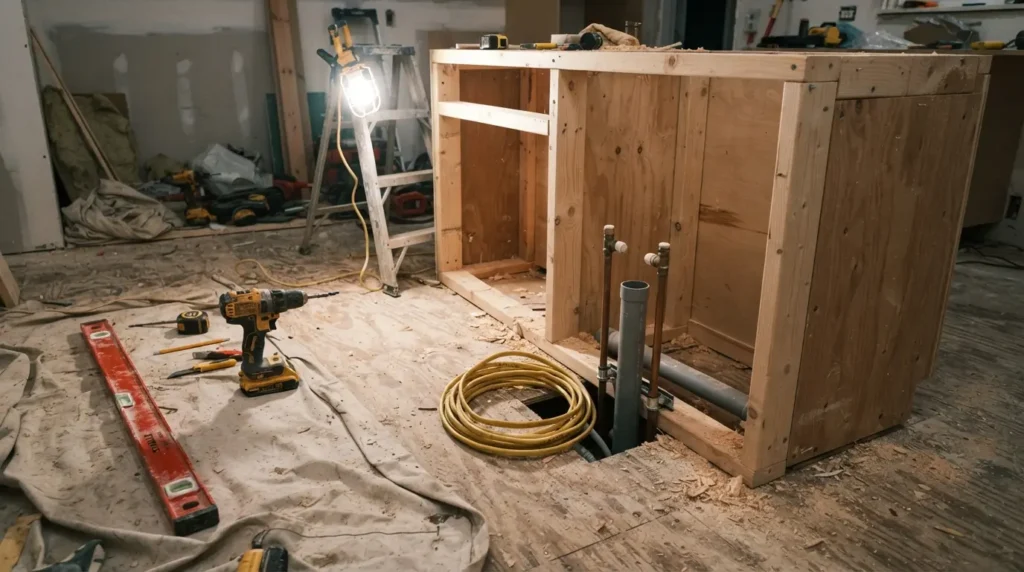
If your planned island includes a sink, hob, or built in socket, you will need a qualified electrician and, in most cases, a plumber, since running new supply and waste pipework or a new electrical circuit under an existing floor is not a straightforward DIY job in most countries. All of this work should be planned and, where required, signed off before the cabinetry and worktop go in, not fitted around them afterwards.
A common mistake first time islanders make is buying and fitting the units first, then trying to squeeze pipework and cabling in later. Work backwards instead. Decide what services the island needs, get a tradesperson to confirm routing and cost, have that first fix work completed and inspected, and only then fit the cabinets and worktop on top. This single sequencing decision is usually what separates a smooth retrofit from a stressful one.
If your island will only hold worktop space, storage, and maybe a plug socket for small appliances, the job is far simpler and well within reach for a confident DIYer, particularly with flat pack or rigid built cabinet systems designed for self assembly.
Fixed Island, Peninsula, or Mobile Cart: Which Should You Choose?
| Option | Best for | Trade off |
| Fixed island | Larger kitchens with clear space on all sides | Needs the most floor space and is hardest to retrofit if plumbed |
| Peninsula | Small to mid sized kitchens with one free wall | Only accessible from three sides, less of a natural centrepiece |
| Mobile island or cart | Small kitchens, renters, or anyone wanting flexibility | Limited weight capacity and no plumbing options |
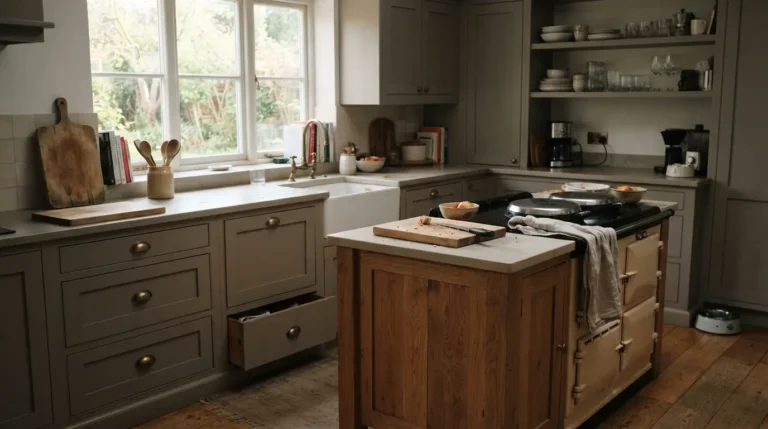
There is no single correct answer here. A young family renovating a forever home with an open plan kitchen diner will usually get more long term value from a fixed island with proper storage and a hob. A renter or someone in a genuinely tight galley kitchen is usually better served by a mobile cart they can wheel aside when they need the floor space back.
How Do You Match a New Island to an Existing Kitchen’s Style?
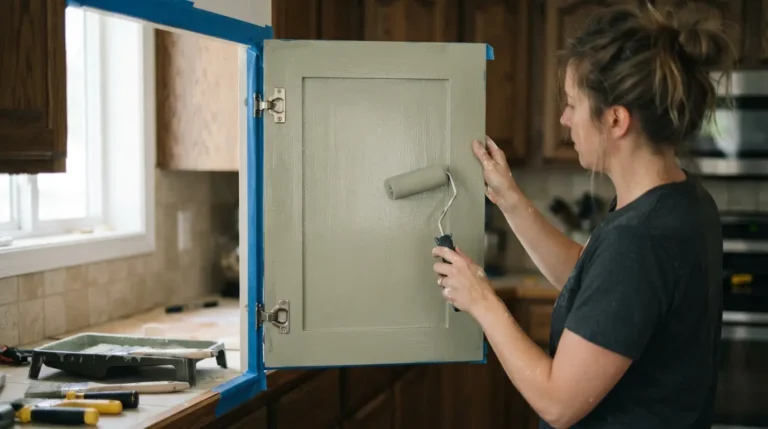
Since the island cabinetry sits below eye level, it is actually one of the safest places in the kitchen to be bold with colour, even if the rest of your cabinetry is neutral. A common and effective approach is to keep wall units and the main counter run in a pale, existing shade, then choose a contrasting island colour, such as a deep blue, sage green, or charcoal, paired with warm brass or brushed nickel hardware.
If a strong contrast feels risky, matching the island’s door style and handle finish to your existing cabinets, even if the colour differs slightly, keeps everything looking like one considered scheme rather than two kitchens bolted together. Worktop material is another easy way to tie things together. A timber look or stone look laminate on the island that echoes tones already in your flooring or splashback usually reads as intentional rather than mismatched.
Lighting also plays a bigger role than most people expect in making a retrofitted island feel like it belongs. Hang pendant lights centred over the island’s midpoint, using two pendants for a shorter island and three for a longer run, and keep the light temperature consistent with the rest of your kitchen so the new addition does not look like an afterthought.
Conclusion
Adding a kitchen island to any kitchen comes down to three honest checks: whether you actually have the clearance space, whether you need plumbing or electrics run in, and whether a fixed island, peninsula, or mobile cart genuinely suits how you cook and gather. Get those three things right before you fall in love with a particular worktop or colour, and the rest of the project becomes far more straightforward. Measure first, plan the services early, and choose the island type that matches your kitchen’s real proportions rather than the one you have seen in photos.
FAQs
Can I add a kitchen island to an existing kitchen?
Yes, in most cases, provided you have enough clear floor space on every side, usually at least 900mm to 1200mm, and you plan any plumbing or electrical work before the cabinetry goes in.
How much space do I need for a kitchen island?
Aim for a minimum of 900mm to 1200mm of clearance on every side, increasing to around 1060mm to 1220mm on any side with seating, so people can move and sit comfortably.
What is the minimum kitchen size for an island?
As a general guide, a kitchen needs to be roughly 3 metres wide once cabinetry depth is subtracted before a standard fixed island fits comfortably. Smaller kitchens usually do better with a peninsula or mobile cart.
How much does it cost to add a kitchen island to an existing kitchen?
A simple island with no plumbing typically costs somewhere between £800 and £2,500, while one with a sink or hob and the associated pipework and wiring often runs from £2,500 to £6,000 or more, varying by country and worktop choice.
Do I need an electrician to add a kitchen island?
Yes, if the island will include a socket, hob, or any wired appliance, a qualified electrician should handle the new circuit, and a plumber is usually needed too if you are adding a sink.
Can you add a kitchen island without plumbing?
Absolutely, and it is by far the simpler route. An island used purely for prep space, storage, and seating needs no pipework at all, which keeps both cost and installation time down considerably.
Is a peninsula better than an island for a small kitchen?
For many small kitchens, yes, since a peninsula only needs clearance on three sides and uses an existing wall for support, making it easier to fit without eating into walkway space.
What is the standard height and depth for a kitchen island?
Standard counter height sits around 900mm (36 inches), with island depth commonly built at either 600mm or 900mm depending on whether you need a single or double row of cabinets back to back.