
How to Plan Clearances and Heights for Wall Panelling

The height of the panelling and the clearances around it decide whether the finished wall looks intentional or awkward. Too low and it feels unfinished. Too high and it crowds the windows or the furniture. The clearances for skirting, sockets, and movement matter just as much. This guide covers the practical measurements a UK homeowner needs before any board is ordered or cut.
Standard Heights That Work in Most Rooms
On a typical UK ceiling of 2.4 m, dado-height panelling looks balanced between 800 mm and 1200 mm from the finished floor. The lower end suits a more traditional look and leaves more wall above for art or a mirror. The higher end gives more protection and a stronger horizontal line. Test both with a length of timber or a pencil mark and step back to the doorway. The height that feels right from the entrance is usually the one to keep.
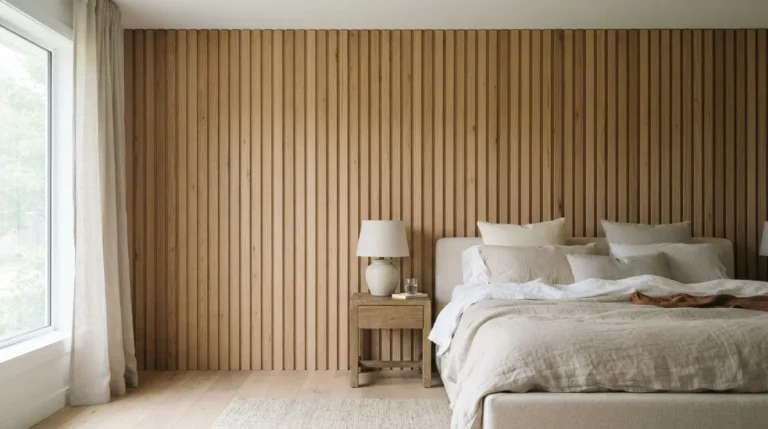
Full-height panelling changes the proportions of the room. It can make a low ceiling feel higher if the lines run vertically, but it also reduces the sense of width. Use it on one wall only in smaller rooms. On a chimney breast it works well because the breast is already a vertical feature.
Clearance Above the Skirting and Below the Capping
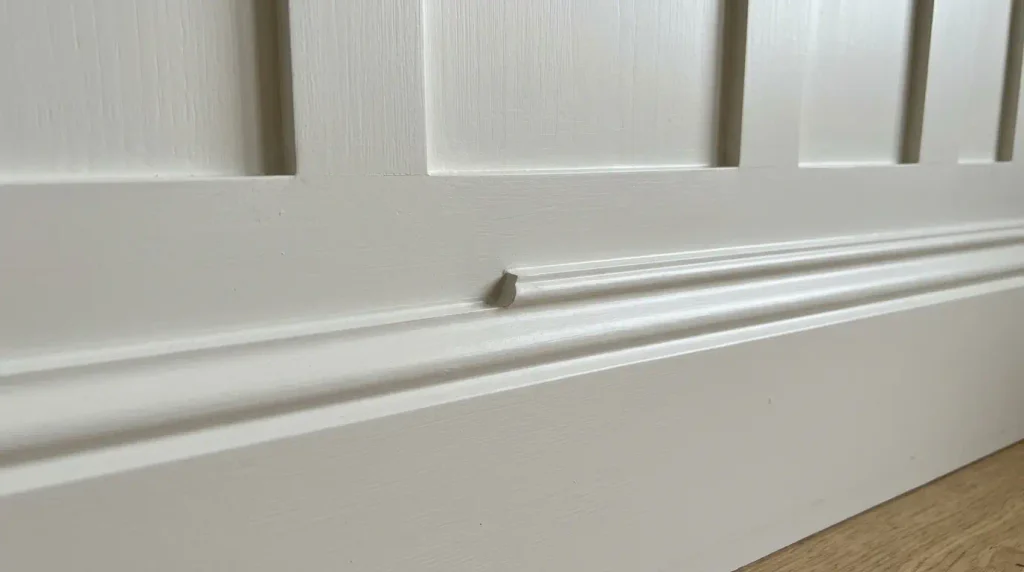
If the panels sit on top of the existing skirting, the skirting must project at least as far as the panel thickness, usually 9 mm or 12 mm. Otherwise the panels stick out and the joint looks unfinished. Many people remove the skirting, fit the panelling down to the floor, and refit a deeper skirting that covers the bottom edge. This gives a cleaner line and hides the expansion gap.
At the top, leave a few millimetres between the top of the boards and the capping rail so the boards can move. The rail then covers the gap. On full-height work, leave a similar small gap at the ceiling and cover it with a cornice or a simple trim. These gaps are small but they prevent the boards from bowing when the heating is on.
Clearance Around Furniture and Movement
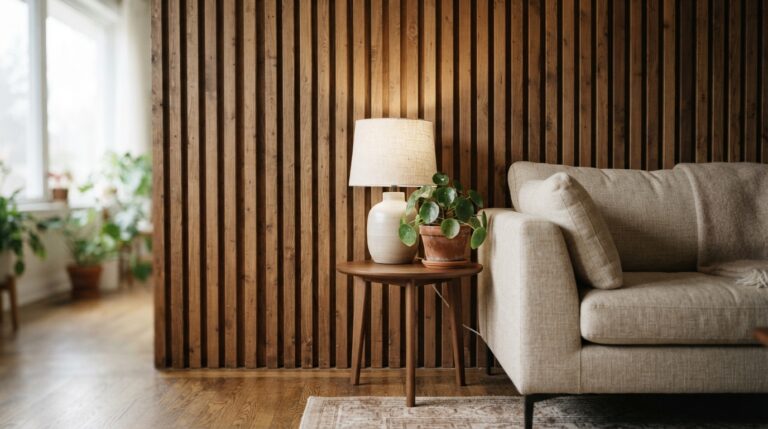
Behind a sofa, leave at least 50 mm so the fabric does not rub the panelling when people sit down. In a hallway, check that the panelling does not reduce the clear width below 900 mm at the narrowest point, especially if the hallway already has furniture or a radiator. Around a dining table, the usual 900 mm clearance from the table edge to the wall still applies so chairs can be pulled out.
If the panelling is on the wall next to a doorway, make sure the door can open fully without catching the new surface. Measure the swing before you start. A thicker panel or a deeper trim can reduce the clear opening more than expected.
Sockets, Switches, and Service Clearances
Sockets and light switches need to sit flush with the new surface. You may need to extend the boxes or use deeper faceplates. Plan the cut-outs on a dry-fit so the holes are accurate. Leave enough room around radiators for heat to circulate; a small gap at the top and sides is usually enough. Do not cover a radiator with panelling unless the manufacturer confirms it is safe.
If you are running new cables behind the panelling, use the void created by battens. Keep cables clear of any fixing points and follow the usual rules for cable routes. The panelling should not make future access to sockets or junction boxes harder than necessary.
Windows, Doors, and Architectural Features
Stop the panelling short of the window board or carry it up to the sill and finish with a clean trim. The choice depends on the window type and how much light the room gets. On a bay window, treat each section separately and plan the angled cuts so the joints stay neat. Around a fireplace, leave a clear margin so the panelling does not sit too close to the heat source. Check the manufacturer’s guidance for the minimum distance.
Architraves will project further into the room once the panelling is fitted. If the new projection looks heavy, you may need a slightly deeper architrave or a careful scribing of the existing one. Measure this before you order the trim so everything arrives together.
Ordering and Cutting Allowances
In hallways the clear width is the measurement that matters most. Building Regulations and simple practical use both favour at least 900 mm of clear space at the narrowest point. If the panelling and the new skirting reduce that width, consider a thinner profile or panelling on one side only. Measure with the doors open and with any console table or radiator in place so the real clearance is clear before you order.
Around windows, the relationship between the panelling height and the window board affects both light and the finished look. Stopping the panelling below the board keeps the window area open. Carrying it up to the sill and finishing with a neat trim can make the window feel more integrated. Test both with cardboard or a temporary batten and see which one feels better in the room’s light. The choice is easier to reverse before the boards are cut to length.
These measurements also help when you order the capping rail and the skirting. The rail needs to be long enough for the runs and the skirting needs to be deep enough to cover the bottom of the boards. Ordering them at the same time as the panelling avoids a second delivery and a mismatch in profile or colour.
Conclusion
Clearances and heights are the decisions that make panelling look planned rather than added. Choose a height that works with the furniture and the ceiling, leave the correct gaps for movement and for the skirting, and check the swing of doors and the position of sockets before you cut. These measurements take an hour and save a much longer correction later.
FAQs
What is a good height for dado panelling?
Between 800 mm and 1200 mm on a 2.4 m ceiling. Test both with a temporary mark before you commit.
How much clearance do I need behind a sofa?
At least 50 mm so the fabric does not rub the panelling in daily use.
Do I leave a gap at the top of the panelling?
Yes, a few millimetres for movement, covered by the capping rail or cornice.