How to Build Garden Decking Step by Step

Building garden decking comes down to five stages done properly: preparing the ground, laying the footings, building the joist frame, fitting the boards with the right expansion gaps, then finishing and protecting the timber. Most decking that ends up buckled, sagging, or rotting within a few years traces back to one of these stages being rushed, not to the decking material itself.
Check What You Actually Need Before You Start
Decide between a ground-level deck and a raised one before buying anything, since a raised deck over roughly 30cm needs additional structural consideration and, in some countries, building consent, so check your local rules if you’re planning anything above a modest height. Material choice affects both cost and ongoing maintenance meaningfully.
| Material | Typical Cost | Maintenance |
| Pressure-treated softwood | Lower end of the budget | Needs re-oiling or re-staining every year or two |
| Hardwood | Mid to higher | More durable, less frequent treatment, but pricier upfront |
| Composite | Higher upfront | Low-maintenance, no sanding or staining, but can feel hot underfoot in direct sun |
Softwood decking is the most budget-friendly starting point but needs the most ongoing care to stay looking good and resist rot. Composite costs more initially but skips the annual treatment cycle entirely, worth it if you’d rather spend on the deck once than maintain it every spring.
Step 1: Mark Out and Prepare the Ground
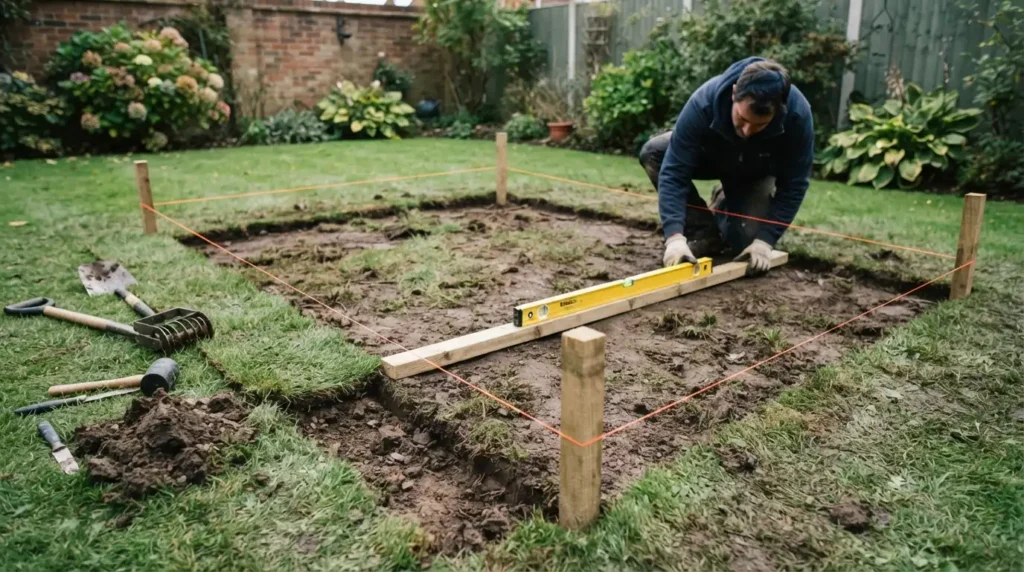
Measure your planned area and mark each corner with a peg, then run a builder’s line between them so you can see the site clearly before digging anything. Clear away turf, weeds, and any rocks, cutting a clean edge with an edging tool first makes this considerably neater. Use a straight edge with a spirit level on top to check the ground is level, correcting any unevenness now rather than trying to compensate for it later in the build. Before digging any footing holes, check for buried cables or pipes first, a cable avoidance tool is worth hiring for this rather than guessing, since discovering a cable mid-dig is a genuinely serious problem to solve after the fact.
Step 2: Lay the Footings
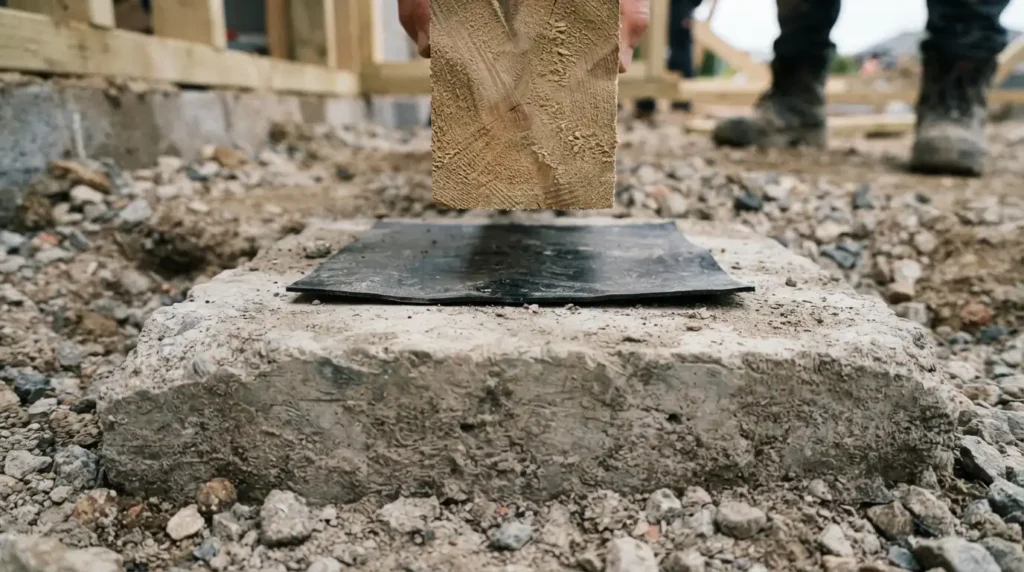
For anything beyond a very small, temporary deck, concrete pad footings genuinely extend the structure’s life compared with laying joists straight onto the ground. Dig holes roughly 150mm square and 150mm deep at intervals of around 1.2 metres across the planned area, fill with quick-drying concrete to just above ground level, and check each pad is level with its neighbours before the concrete fully sets. Once hardened, cover the whole area with weed control fabric, cut around the pads, then add a 40-50mm layer of gravel for drainage. Lay a square of damp-proof material between each concrete pad and the joist that will sit on it, this one detail does a lot of quiet work preventing moisture wicking up into the timber over years of contact.
Step 3: Build the Joist Sub-Frame

Before committing to any cutting, do a dry run: lay the joist frame out and position boards on top to check you won’t end up with an awkward thin sliver of board at the final row. Standard joist spacing typically runs around 400-450mm centre to centre for most residential decking, though check the specific span rating for your joist size and material rather than assuming one figure fits every build. Assemble the outer frame first, using coach screws at each corner with a pre-drilled pilot hole to stop the timber splitting, then fix the inner joists across the frame at your planned spacing. If a run needs joining across more than one length of joist, sandwich the join with off-cut sections on both sides for real strength rather than relying on a single butt joint.
Step 4: Cut and Treat the Boards Before Fitting

Measure and mark each board before cutting, and apply a protective end grain treatment to any freshly cut or exposed timber edge before it goes anywhere near the frame, this includes joists and posts, not just the visible decking boards. Composite boards skip this step entirely, no sanding or treating needed, which is part of where their higher upfront cost gets paid back over time.
Step 5: Lay and Fix the Decking Boards
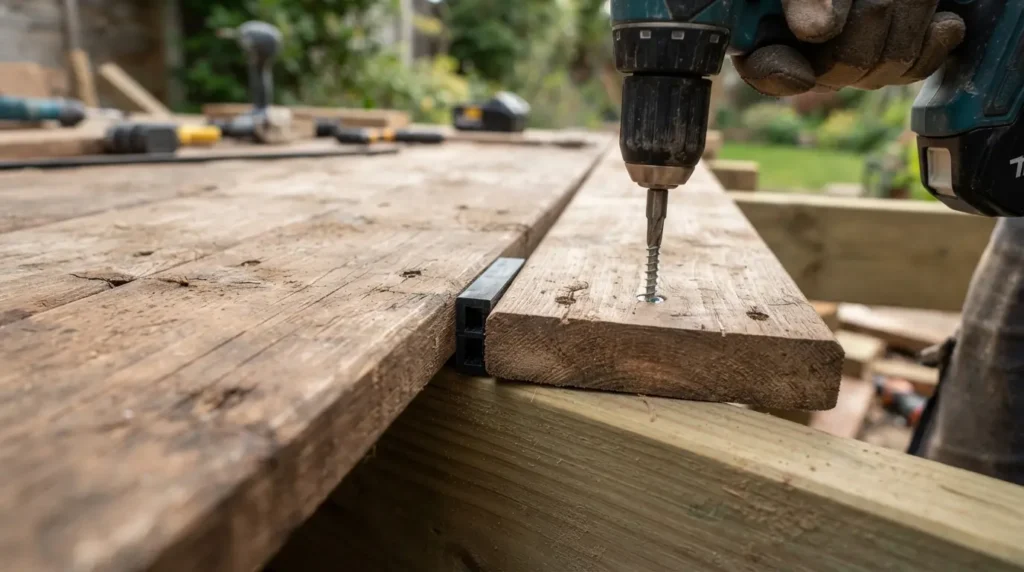
Start in one corner and lay the first board across the joists, running perpendicular to them, flush with the frame edge. Leave a genuine expansion gap as you go, typically 5-8mm along the board’s length and around 3mm at any end-to-end join, timber decking moves with moisture and temperature, and skipping this gap is one of the most common reasons a deck buckles or the boards start pushing against each other within the first year. Fix each board into every joist it crosses with two screws per joist, positioned at least 15mm from the board’s end and 20mm from its outside edge, and drill a pilot hole first to avoid splitting. Stagger the end joins across different rows rather than lining them up, this spreads the structural load and looks more considered than a repeated seam running across the deck.
Finish and Protect the Deck
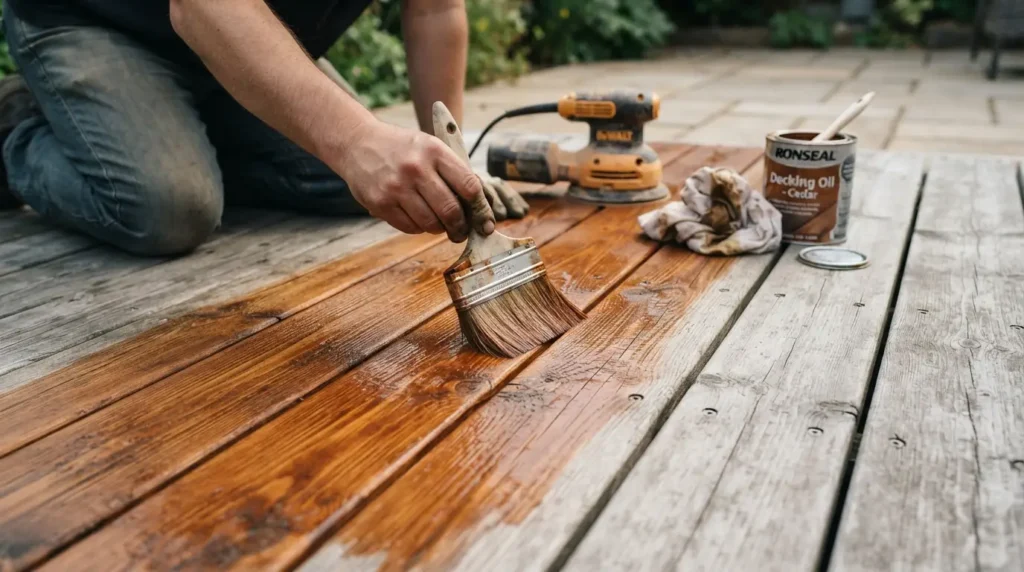
Once all the boards are down, sand any rough cut edges, then apply a decking stain, oil, or exterior wood paint suited to the timber. This is the maintenance point worth being honest about: timber decking genuinely needs this reapplied every year or two to keep moisture out and prevent the surface greying and splitting, it’s not a one-off task, and skipping it is the most common reason a good-quality timber deck looks tired within a few years despite being structurally sound underneath.
Common Decking Mistakes to Avoid

The most frequent mistake is skipping or underestimating the expansion gap, boards laid tight together look neat on day one and buckle within months as the timber moves. The second is laying joists straight onto poorly prepared ground without proper drainage underneath, moisture trapped against the underside of the frame is what actually causes rot, not just rain falling on the surface. The third is treating the finish coat as optional rather than an ongoing task, a deck built well but never re-oiled will still look weathered and tired years before a lower-spec deck that’s properly maintained.
Final Thoughts
Building garden decking step by step really comes down to getting the groundwork and joist frame right before a single board goes down, since that’s what determines whether the deck lasts decades or starts sagging within a couple of years. Take the time on drainage, footings, and expansion gaps, and the finished deck will genuinely hold up to daily use, not just look good in the first summer.
FAQs
How much does it cost to build a deck?
Costs vary considerably by size, material, and whether you’re hiring help or doing it yourself. Pressure-treated softwood sits at the lower end, hardwood in the middle, and composite at the higher end upfront, though composite’s lower maintenance can offset some of that difference over several years.
Do I need planning permission for decking?
In most cases, no, particularly for a ground-level or low deck, but rules vary by country and by height, a raised deck over a certain height more commonly needs consent. Check your specific local regulations before building anything substantial.
What’s the standard joist spacing for decking?
Around 400-450mm centre to centre is typical for residential decking, but always check the span rating for your specific joist size and decking material rather than assuming this figure applies universally.
How long does it take to build a deck?
A straightforward ground-level deck is realistically a weekend project for someone comfortable with basic carpentry, while a larger or raised deck with more complex footings takes considerably longer. Add time for the finish coat to dry before use.
Is composite or timber decking better?
Neither is universally better. Timber costs less upfront and gives a natural look but needs regular re-oiling or staining, while composite costs more initially but stays low-maintenance for years, the right choice depends on whether you’d rather pay more now or spend more time maintaining it later.