
How to Cut and Install MDF Wall Panels Step by Step

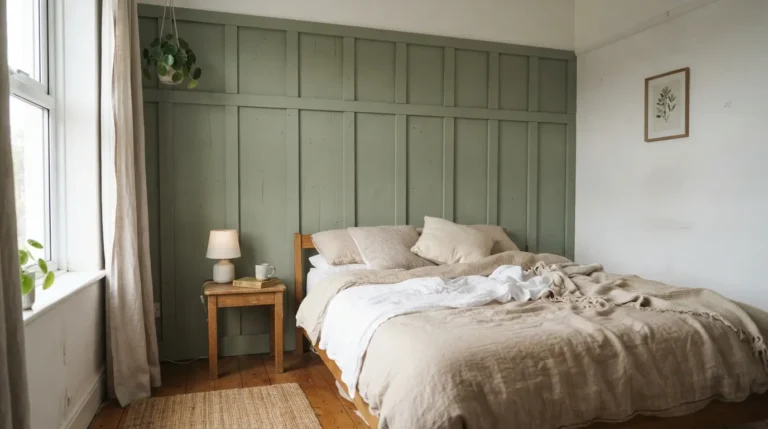
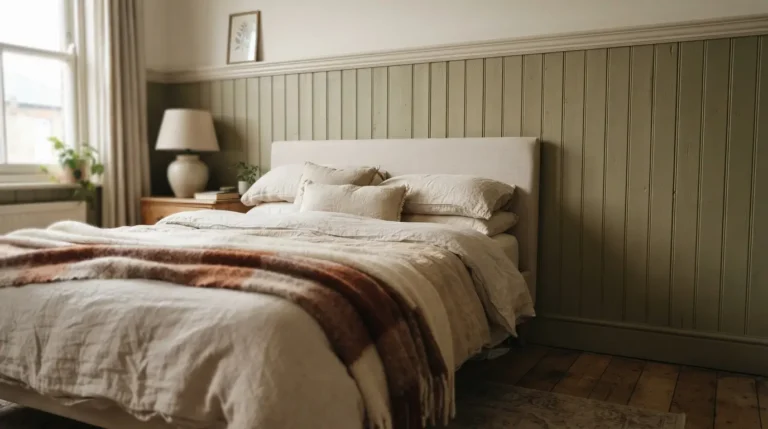
Cutting and installing MDF wall panels creates a smooth, paintable surface that looks finished without the cost or weight of solid timber. The material is dimensionally stable when primed correctly, takes paint evenly, and works for both full-height feature walls and lower dado-style panelling common in UK homes. The key is accurate measuring before any cuts, supporting the board properly during cutting, and fixing into a dry, flat substrate with the right combination of adhesive and mechanical fixings.
Many UK houses have walls that are slightly out of square or have minor undulations. Checking the wall first prevents gaps and rocking panels later. Combine this method with the techniques in how to add wall panelling to a living room if you want to blend MDF panels with other detailing such as mouldings or painted finishes.
Prepare the Wall and Gather Materials
Start by clearing the wall of skirting boards, picture rails, loose wallpaper, and any nails or hooks. Fill deep holes with a suitable filler and sand high spots so the panels will sit flat. Use a long straight edge or spirit level held vertically and horizontally to find the flattest plane. Mark a horizontal reference line 20–30 mm above the finished floor level. This line becomes the bottom edge of the panelling and leaves room for the expansion gap plus any flooring or skirting that will be fitted later.
Standard sheet sizes are 2440 mm by 1220 mm. For most walls choose 12 mm thickness; it is rigid enough to span typical stud centres and resists minor movement better than 9 mm. Moisture-resistant MDF is worth the extra cost in kitchens, bathrooms, or any room that experiences higher humidity. You will also need a fine-tooth circular saw or track saw blade, a sharp scoring knife, high-grab panel adhesive, panel pins or screws, a stud finder, spirit level, tape measure, and dust extraction. Cut outdoors or with a vacuum attached because MDF dust is fine and harmful to breathe. Always wear a mask and eye protection.
Check access for full sheets through doorways and up stairs before ordering. If access is tight, ask the supplier to cut the sheets into more manageable sizes, but leave final trimming to yourself so you can account for any wall irregularities. Order 10–15 per cent extra to cover mistakes and future repairs.
Measure and Cut the Panels Accurately
Measure the wall height and width in at least three places and use the smallest dimension. Subtract the expansion gaps (typically 5–10 mm all round). Mark the cut lines on the reverse face of the board. Score the face side of the cut line with a sharp knife to reduce chipping, then cut from the back using a fine-tooth blade. Support the board fully on both sides of the cut so the offcut does not drop and tear the edge. A track saw gives the straightest results; a circular saw with a clamped straight edge is the next best option.
For vertical panels, cut the length first and keep the factory edge on the most visible side where possible. For horizontal layouts, cut the width. Dry-fit every panel before applying adhesive. Walls in older UK properties are often out of square by several millimetres over a 2.4 m height, so cutting every board to an identical length without checking will leave uneven gaps. Label each panel as you cut it so you know which position it is intended for.
If the design includes a shadow gap or open joint, leave a consistent 3–5 mm and mark the positions clearly. Cut openings for sockets and switches before the panel is fixed. Make a cardboard template from the existing back box and transfer it accurately. It is far easier to adjust a cut-out while the panel is still on the bench than after it is stuck to the wall.
Fix the First Panel and Build Out
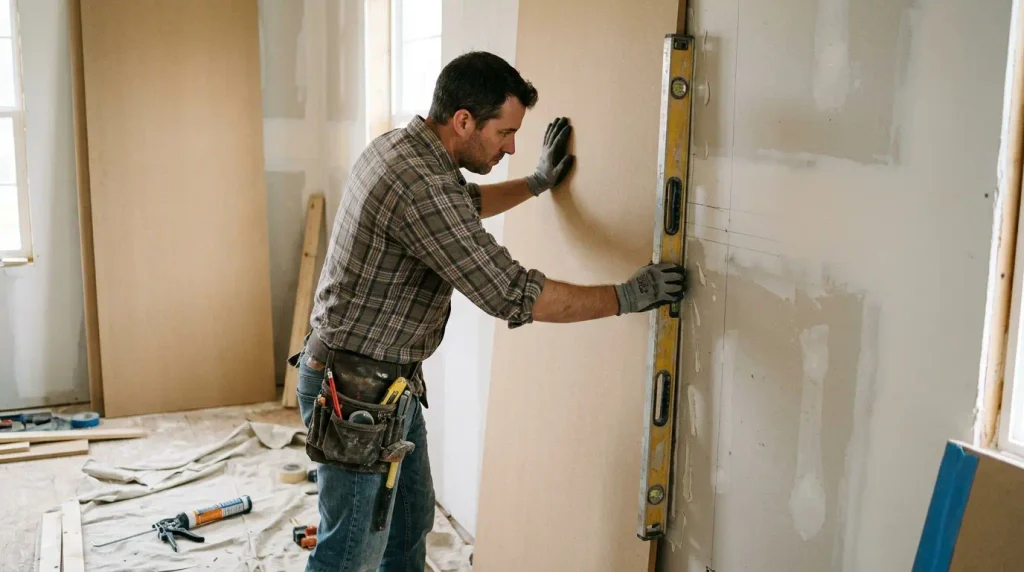
Apply adhesive in a continuous bead around the perimeter and in a zigzag or grid pattern across the centre of the panel. Press the first panel firmly into place against your reference line, checking it is both plumb and level. Hold it while the adhesive grabs, then pin or screw at roughly 300–400 mm centres along the edges and into any studs you have located. Leave the expansion gap clear at the bottom and sides; use temporary spacers cut from offcuts to maintain the gap until the adhesive sets.
Work methodically from one corner or from the centre of a feature wall, depending on the design. Butt joints should be tight and flush. If a small gap appears, it can usually be filled later with flexible filler, but large gaps mean the previous panel was not positioned correctly. On plasterboard walls, fix into the studs wherever possible and rely on adhesive for the spaces between. On solid masonry, a combination of adhesive and mechanical fixings is the safest approach. Avoid fixing only with adhesive if the wall has any residual movement or if the panels are large.
Check each panel with the spirit level as you go. A small error on the first panel compounds across the wall. Once several panels are in place, step back and look along the surface to spot any that are proud or recessed. Adjust immediately if needed before the adhesive fully cures.
Finish Edges, Joints and Top
After all panels are fixed and the adhesive has cured (usually 24 hours), fill any small gaps or pin holes with a flexible filler suitable for MDF. Sand smooth once dry, taking care not to damage the face of the panels. Fit skirting boards or create a clean shadow gap at the base. At the top, either stop the panelling cleanly below a picture rail or cornice, or continue it full height and finish with a simple top trim. Prime every cut edge and the entire face before painting. Bare MDF absorbs paint unevenly and will show through the top coats if left unprimed.
Use a water-based primer followed by two coats of emulsion or eggshell. In kitchens or bathrooms, choose a moisture-resistant grade and a finish that can be wiped clean. Allow full cure time before placing furniture against the wall. For kitchen applications, the detailing around worktops and splashbacks needs extra care; the approach described in how to add wall panelling to a kitchen covers the additional clearances and sealing required.
Common Mistakes and Checks Before Ordering
The most frequent errors are cutting all boards to the same length without checking the wall, forgetting expansion gaps, and painting without priming cut edges. Another common issue is fixing over damp plaster or residual wallpaper, which traps moisture and causes the panels to swell. Test any existing paint for adhesion by scoring a small area; high-sheen finishes may need sanding or a bonding primer.
Before ordering, confirm the exact thickness and grade with your supplier. Check that full sheets will fit through your access routes. Measure twice around existing sockets, radiators, and windows. If the wall is very uneven, consider fixing battens first to create a flat plane, then attach the panels to the battens. This adds depth but guarantees a true surface. Always allow extra material for mistakes; returning to the supplier for one more sheet mid-project is frustrating and can delay the finish.
Conclusion
Cutting and installing MDF wall panels is a practical project that delivers a clean, contemporary finish when the measuring, cutting, and fixing stages are done carefully. Prepare the wall, leave consistent expansion gaps, prime all edges, and check each panel as you go. The result is a durable, paintable surface that suits both modern and traditional UK interiors without the cost of solid timber.
FAQs
What thickness of MDF is best for wall panelling?
12 mm is the most practical thickness for most walls. It is rigid enough to span typical stud centres and resists minor movement better than 9 mm. Use 18 mm only if you need extra strength for heavy fittings or very large panels.
Do I need to seal the edges of MDF panels?
Yes. All cut edges must be primed before painting. Unsealed edges absorb moisture and paint unevenly, leading to swelling and a patchy finish that is difficult to correct later.
Can I install MDF panelling in a bathroom?
Only with moisture-resistant MDF and careful detailing. Leave expansion gaps, use waterproof adhesive, and finish with a suitable top coat. Full tiling remains the safer option in direct wet zones such as showers.
How much expansion gap should I leave?
Leave 5–10 mm around the perimeter. In rooms with higher humidity aim for the larger figure. Cover the gap with skirting or a flexible sealant once the panels are fixed.
What adhesive works best for MDF wall panels?
A high-grab construction adhesive formulated for MDF or general panel fixing. Apply in a continuous bead around the edge and across the centre, then combine with pins or screws for security.
How do I cut MDF without chipping the face?
Score the face with a sharp knife first, then cut from the reverse side with a fine-tooth blade. Support the board fully on both sides of the cut and use a track saw for the straightest results.