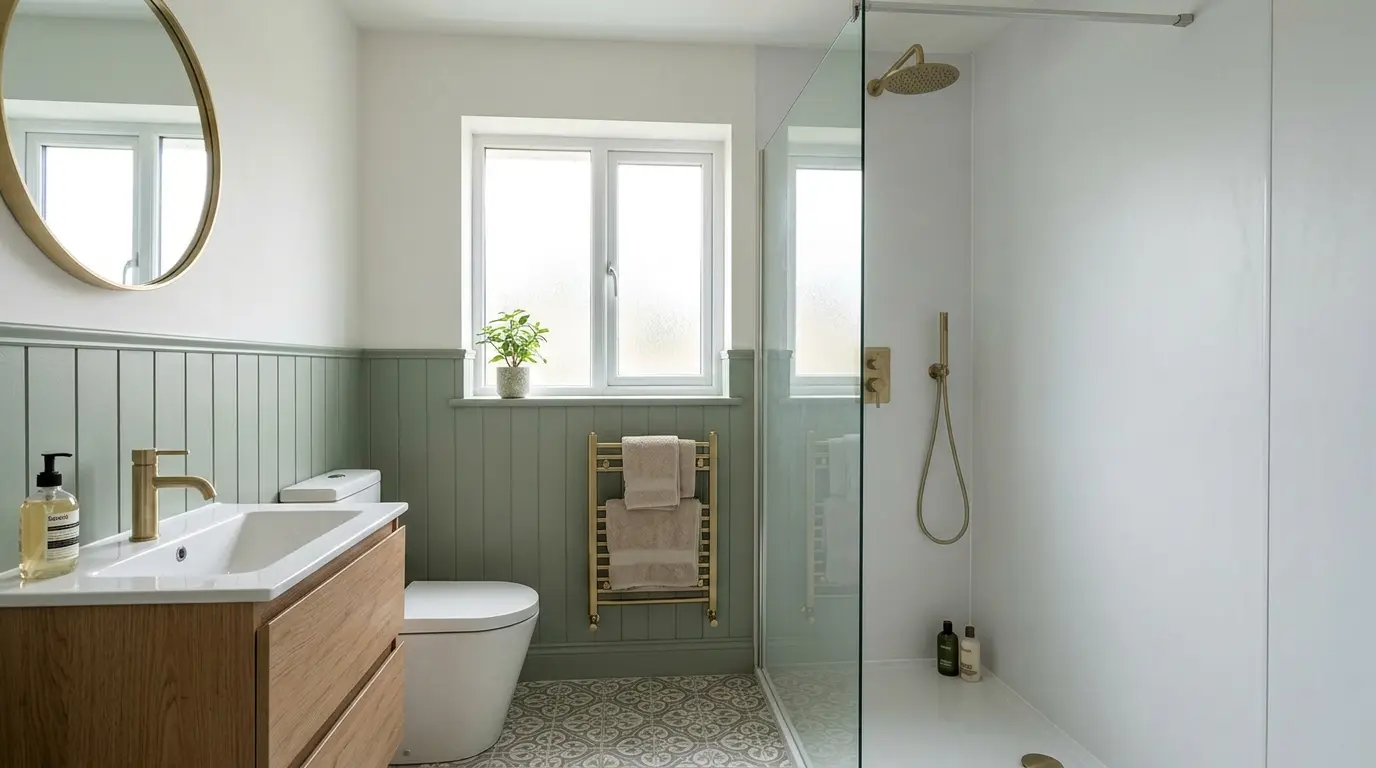
10 Bathroom Wall Panelling Mistakes to Avoid

Bathroom wall panelling can look sharp and be easier to clean than tiles, but only if the material and the sealing are right for the wet zone. Most problems appear months later as swollen boards, mould behind the panels, or joints that have opened. These ten mistakes are the ones that show up most often in UK bathrooms. Avoiding them saves a second round of work and a higher bill.
1. Using Standard MDF in the Splash Zone
Standard or even moisture-resistant MDF is not designed for direct shower spray. It will swell at the edges and the paint will fail. Reserve MDF panelling for the dry walls opposite the bath or behind the basin if there is no spray. In the shower enclosure and on the wall above the bath, use purpose-made PVC or composite waterproof panels. Check the product is rated for wet areas and is at least 8 mm thick.
If you want the look of painted joinery in a bathroom, keep the MDF at least 300 mm away from any water source and ensure the room has a properly sized extractor fan. Even then, the risk is higher than with waterproof panels.
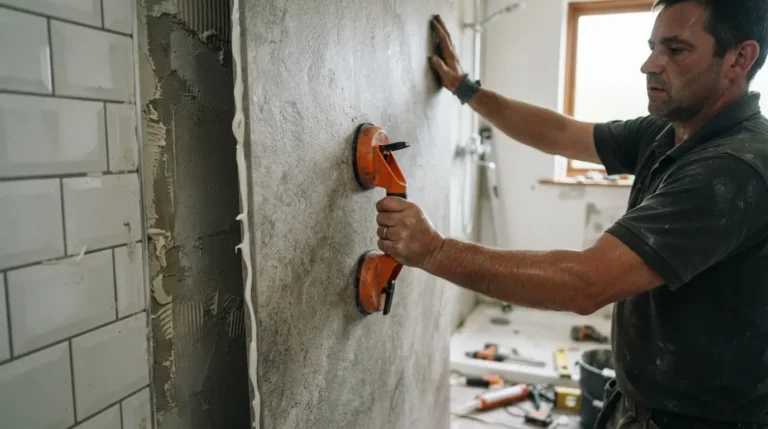
2. Skipping the Substrate Preparation
Panels need a flat, dry, sound surface. Fitting over damp plaster, loose tiles, or crumbling board means the adhesive fails and water can sit behind the panels. Remove anything that is not solid. If the wall is uneven, fit a moisture-resistant backing board first. In a full wet room the walls should also be tanked with a liquid membrane before the panels go on, so any water that gets past a seal cannot reach the structure.
Allow the substrate to dry completely. A moisture meter is useful here. Starting too soon is one of the reasons panels lift at the edges within the first year.
3. Poor Sealing at Joints and Corners
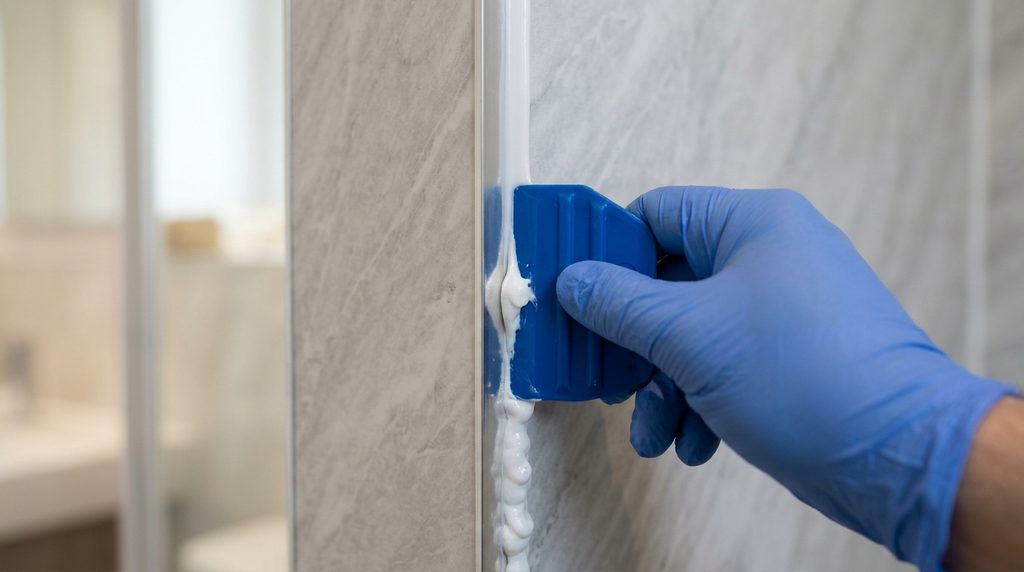
The panels themselves may be waterproof, but the joints are not unless you seal them. Use a sanitary-grade silicone on every edge, corner, and penetration. Apply it to clean, dry surfaces and tool it smooth. Missing the seal behind the trim or at the bath junction is the most common route for water to get behind the panels. Re-seal any joint that shows cracking after the first few months.
Do not rely on the adhesive alone. Follow the panel manufacturer’s guidance on both the adhesive and the sealant. Using the wrong product is a frequent cause of early failure.
4. Ignoring Expansion Gaps
PVC and composite panels move with temperature. Leaving no gap at the ends or against the ceiling can cause the panels to bow or the joints to open. Most systems need a few millimetres that are then covered by the trim. Check the fitting instructions for the exact gap required and do not force the last panel into a tight space.
The same principle applies if you are mixing materials. MDF and PVC expand differently, so the joint between them needs a flexible seal.
5. Wrong Adhesive or Insufficient Fixing
Not every grab adhesive is suitable for wet areas or for the weight of the panels. Use the product recommended by the panel supplier. Apply it in the pattern they specify, usually a continuous bead around the edges and a zigzag in the middle. On larger panels, add mechanical fixings into studs where possible so the panel cannot creep while the adhesive cures.
Allow the full curing time before the shower is used. Most systems need at least 24 hours. Using the bathroom too soon is a simple way to weaken the bond.
6. Cutting Around Pipes and Sockets Without a Plan
Every cut is a potential leak path. Measure carefully and cut the panel so the hole is slightly smaller than the fitting, then seal around the pipe or the back of the socket box. Extend socket boxes if necessary so the faceplate sits flush. Test the fit dry before any adhesive is applied. A gap that looks small on the bench becomes a problem once the panel is fixed and water is running.
If you are unsure about the sealing around a pipe, use a purpose-made pipe collar or extra silicone and check it after the first few showers.
7. Choosing Panels That Are Too Thin
Panels under 8 mm flex more and show the wall behind them. They also feel less solid and can crack at the joints under normal use. For shower walls, 10 mm or thicker is a safer choice. Thinner panels may be fine on a dry wall, but they are not the right product for the wet zone. Check the thickness on the specification sheet rather than relying on the marketing photo.
Thicker panels also hide minor wall imperfections better, which reduces the amount of preparation required.
8. Forgetting Ventilation
Even waterproof panels cannot stop condensation if the room has no effective extractor. Moisture will sit on the surface and can still find its way into any imperfect seal. Make sure the fan is sized for the room and is ducted to the outside. A panelled bathroom that steams up and stays damp will develop mould on the seals and trims within a year.
Open the window after showers as well. The combination of a good fan and a short period of ventilation keeps the room drier and the seals in better condition.
9. Mixing Too Many Materials
Using PVC panels in the shower, MDF on one dry wall, and tile on another can look disjointed and creates more joints that need sealing. Decide on one main system for the wet areas and keep any decorative MDF to the clearly dry walls. The fewer transitions you have, the fewer places water can enter.
If you do mix materials, make the change at a clear vertical line and seal it properly. Do not leave an exposed plasterboard edge in the wet zone.
10. Not Checking the Warranty and Fitting Guide
Many panel warranties require the use of the manufacturer’s adhesive, sealant, and trims, and they require the substrate to be prepared in a specific way. Ignoring the guide can void the warranty and leave you with a problem that is expensive to fix. Read the fitting instructions before you order so you buy the correct accessories at the same time.
Keep the instructions and the batch numbers. If a problem appears later, this information makes any claim simpler.
Conclusion
Bathroom panelling lasts when the material matches the wet zone, the substrate is sound and dry, and every joint is sealed with the right product. Avoid standard MDF in the splash area, leave the correct expansion gaps, and follow the manufacturer’s guide. The result is a bathroom that stays clean and dry without the maintenance of traditional tiles.
FAQs
Can I use MDF panelling in a bathroom at all?
Yes, on dry walls well away from direct water, provided the room is well ventilated. Keep it out of the shower and bath splash zone.
Do waterproof panels need tanking behind them?
In a full wet room, yes. The panels are the finish; the tanking protects the structure if any seal fails.
How thick should shower panels be?
At least 8 mm, and preferably 10 mm or more for the walls that take direct spray.