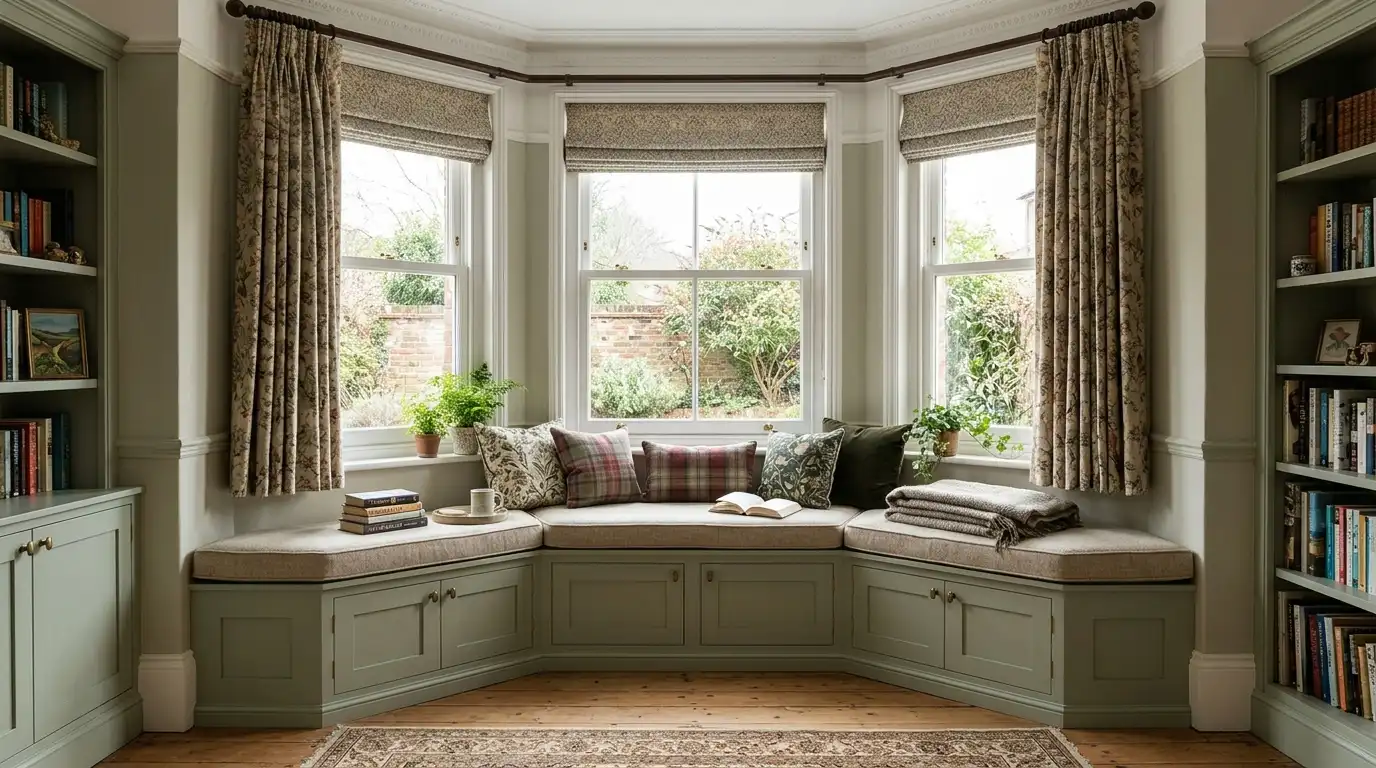
How to Build a Window Seat Step by Step

Building a window seat creates a useful seating and storage area in UK homes, particularly in bays, alcoves or under larger windows. The project requires accurate measuring of the opening, consideration of structural support, and choices of materials that suit the room’s use and moisture levels. Follow these steps carefully to achieve a safe, functional result that fits the available space.
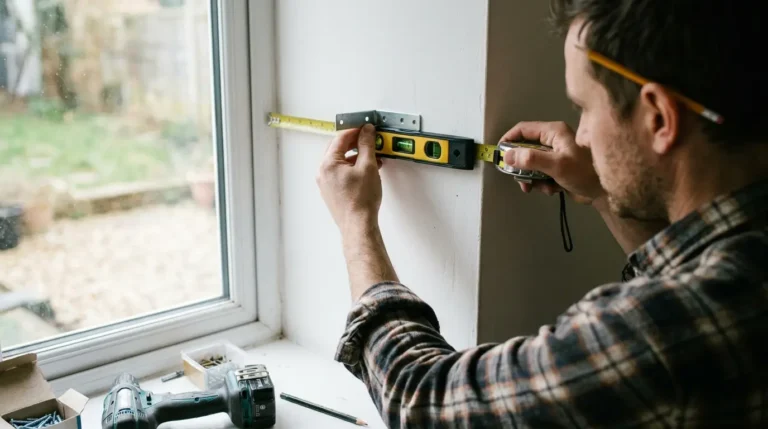
Before starting, measure the width, depth and height of the proposed seat area. Confirm the window opens fully with the seat in place and that radiators or pipes are not obstructed. Check floor levels and wall squareness. How to measure windows for curtains correctly
Plan the Size, Height and Support
A comfortable seat height is typically 450-500 mm from the finished floor, similar to a standard chair. Depth should allow at least 400 mm of seating surface while leaving clearance for the window to open. In bay windows, follow the shape of the bay and measure each section. Decide whether the seat will include storage; hinged lids or drawers require additional internal height and strong hinges.
Support can come from a timber frame fixed to the walls and floor, or from legs if the seat is freestanding. In older UK homes, check for solid fixing points. Avoid covering air bricks or restricting ventilation. Sketch the plan with dimensions before buying materials.
Choose Materials and Prepare the Area
Use moisture-resistant MDF or plywood for the carcass in most rooms; solid timber or treated softwood for visible frames. In bathrooms or kitchens near windows, choose materials that tolerate humidity. Cushion foam should be firm enough for seating (typically 100-150 mm thick) and covered in a fabric suitable for the room. Clear the area, protect the floor, and mark the exact outline on the walls and floor.
Gather screws, brackets, hinges and a suitable finish such as paint or oil. Confirm all measurements again after any wall preparation. Common mistake: building too deep so the window cannot open or the seat projects into the room awkwardly.
Construct the Frame and Base
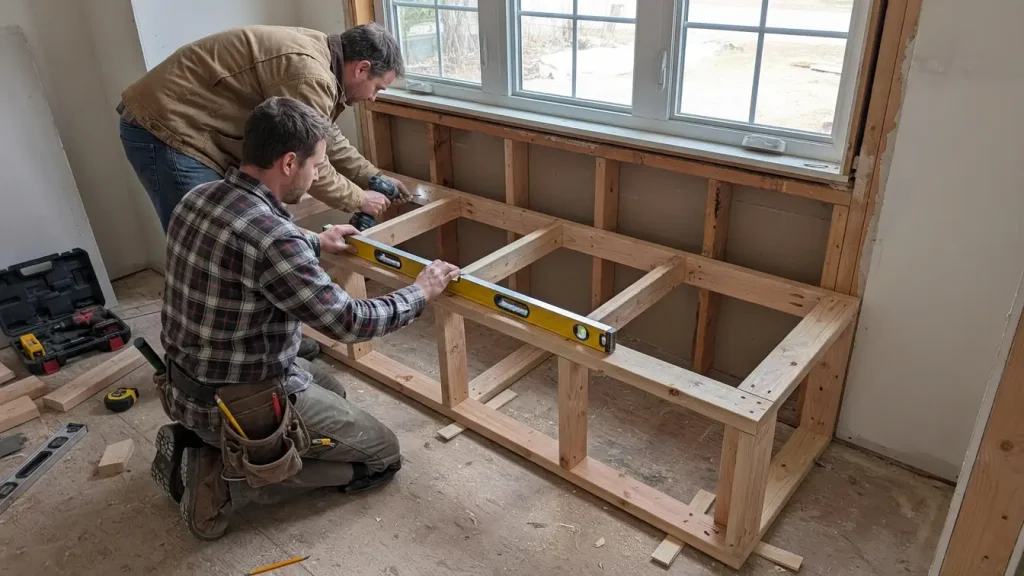
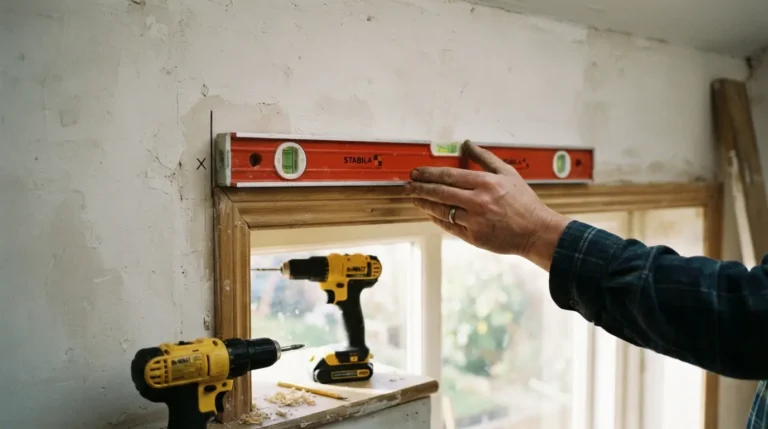
Build a rectangular or shaped timber frame to the planned external dimensions. Fix it securely to the walls using appropriate plugs and screws, checking level and square at every stage. Add intermediate supports every 400-600 mm so the top does not flex. If including storage, create internal divisions and ensure the lid or drawers have adequate clearance to operate. In bay windows, mitre or scribe the frame to follow the angles accurately.
Fix the base panel if the seat is enclosed. Leave access for any services. Double-check that the finished height will be correct once the top and cushion are added. Use a spirit level frequently.
Fit the Top, Storage and Cushion
Cut the top panel to fit, allowing a small overhang if desired for a finished edge. Hinge the lid if storage is included, using robust hinges that support the weight. Sand all edges smooth. Apply paint, stain or oil according to the room and material. Cut high-density foam to size and cover it with the chosen fabric, securing it so it does not shift. In living rooms a removable cover is practical for cleaning.
Test the lid operation and seating comfort before final fixing. Ensure no sharp edges remain. In period homes, choose a finish that complements existing joinery.
Finish, Safety Checks and Window Compatibility
Seal any gaps to the walls neatly. Confirm the window still opens, closes and locks fully. Check that curtains, blinds or shutters can still operate without catching the seat. If the seat is near a radiator, ensure airflow is not blocked. Load-test the seat with weight to confirm stability. In homes with children, ensure lids have stays or soft-close mechanisms to prevent slamming.
Style the seat with cushions that coordinate with the room. Re-measure any window treatments after the seat is installed, as the visual proportions may change. 10 bay window seat ideas to create a cosy reading nook
Additional checks include verifying the load-bearing capacity if the seat will be used frequently or by multiple people. In bay windows, ensure the frame follows the angles without gaps that collect dust. If painting, use a finish suitable for the expected wear. Consider adding a thin plywood or MDF skin over the frame for a smoother top surface before the cushion. In homes with underfloor heating, confirm the seat design does not create cold spots. These details improve the finished seat and its integration with the window and room.
When selecting cushion fabric, choose something durable and easy to clean for high-use seats. In living rooms, a removable cover allows washing. Measure the foam precisely so it sits snugly without overhanging edges that catch. If the window seat is in a bedroom, consider a firmer foam for occasional seating. Always leave a small gap at the back for any window dressings to hang freely. These finishing choices affect both comfort and the overall appearance in a typical UK interior.
Finally, photograph the completed seat and note the final dimensions for any future window treatment orders.
Conclusion
Building a window seat step by step is achievable with careful measuring, solid support and materials suited to the room. Plan the height and depth for comfort, construct a level frame, and finish so the window remains fully usable. The result adds practical seating and character to many UK homes when the clearances and safety points are observed.
FAQs
What is a good height for a window seat?
450-500 mm from the finished floor gives comfortable seating for most adults, similar to a dining chair.
Can I build a window seat in a bay window?
Yes. Measure each section and shape the frame to follow the bay. Ensure each window still opens.
What materials are best for a window seat frame?
Timber battens for the structure and moisture-resistant MDF or plywood for panels work in most rooms. Use treated timber in damp areas.
How much depth do I need for comfortable seating?
At least 400 mm of usable seat depth. Leave extra if the window projects inward when open.
Do I need planning permission for a window seat?
Internal seats rarely need permission, but check if the property is listed or in a conservation area before altering window areas.
How do I add storage to a window seat?
Build an enclosed base with a hinged lid or drawers. Use strong hinges and ensure the internal height suits the items you want to store.
Will a window seat block the radiator?
Position the seat to leave airflow or choose a design that sits above or beside the radiator. Restricted airflow reduces heating efficiency.
How do I finish the edges neatly?
Use trim or carefully sanded and painted edges. Scribe the frame to uneven walls for a tight fit.