7 Kitchen Splashback Ideas to Protect and Style Your Wall

A splashback protects the wall from water, grease and heat while setting the visual tone of the kitchen. The right choice depends on the hob type, the height of the wall units and how much maintenance you want. These seven ideas cover the materials and heights that work in UK kitchens, with the clearances and costs that matter before you order. kitchen work triangle should already be fixed so the splashback sits where the mess actually happens.
1. Toughened Glass Splashback
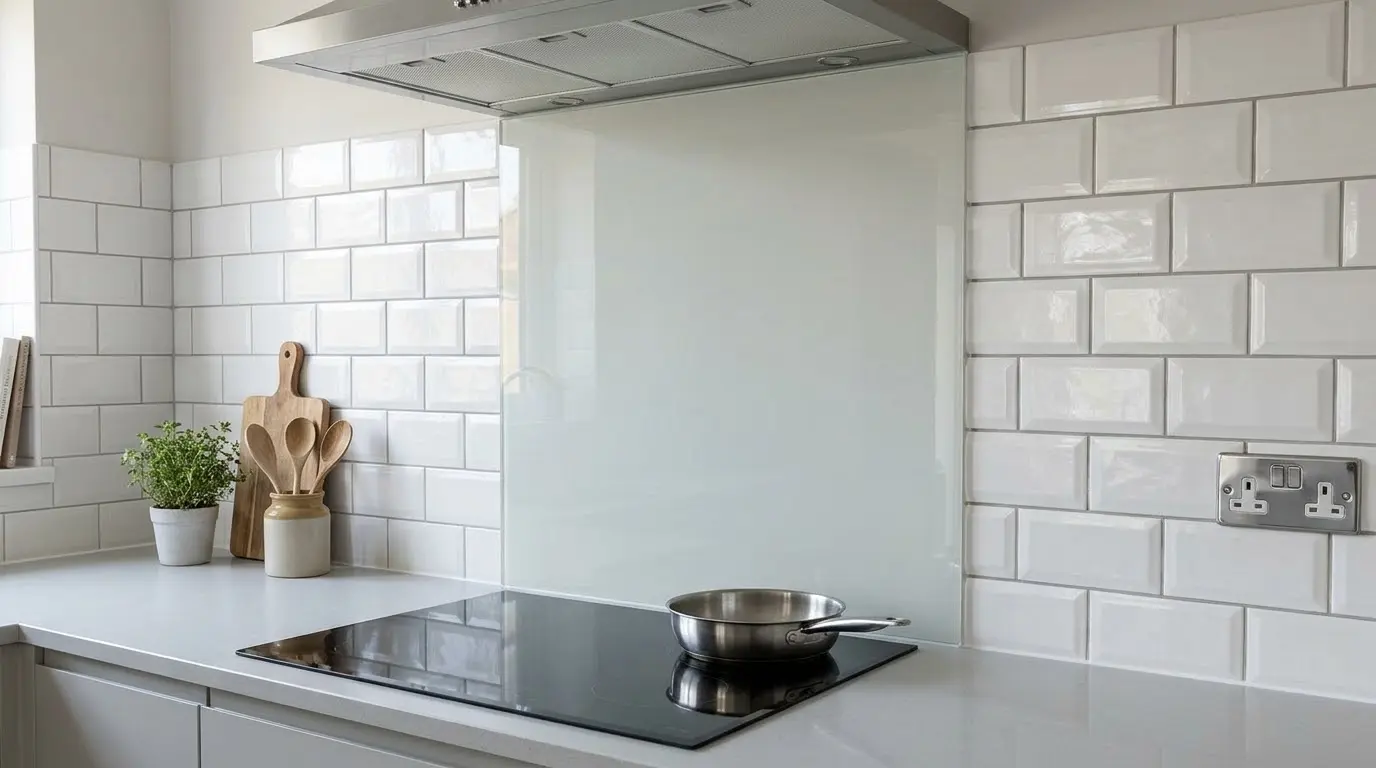
Toughened glass (typically 6 mm to 10 mm) gives a seamless, wipe-clean surface. Painted or printed panels cost £150 to £350 per square metre supplied and fitted. The glass is heat-resistant and suitable behind a gas or induction hob provided the manufacturer’s clearance is met, usually 50 mm or more from the rear of the hob. Full-height panels from worktop to underside of units (450 mm to 600 mm) look finished; a single panel behind the hob is cheaper if budget is tight. Templating is essential because walls are rarely perfectly straight.
Cut-outs for sockets and the tap must be precise. Lead time is often 7 to 14 days. Avoid acrylic directly behind a gas hob; glass or tile is safer.
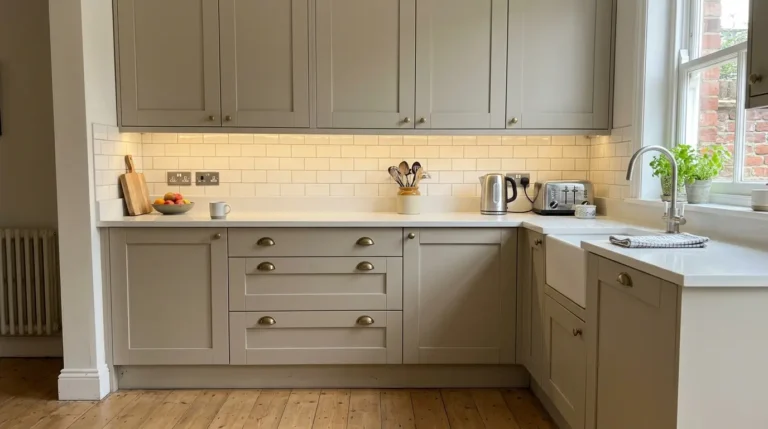
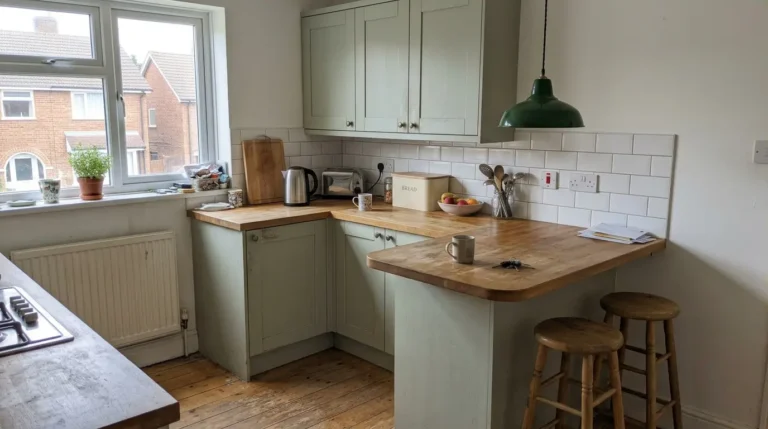
2. Metro Tile Splashback
Classic metro tiles remain the practical default. Cover from worktop to wall units and raise the height behind the hob. Installed cost is usually £75 to £190 per square metre including labour and materials. Grout needs sealing. A 100 mm upstand of the same tile along the rest of the run is the minimum useful protection. This option is easy to repair if a single tile chips.
Choose a warm grey or cream grout so marks show less. The same tile can continue as a feature on a side wall if you want more coverage without changing material.
3. Quartz or Stone Matching the Worktop
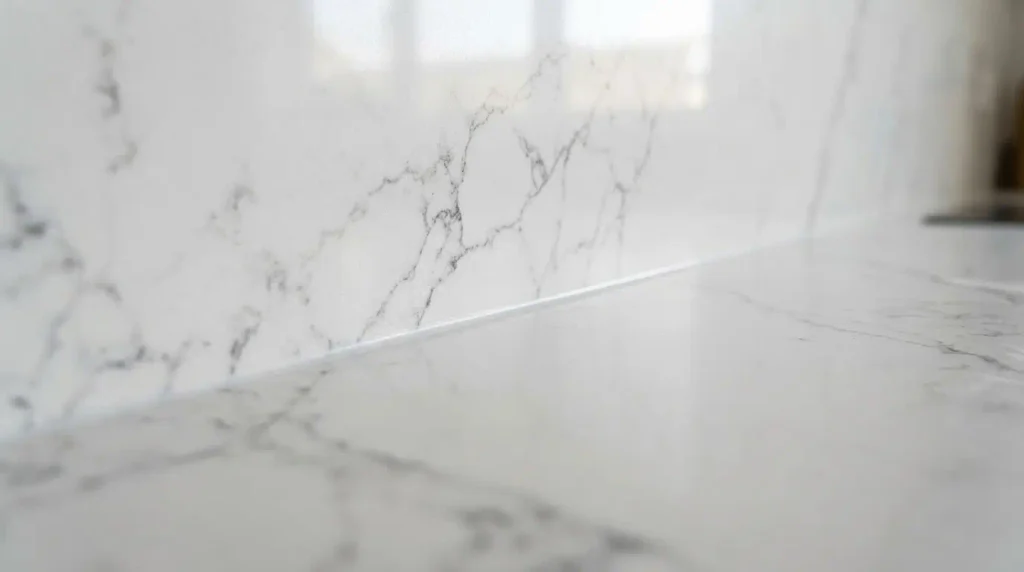
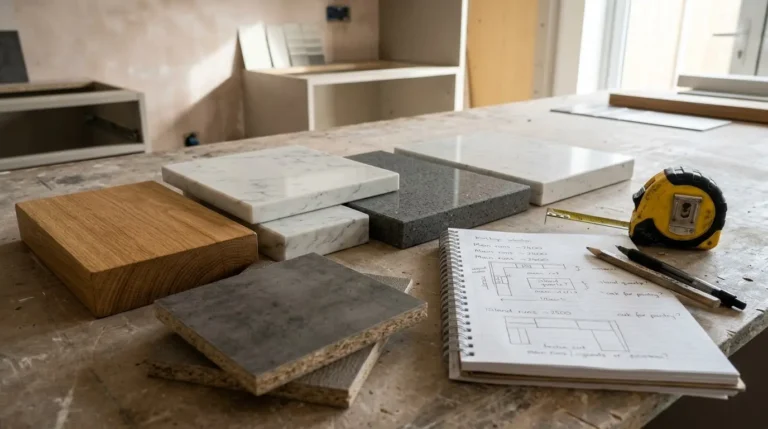
A full-height quartz splashback in the same material as the worktop creates a continuous surface. Typical cost is £180 to £320 per square metre. An upstand only (100 mm to 150 mm) costs far less at £35 to £90 per linear metre. Quartz is non-porous and needs no sealing. Use a trivet on the worktop itself near the hob; the splashback handles splash but not direct flame. The joins can be almost invisible if fabricated well.
This works especially well with the worktop materials you have already chosen. Confirm the fabricator can supply both the worktop and splashback from the same slab if colour consistency matters.
4. Acrylic or Perspex Panels
Acrylic panels are lightweight and cheaper, often £70 to £200 per square metre. They cut easily on site and suit DIY. They are not suitable directly behind a gas hob because they are combustible and can melt or discolour. Use them on runs away from the cooker or behind induction if the manufacturer allows it. They scratch more easily than glass, so keep abrasive cleaners away.
Good for rental properties or budget updates. Measure twice; a wrong cut cannot be welded like solid surface.
5. Stainless Steel or Metal
Stainless steel sheet or panels give an industrial or professional look and handle heat well. Cost sits around £200 to £350 per square metre. Fingerprints show, so a brushed finish hides them better than polished. Fix with adhesive and clips. It works behind the hob and along the main run. Pair with the industrial styles covered in other kitchen guides if that is the direction of the room.
Clean with a dedicated stainless cleaner to avoid water marks. Thickness of 0.8 mm to 1.5 mm is common for panels.
6. Full Height to Ceiling
Where there are no wall units, or on a feature wall, tiling or panelling from worktop to ceiling creates a strong statement. Height is variable; measure the actual wall. Cost rises with area. This works with metro tiles, large porcelain or glass. Ensure the surface is level and the adhesive is suitable for the height. Lighting underneath wall units (if any remain) or a picture light above keeps the tall surface from feeling dark.
Useful in open-plan rooms where the kitchen wall is visible from the living area. Keep the colour calm if the rest of the room is busy.
7. Mixed Materials
Use glass or quartz behind the hob for heat and cleanability, then tile or acrylic on the quieter runs. This controls cost while protecting the high-wear area. The junction between materials needs a neat silicone seal or a slim metal strip. Plan the change of material at a natural break such as the end of the hob or a corner. This approach also lets you update one section later without replacing everything.
Measure each section separately and order the heat-resistant material first so lead times do not delay the rest of the kitchen.
Conclusion
Kitchen splashback ideas succeed when the material matches the heat and moisture it will face and the height covers the splash zone. Glass, tile and matching quartz cover most UK kitchens well. Check hob clearances, template accurately and seal all junctions. The wall stays protected and the finish looks deliberate.
Can I use acrylic behind a gas hob?
No. Standard acrylic is combustible and most hob manufacturers prohibit it directly behind gas burners. Use toughened glass, tile or stone in that zone.
What is the standard splashback height?
Usually 450 mm to 600 mm, matching the gap from worktop to the underside of wall units. Behind the hob go higher, often to 700 mm or the extractor.
Do I need to seal grout on a tiled splashback?
Yes. Unsealed grout absorbs grease and stains. Apply a suitable sealer after the grout has cured and reapply as needed.