10 Handleless Kitchen Ideas for a Sleek Minimalist Look

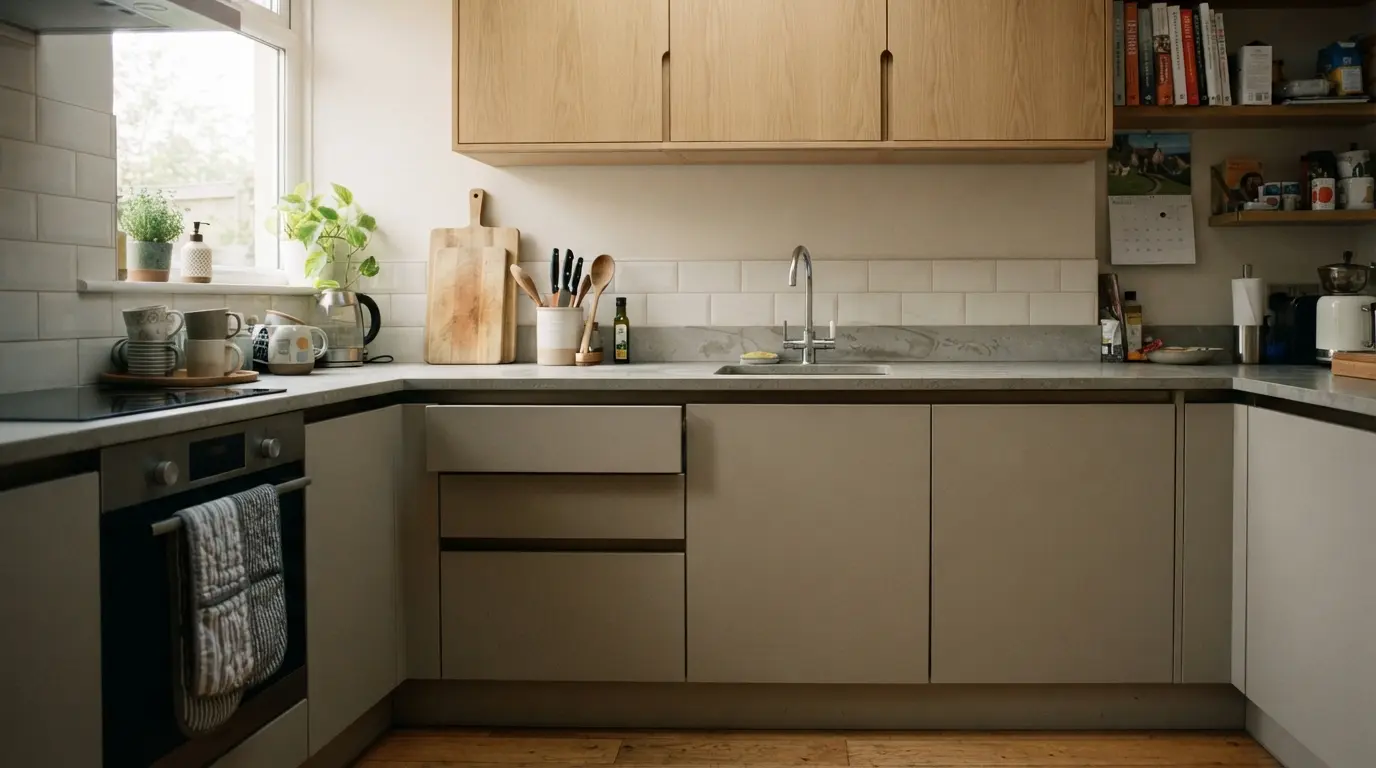
Handleless kitchen ideas work by replacing visible hardware with a J-pull groove, a recessed gola rail or a push-open mechanism, so cabinet fronts read as one uninterrupted surface. The result is calmer, easier to clean and visually wider. The detail that decides whether it looks expensive is alignment, not finish.
That last point is where most schemes go wrong. Competitor inspiration pages will happily show you 30 gorgeous photographs and never mention that a handle-free run only looks good if every door and drawer lines up within a millimetre or two across the whole wall. Get that wrong and the shadow gaps wander, and no amount of matt lacquer rescues it.
What actually makes a kitchen handleless
There are four common systems, and they do not cost, feel or wear the same. Most quality installations mix at least two rather than applying one everywhere.
| System | How it opens | Best used on | Rough added cost |
| J-pull profile | A J-shaped groove machined into the door edge | Wall units, light drawer fronts, tall pantry doors | Often the cheapest handle-free option, sometimes cost-neutral |
| Gola rail (true handleless) | Aluminium channel fixed to the carcass behind the fronts | Wide base drawers, full-height units, long runs | Roughly £25 to £70 per linear metre, varies by country and finish |
| Push-to-open | Sprung or magnetic latch released by a light press | Upper cabinets, integrated appliance panels, corner units | Around £8 to £30 per door or drawer |
| Cut-out or finger pull | An opening machined into the front itself | Feature cabinets, islands, timber fronts | Usually a machining charge rather than hardware |
Prices above are approximate and shift a lot between suppliers and markets. Treat them as a sense of scale, not a quote.
A true handleless kitchen means a gola channel, where the front sits proud of a recessed rail and the door face stays completely flat. J-pull and bevelled edges still shape the door, which is why some designers class them as handle-free rather than truly handleless. Neither is better. They just behave differently in daily use.
1. Run a gola rail on the base units and J-pull above
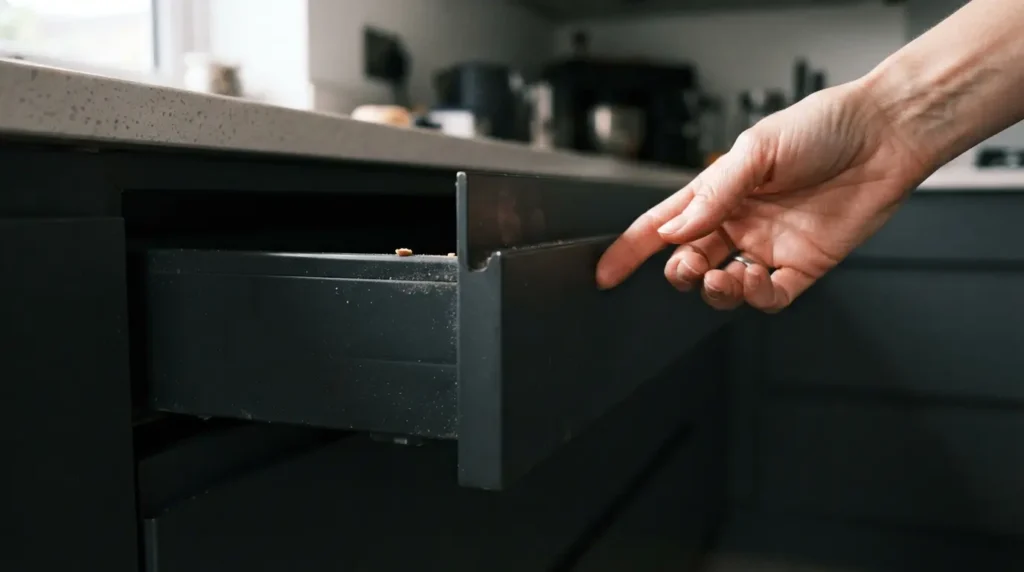
The single most useful thing you can do is stop treating the kitchen as one system. Heavy pan drawers want a positive grip, which a gola channel gives you. Wall cabinets carry almost nothing, so a J-pull groove there is plenty and costs less.
This split also solves an ergonomic problem nobody mentions in the glossy guides. A horizontal gola line at worktop height reads as a deliberate architectural band. The same line repeated at eye level on every wall unit starts to look busy. Most homeowners find the two-system approach looks more resolved and comes in cheaper than going full gola everywhere.
2. Use push-open sparingly, not as the whole scheme
Push-to-open gives the cleanest face of any option, with no groove and no rail. It is genuinely lovely on a tall bank of doors or an integrated fridge panel.
It is a poor choice for a bin drawer, a cutlery drawer or anything you open twenty times a day with wet or full hands. Sprung latches need a firm, square press, and a loaded 900mm pan drawer does not always spring far enough to grab. The mechanisms are also the one part of a handle free kitchen that genuinely wears out. Expect to replace a few over a ten to fifteen year life, at a small hardware cost each but a fiddly afternoon of work.
A good rule of thumb: push open kitchen fittings above worktop height, physical grip below.
3. Let the worktop carry the character
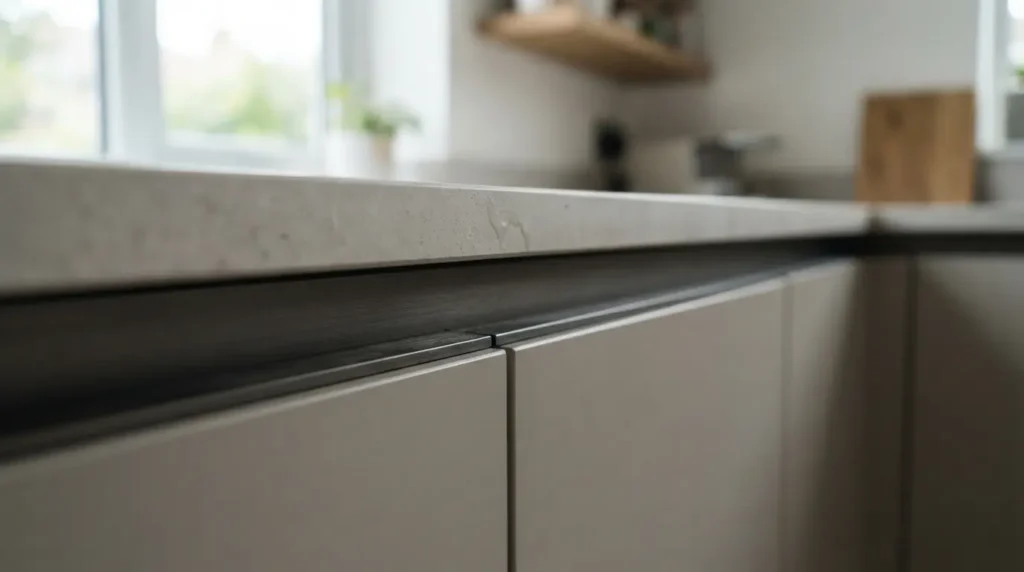
Because handleless cabinet fronts are so quiet, the worksurface does most of the talking. Quartz, sintered stone, ceramic and natural stone all sit well against flat slab doors, and a heavily veined slab on an island reads as a deliberate focal point rather than noise.
Two practical notes. Bold veining looks stunning in photographs and considerably busier in a small room, so scale the drama to the space. And if you are using a gola rail under the worktop, check the overhang. A deep worktop nosing can crowd the channel and make the grip uncomfortable, which is a detail that only shows up once everything is installed.
4. Break a long run with an open niche or shelf
A full wall of uninterrupted handleless cabinets can tip from calm to institutional, particularly in a kitchen over about four metres wide. A recessed niche, a timber shelf or a single glazed column gives the eye somewhere to land.
Keep it to one or two moments. The point of a minimalist kitchen is restraint, and three display areas full of ceramics is just storage with extra dusting.
5. Go two-tone to stop the scheme feeling flat
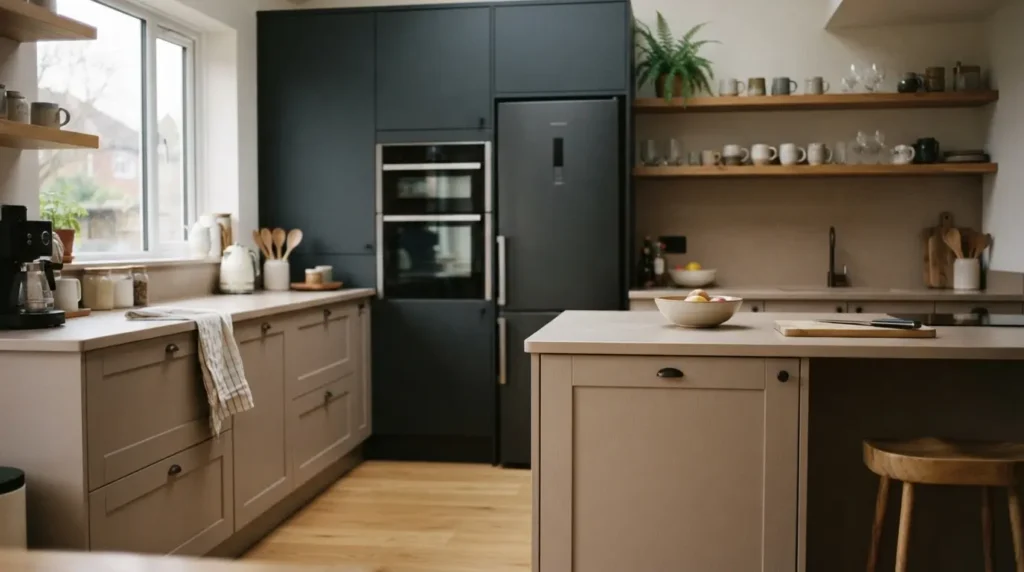
Pairing darker base units with lighter tall furniture, or a timber island against painted cabinetry, adds depth without adding clutter. Warm greige with oak, graphite with cashmere, deep olive with natural ash all work.
There is a durability angle here too. Dark matt fronts on base units take the most contact and show finger oils fastest at exactly the height where people touch them. If you love a dark scheme, put the dark colour on tall units or the island and keep the high-contact base run in a mid tone.
6. Match your finish to how much you actually cook
Finish choice matters more in a handleless cabinet than a handled one, because you are touching the door face itself rather than a piece of metal.
High gloss acrylic bounces light and makes small kitchens feel bigger. It also shows every print. Standard matt lacquer is softer but can burnish where it is rubbed repeatedly. Super-matt laminates with an anti-fingerprint coating are the most forgiving in a family kitchen, and are usually worth the uplift over standard matt if you have children. Timber veneer looks superb and needs the most care, particularly near a sink or dishwasher vent.
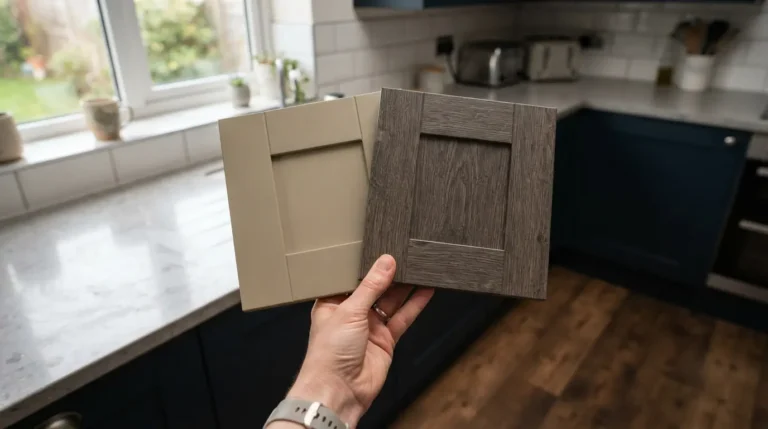
Ask for a large sample, not a 50mm chip, and leave it on the worktop for a week. Wipe it, cook near it, put a wet glass on it. That week tells you more than any showroom.
7. Design a full-height handleless pantry wall
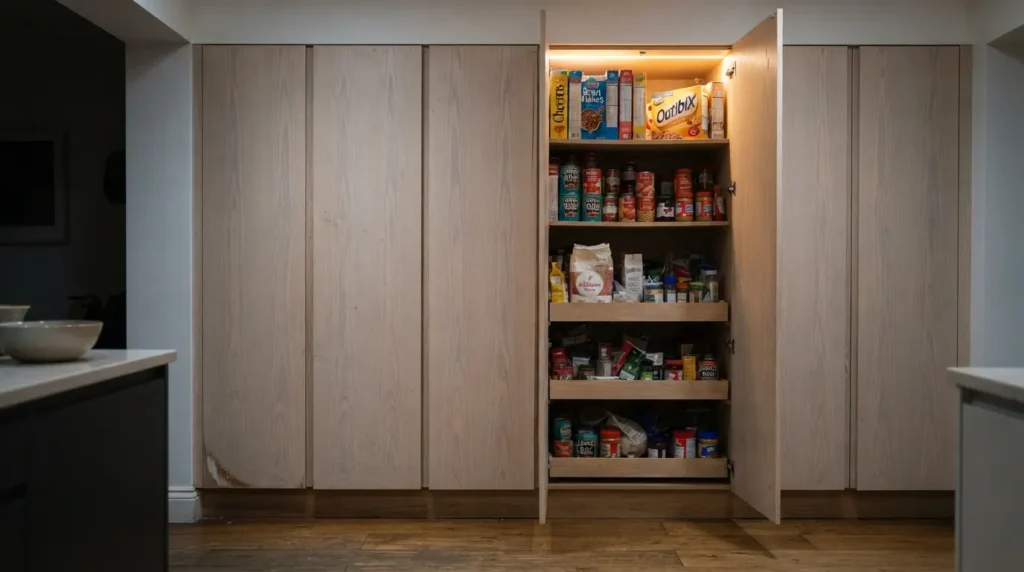
Running floor-to-ceiling cabinetry along one wall in a single finish, with consistent door heights, gives you the most architectural moment available in a handleless kitchen. It also swallows an enormous amount of storage.
Two things make or break it. First, the doors need to be ordered as a matched set from one batch, because painted and lacquered fronts vary slightly between production runs and a long vertical run shows it. Second, plan the interiors before you order, not after. Larder units, pull-outs and internal drawers change the carcass spec, and retrofitting them is expensive.
8. Use lighting to replace the detail you removed
You have taken away the hardware, so the room needs another layer of interest. Under-cabinet LED strips wash the worktop and make the shadow gap under wall units read as a line rather than a void. Plinth lighting makes base units appear to float. Interior lighting in a glazed column adds a soft evening layer.
Warm white around 2700K to 3000K suits timber and neutral schemes. Avoid cool white, which makes matt greys look grey in the worst sense. Budget roughly £150 to £500 for decent dimmable LED channels and drivers across an average kitchen, and get the electrician to run the cabling before the units go in.
9. Hide the working clutter behind pocket doors
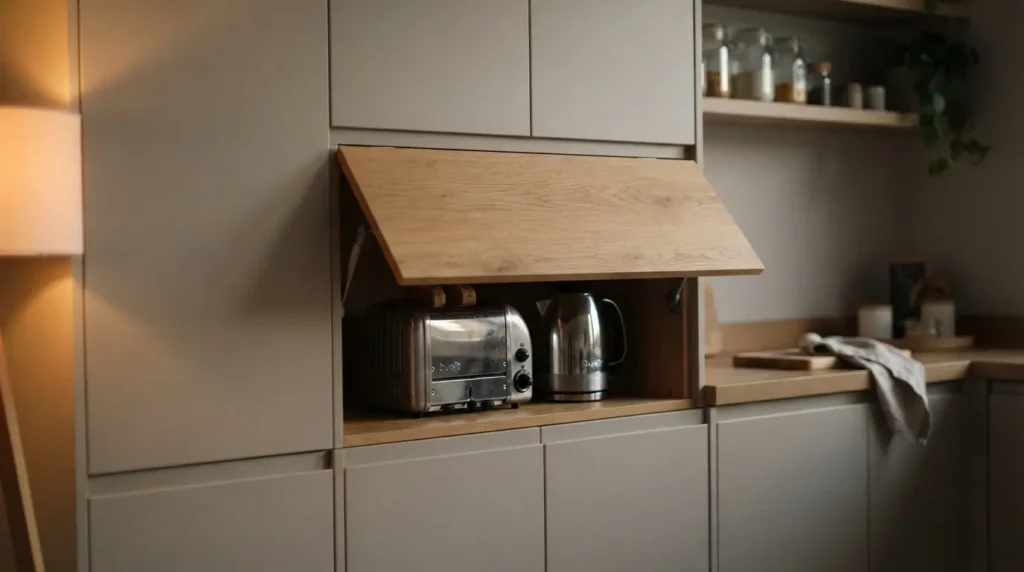
Pocket doors slide back into the cabinet, so a coffee station, toaster and kettle can sit out ready to use and then disappear. In a kitchen where the cabinetry is the design, this is what keeps it looking like the photograph on a Tuesday morning.
Be honest about cost. Pocket door hardware for a single unit typically runs from around £200 to £600 depending on width and quality, and it eats internal depth, often 60 to 100mm each side. On a tight kitchen that may not be a trade you want to make. An appliance garage with a simple flap or tambour is a cheaper route to the same result.
10. Get the plinth, end panels and toe-kick right
This is the least glamorous idea on the list and the one that most changes the finished look. In a handleless scheme there is no hardware drawing the eye, so the eye goes to the edges.
A recessed plinth in a darker tone makes the whole run appear to float. End panels should be full-height and finished on the visible edge, not a cut-down door. Where cabinetry meets a wall, a scribe fillet in the cabinet finish looks resolved; a bead of silicone does not. These details add a few hundred pounds to a quote and are the difference between fitted furniture and cupboards.
What a handleless kitchen actually costs
Handleless construction is not automatically expensive, but it is less tolerant of cheap manufacturing, which pushes most people up a tier.
| Tier | Typical supply-only range | What you get |
| Entry flat-pack, J-pull fronts | Around £3,000 to £6,000 | Handle-free look, wider tolerances, MDF or foil fronts |
| Mid-range rigid units, gola or J-pull | Around £8,000 to £16,000 | Better carcass, soft-close as standard, matt laminate options |
| German or Italian rigid, true gola | £18,000 upwards | Tight tolerances, super-matt and veneer fronts, full integration |
Figures are approximate, exclude worktops, appliances and fitting, and vary widely by country. Installation typically adds 20 to 40 percent of the cabinet cost.
On timing: measure to installation is usually four to twelve weeks depending on whether fronts are stock or made to order, and European rigid ranges sit at the longer end. Fitting itself normally takes five to ten working days for an average kitchen, and a handleless run genuinely needs the extra day or two for alignment. If a fitter tells you they can do the whole thing in three days, they are not going to spend an afternoon adjusting hinges until the shadow gaps match.
The maintenance reality nobody puts in the brochure
Gola channels collect crumbs. This is the honest trade-off, and it is manageable rather than serious. The channel near the prep zone and under the hob needs a wipe every few days, and a soft brush for the corners once a month. A dark rail hides marks better than a bright aluminium one but shows dust more.
J-pull grooves are easier. They wipe clean with the door face in one pass. Push-open fronts are the easiest of all, since there is nothing recessed to fill.
Fingerprints are a real consideration because you are gripping the door edge or pressing the face. On standard matt and gloss fronts this means daily wiping in a busy household. On anti-fingerprint super-matt, it means most of the time you can leave it.
Accessibility deserves a mention too. Push-open needs a firm press and gola needs a hooked finger, neither of which suits weaker grip strength or arthritic hands well. If that applies to anyone in the house, J-pull with a generous groove is the most forgiving handle-free option.
Common mistakes worth avoiding
Ordering an integrated dishwasher or fridge without checking it is compatible with your chosen profile is the most expensive mistake, because appliance panel fixings and gola rails do not always coexist neatly. Confirm this at design stage.
Running gola along a wall where a window reveal interrupts it is the second. The channel has to stop and start, and a broken line looks like a mistake rather than a decision. Plan the rail runs against the architecture.
Finally, do not assume a handleless cabinet gives you the same drawer capacity. A gola rail typically takes 20 to 30mm off the usable height of the top drawer in a run. On a 900mm drawer of cutlery that is barely noticeable. On a shallow drawer it matters.
Conclusion
The best handleless kitchen ideas are not about which finish you pick. They are about matching the opening system to how each cabinet is actually used, then spending the extra money on alignment, end panels and lighting rather than on one dramatic feature. Mix gola below and J-pull above, keep push-open for light duty, and choose an anti-fingerprint finish if the kitchen works hard. Do that and the room will still look composed in year eight, not just in the handover photographs.
FAQs
Are handleless kitchens a good idea?
Yes, if you value clean lines and a room that feels wider. They reduce visual clutter, remove snagging points in narrow galleys and suit open-plan spaces where the kitchen is on show all day. They ask slightly more of your fitter and your cleaning routine.
Are handleless kitchens more expensive?
Usually, but not always. J-pull fronts can cost the same as handled doors once you account for the handles you did not buy. A true gola kitchen costs more because of the rail, the tighter manufacturing tolerance and the longer fit.
How do you open a cabinet with no handle?
By hooking a finger into a J-pull groove or a gola channel, pressing a push-open latch, or gripping a bevelled or cut-out edge. All four give a handle free kitchen, with different amounts of grip.
Will a handleless kitchen date?
Flat-fronted cabinetry in restrained colours has held up since the 1960s and there is no sign of that reversing. What dates is the surrounding choices: very high gloss white, aggressively cool greys, and heavy trend colours across every front.
Do handleless cabinets work in a small kitchen?
Particularly well. Nothing protrudes into the walkway, which matters in a galley under about 2.5 metres wide, and the uninterrupted fronts make the run read as a single plane.
Can I add handles later if I dislike it?
On J-pull and slab doors, yes, though drilling through the front leaves you committed and the groove usually still shows. On gola, adding handles fights the whole construction. Test the mechanism you are considering in a showroom before ordering.
Can I convert my existing kitchen to handleless?
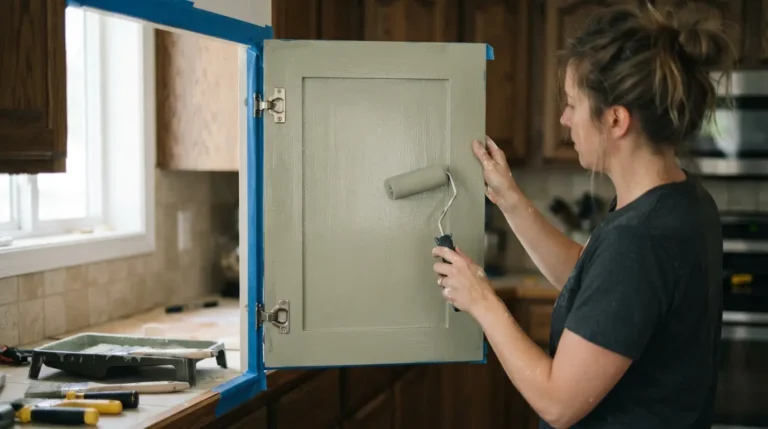
Partly. Replacing doors and drawer fronts with J-pull or push-open versions on the existing carcasses is realistic and often costs a fraction of a new kitchen. A gola rail is not a retrofit, because it fixes to the carcass and changes the front heights.