How to Paint a Feature Wall in Your Home

Painting a feature wall is one of the quickest ways to change the focus of a room without redecorating the whole space. The result only looks intentional when the wall you choose, the colour depth, the preparation and the edge quality all match. Most problems come from painting the wrong wall, under-prepping, or using a finish that highlights every bump. This guide covers the practical decisions a UK homeowner needs before ordering paint and during the job itself.
Choose the Right Wall and Check the Surface
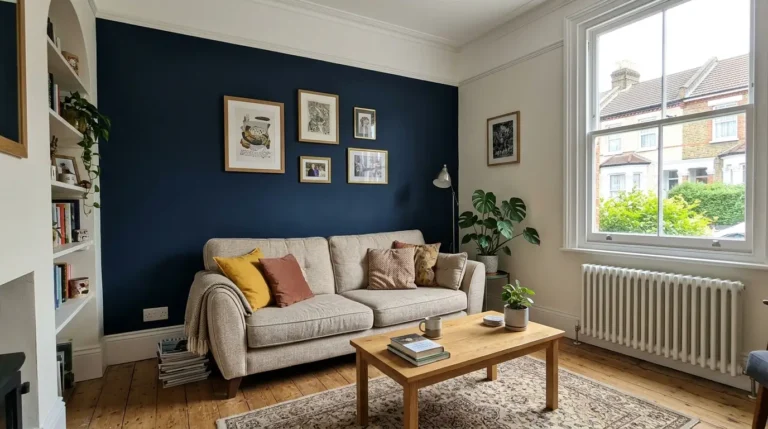
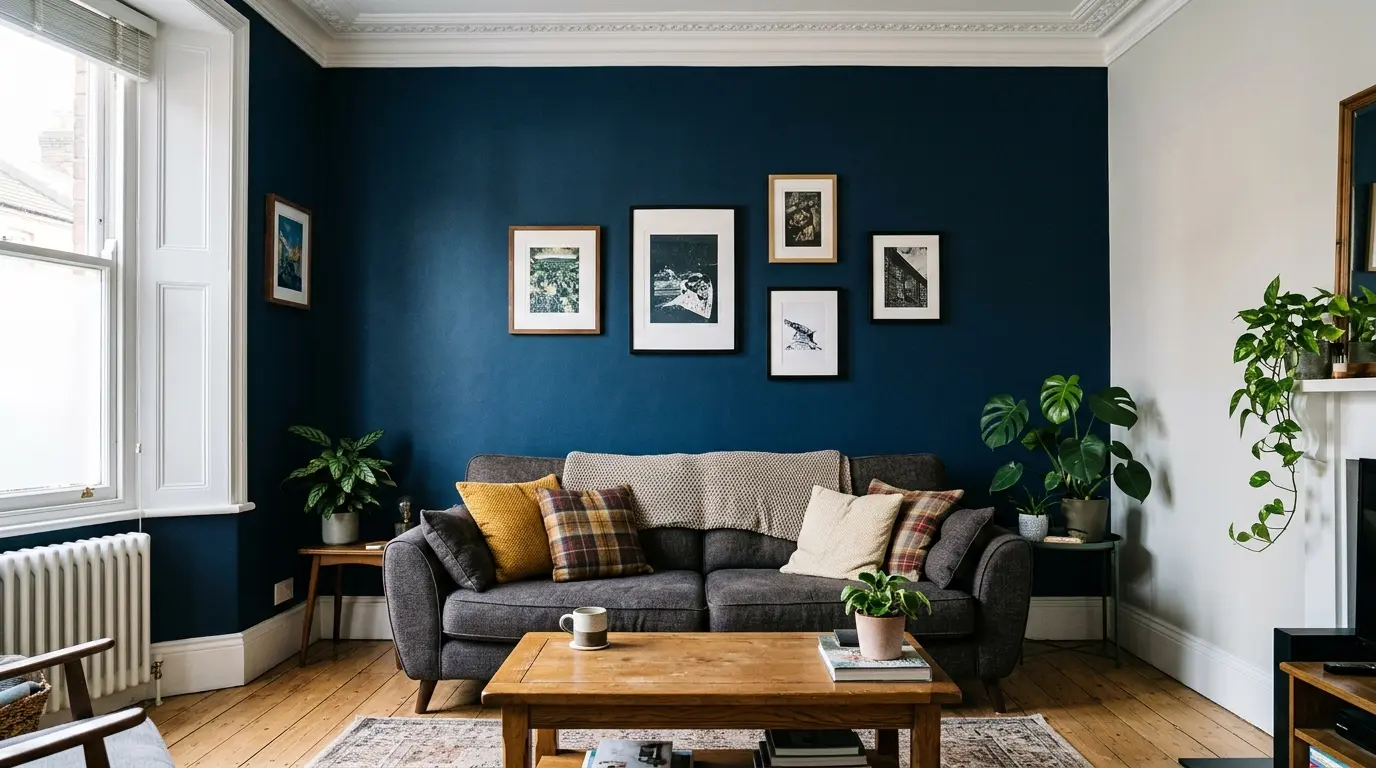
The strongest feature wall is usually the first wall you see when you enter the room, or the wall that already anchors the main furniture, such as the wall behind a sofa or the chimney breast. Avoid walls broken by multiple doors, large windows or radiators because the colour gets interrupted and the impact drops. Measure the wall height and width; a standard post-1930 UK ceiling is around 2.4 m, so a single wall in a typical living room is roughly 8–12 m². Check for cracks, blown plaster or previous dark colours. Fill cracks with interior filler, sand smooth once dry, and clean the whole wall with sugar soap so the new paint bonds. If the existing finish is glossy, lightly sand to dull it. On older properties check for damp or flaking before you paint; moisture will push the new coat off within months.
Select the Colour and Finish That Suit the Room
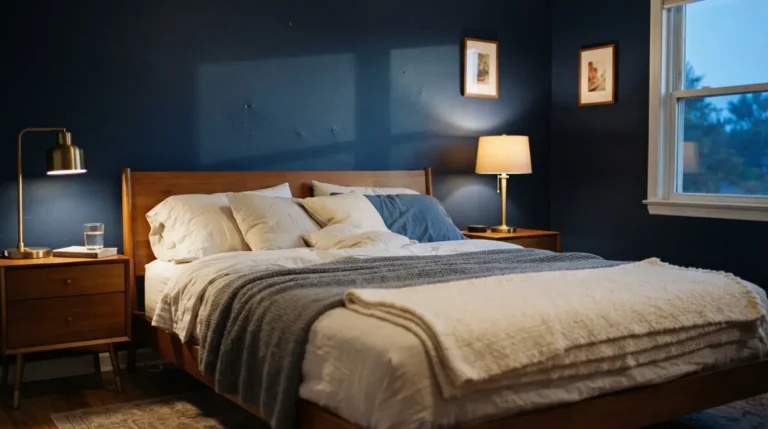
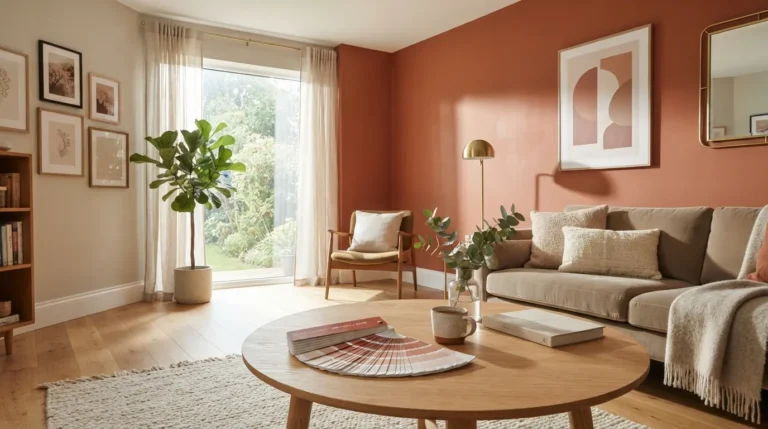
A feature wall colour should relate to something already in the room, such as a cushion, a rug or the wood tone of the floor. Deep colours need more coats and show imperfections more clearly, so they work best on walls in good condition. Mid-tones are more forgiving. Choose a durable emulsion; matt or eggshell hides minor surface flaws better than silk. Calculate coverage from the tin: many quality emulsions cover 10–14 m² per litre per coat. Buy enough for two or three coats plus a little extra for cutting-in. Sample the colour on the actual wall for several days; north-facing walls cool the shade and south-facing walls warm it. Our guide to how to choose the right paint colour for your living room explains aspect in more detail. Also consider the 60-30-10 proportion so the feature colour does not overwhelm the rest of the room.
Prepare the Room and Mask Accurately
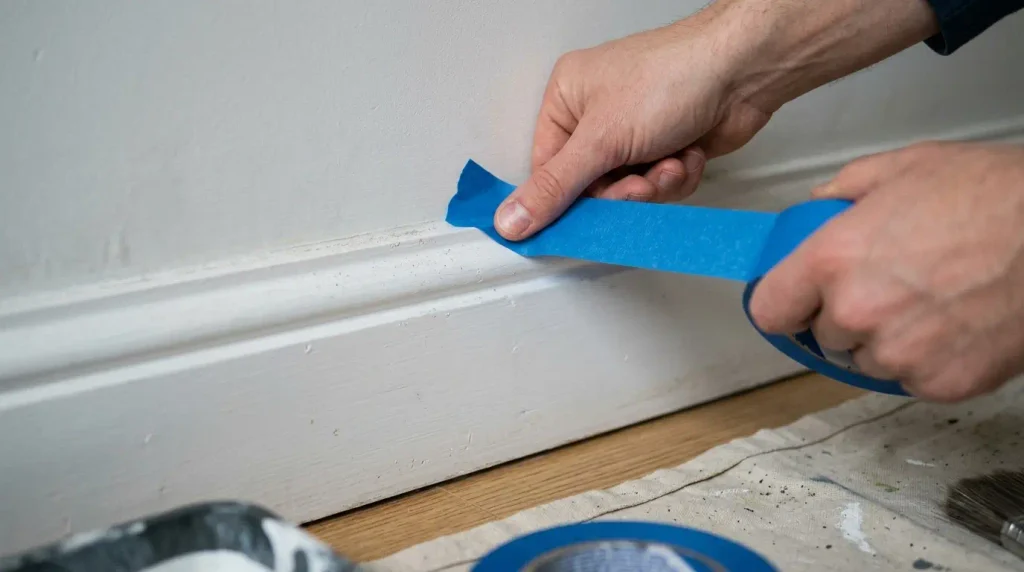
Move furniture at least 1 m away from the wall and cover the floor with dust sheets that extend under the skirting. Use low-tack decorator’s tape along the ceiling line, skirting and any adjacent walls or door frames. Press the tape firmly so paint cannot bleed underneath. For a crisp edge, paint a thin line of the surrounding wall colour over the tape edge first; once that seals, apply the feature colour. This step prevents the common problem of a ragged line once the tape is removed. Protect sockets and switches with tape or remove the faceplates if you are confident with electrics; otherwise paint carefully around them and touch up later.
Cut In and Roll for an Even Finish
Cut in around the edges with a 50 mm angled brush before you roll. Keep a wet edge so the brush marks blend into the rolled area. Use a short-pile roller (around 8–10 mm nap) for smooth plaster and load it lightly so you avoid runs. Work in a W or M pattern and then fill the gaps, moving from the top of the wall downwards. Most feature walls need two coats; deep colours often need three. Allow the recommended drying time between coats so the second coat does not drag the first. Remove the tape while the final coat is still slightly tacky for the cleanest line. If the room is cool, drying times lengthen; plan the job on a day when the temperature is above 10 °C so the paint cures properly.
Common Mistakes and How to Avoid Them
The most frequent problems are picture-framing (visible brush marks around the edges), roller texture from too much paint or the wrong nap, and colour that looks different once the whole wall is painted. Picture-framing is fixed by blending the cut-in into the rolled area while both are wet. Uneven texture comes from overloading the roller or using a long-nap sleeve on smooth walls. Colour shift is reduced by testing large samples and painting the whole wall in one session under consistent light. If the wall has high suction or bare patches, a mist coat or primer stops the finish flashing. Another common error is choosing a colour that clashes with fixed elements such as a fireplace surround or existing carpet; sample next to those before you commit.
What to Check Before You Order the Paint
Confirm the wall area, the number of coats, and whether you need a primer or mist coat. Check that the colour you tested still looks right next to the flooring and any fixed woodwork. Make sure you have enough paint for the full job plus touch-ups; running out mid-wall creates a visible join. If the wall is in a bathroom or kitchen, choose a moisture-resistant finish. Once the paint is ordered, protect the rest of the room properly and plan the job so you can finish a full wall in one go. Also check delivery times for specialist colours; some take longer than standard emulsions and can delay the job.
Tools and Materials Checklist
Gather dust sheets, low-tack tape, a 50 mm angled brush, a short-pile roller and tray, interior filler, sandpaper, sugar soap, and enough paint for the calculated area plus 10 percent extra. A step ladder or extension pole keeps you off chairs. Have a damp cloth ready for immediate wipe-ups. These items cover the majority of feature-wall jobs in UK homes without needing specialist equipment.
Conclusion
A feature wall succeeds when the wall choice, surface preparation, colour testing and edge work are all handled before the roller comes out. Take the time to measure, sample and mask properly, and the finished wall will look deliberate rather than experimental. The same process works for any room once you match the colour depth and finish to how the space is used.
How long does it take to paint a feature wall?
Preparation and masking usually take one to two hours. Cutting in and rolling two coats on a standard living-room wall takes another two to three hours plus drying time between coats. Allow a full day if the wall needs filling or if you are using a deep colour that needs three coats.
Do I need special paint for a feature wall?
No special formula is required, but a good-quality emulsion with decent opacity reduces the number of coats. Matt or eggshell finishes hide minor surface marks better than higher-sheen paints. Deep colours benefit from paints with strong tint strength.
Can I paint a feature wall over dark paint?
Yes, but you will need more coats and possibly a primer or mist coat to stop the dark colour showing through. Light feature colours over dark bases often need three or four coats for solid coverage.