How to Try Colour Drenching in a Room Step by Step

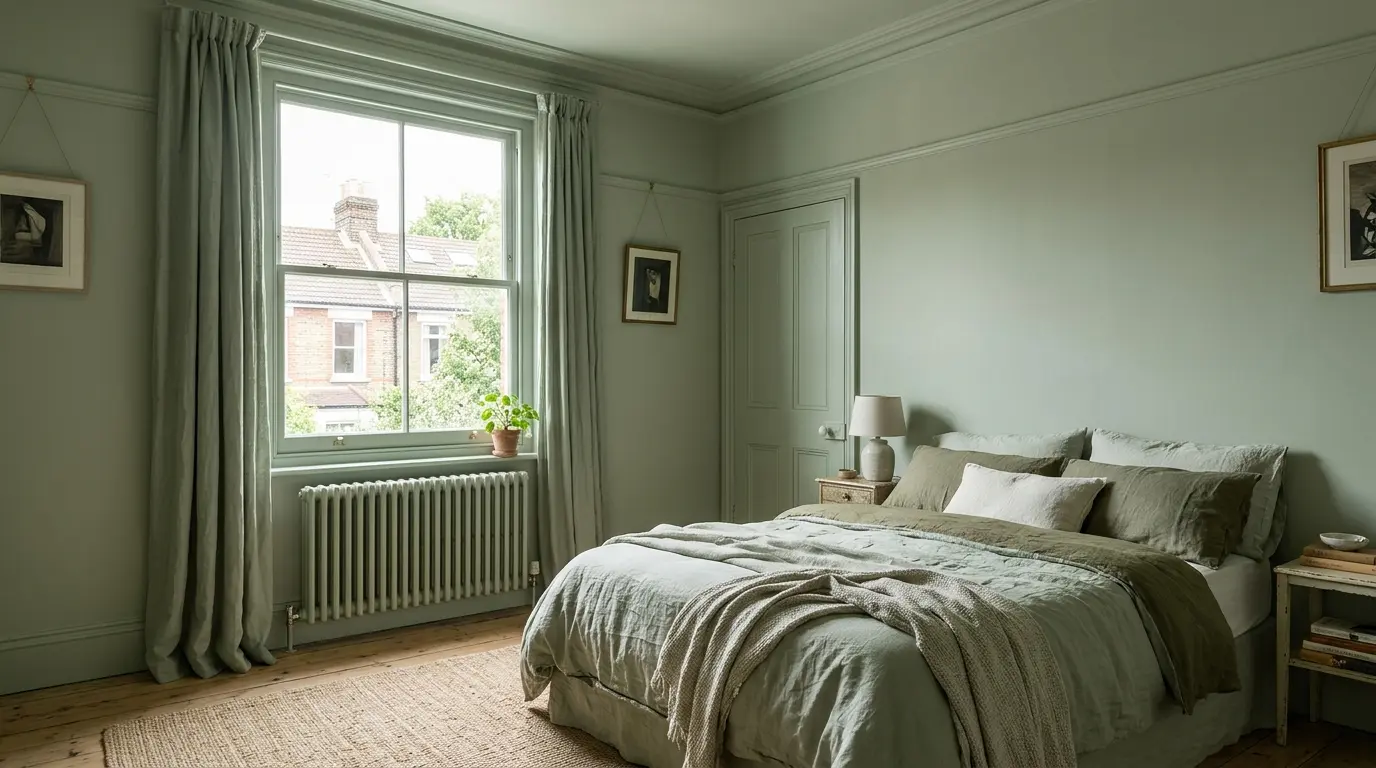
Colour drenching means painting the walls, ceiling, woodwork and often the doors in the same colour so the room feels continuous rather than broken into separate planes. It removes the need for precise cutting-in between colours and can make small or awkward rooms feel more considered. The technique only works when the colour is tested on every surface, the finish is consistent, and the preparation is thorough enough that the single colour does not highlight every imperfection. This step-by-step guide covers the practical sequence for a UK room.
Decide Whether the Room Suits Full Drenching
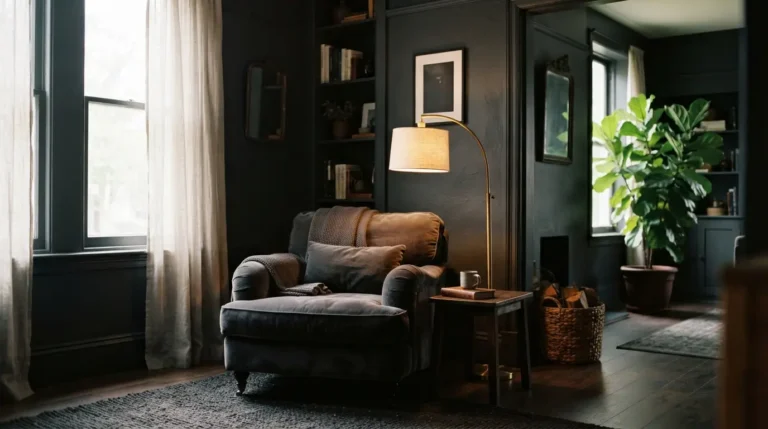
Drenching works best in rooms where you want a cohesive, enveloping feel: snugs, bedrooms, dining rooms and cloakrooms. It is less successful in large open-plan spaces where the single colour can feel heavy, or in rooms with strong architectural features you want to highlight with contrast. Check the light: north-facing rooms benefit from warmer mid-tones; south-facing rooms can take paler or cooler shades. Measure the total surface area including ceiling and woodwork so you know how much paint to order. A typical UK bedroom of 12 m² floor area has roughly 40–50 m² of paintable surface once walls, ceiling and joinery are included. Also consider existing fixed elements such as a fireplace or built-in cupboards; decide in advance whether they will be included in the drench or left as contrast.
Choose and Test One Colour on Every Surface
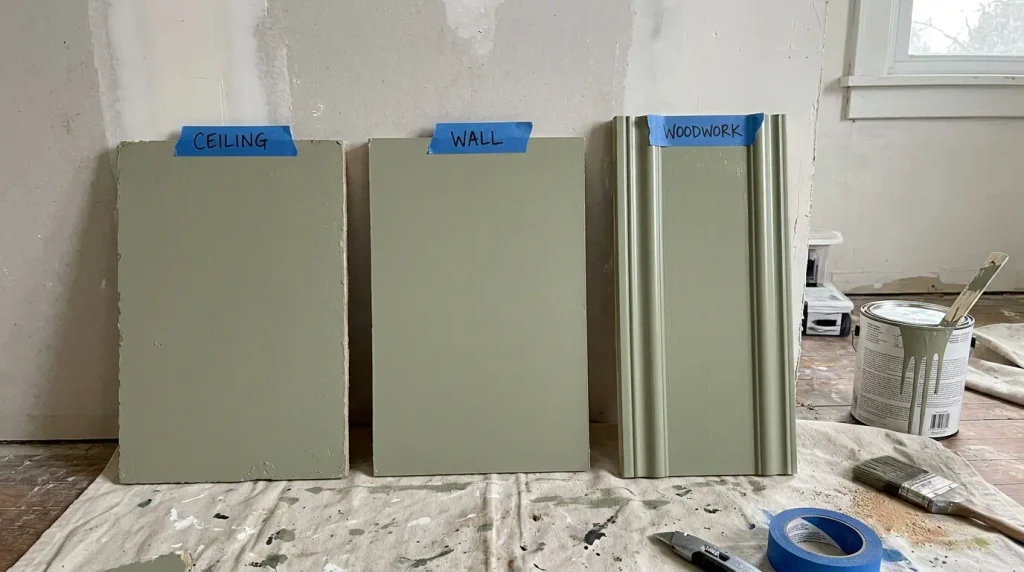
Pick a colour you could live inside, because it will surround you. Mid to deep shades usually drench more successfully than very pale ones, because the colour reflects back on itself and reads richer. Order sample pots and paint large areas on the walls, the ceiling and a piece of woodwork. Leave them for several days and check under both daylight and artificial light. Ceiling colour often looks darker than wall colour even when the paint is identical, so the test prevents surprise. Our existing page on how to choose the right Farrow and Ball colour covers testing methods that apply to any brand. Test at least an 30 cm square on each surface type so you see the true effect.
Select a Finish That Works on Walls and Woodwork
For a seamless result use the same finish everywhere, or keep the colour identical and only vary the sheen slightly. A durable matt or dead-flat emulsion works on walls and ceilings and can be used on woodwork if the surface is not high-traffic. Eggshell or satin on woodwork adds durability while keeping the colour match. Avoid high-gloss on walls or ceilings; the sheen highlights bumps and breaks the continuous effect. Check the tin for suitability on woodwork; some wall emulsions need a primer on previously glossed wood. Trade paints formulated for both walls and woodwork simplify the job and reduce the risk of colour mismatch between tins.
Prepare All Surfaces Thoroughly
Fill cracks and holes on walls and ceiling, sand smooth, and clean every surface with sugar soap. On woodwork, sand lightly to dull any gloss and wipe clean. Prime bare patches or high-suction areas so the finish does not flash. Protect floors, furniture and fittings. Because everything will be the same colour, any missed preparation shows more clearly than in a multi-colour scheme. Allow fillers and primers to dry fully before the top coats. In older UK homes check for previous limewash or distemper; these can cause adhesion problems and may need sealing first.
Paint Ceiling First, Then Walls, Then Woodwork
Start with the ceiling so any drips can be covered by the wall colour. Cut in around the edges and roll the main area, keeping a wet edge. Move to the walls and paint them fully, including up to the ceiling and down to the skirting. Finish with the woodwork, doors and any radiators or shelves you are including. Two coats are usually enough for mid-tones; deeper colours often need three. Work methodically so you do not leave half-dry edges. Because there is no colour change at the junctions, small overlaps are less visible than in a traditional scheme. Use an extension pole for the ceiling to reduce ladder work and keep the finish even.
Check Lighting, Furniture and Final Details
Once the paint is dry, replace furniture and check how the colour sits with the existing pieces. Add lighting that supports the mood; warm bulbs enhance warmer colours and cool bulbs can flatten them. Touch up any missed spots while the colour is still fresh. If the room feels too intense, you can still introduce contrast with textiles, artwork or a different floor covering without repainting. Our feature wall guide explains how to reintroduce a focal point if the full drench feels too uniform. Also check that doors and windows still operate freely after painting; thick coats on edges can cause sticking.
Common Problems and Fixes
The most common issues are colour that looks darker on the ceiling than expected, sheen differences that break the seamless look, and paint that marks easily on woodwork. Ceiling darkness is reduced by testing first and choosing a slightly lighter shade if needed. Sheen differences are avoided by using the same product or closely matched finishes. Marking is reduced by choosing a durable matt or eggshell on high-touch surfaces. If the result feels too enclosed, introduce a lighter floor covering or reflective elements such as a mirror rather than repainting immediately.
Conclusion
Colour drenching succeeds when the colour is tested on every surface, the finish is consistent, and the preparation is complete before the first top coat goes on. Follow the sequence of ceiling, walls then woodwork, and the room will feel continuous rather than patched. The same steps apply whether you use a specialist brand or a trade emulsion, provided the opacity and durability match the room’s use.
Does colour drenching make a room feel smaller?
Deep colours can make a room feel more enclosed, which is often the point in snugs and bedrooms. Pale and mid-tones usually keep the space feeling open. The continuous colour removes visual breaks, so the effect depends more on the shade depth than on the technique itself.
Can I drench a room with different sheens?
Yes. Many people use matt on walls and ceiling and eggshell on woodwork for durability while keeping the colour identical. The sheen difference is subtle if the colour matches exactly.
How much extra paint do I need for drenching?
Calculate the full surface area of walls, ceiling and woodwork, then add 10–15 percent for cutting-in and touch-ups. Deep colours may need an extra coat, so order enough for three coats if the shade is dark.