How to Create a Gravel Garden from Scratch

A gravel garden uses a layer of stone as mulch over free-draining soil to reduce weeding and watering once plants are established. It suits sunny UK sites and Mediterranean-style planting. The key steps are thorough weed removal, good drainage, firm edging, and the right depth and type of gravel. On clay soils extra work is needed to improve drainage before the gravel goes down so water does not pool and plants do not suffer.
The process below covers preparation, materials and planting so the garden stays tidy and plants thrive. Most of the heavy work is at the start; after that maintenance is light. Calculate the area carefully so you order the correct amount of gravel and edging in one go.
Assess the site and improve drainage
Choose a sunny area with good drainage if possible. On heavy clay remove the top soil and add grit or create raised beds so water does not sit around plant roots. Mark the area with string and dig out perennial weeds thoroughly, including all roots of bindweed or couch grass, because they will push through thin layers. A 1 to 2 percent slope away from buildings helps water run off rather than collect. This preparation decides whether the gravel garden stays low maintenance or becomes a constant weeding job.
Test the soil by digging a hole and filling it with water. If it drains slowly, plan extra grit or a deeper base. In front gardens check local rules for permeable surfaces so runoff stays on your land.
Install edging and prepare the base
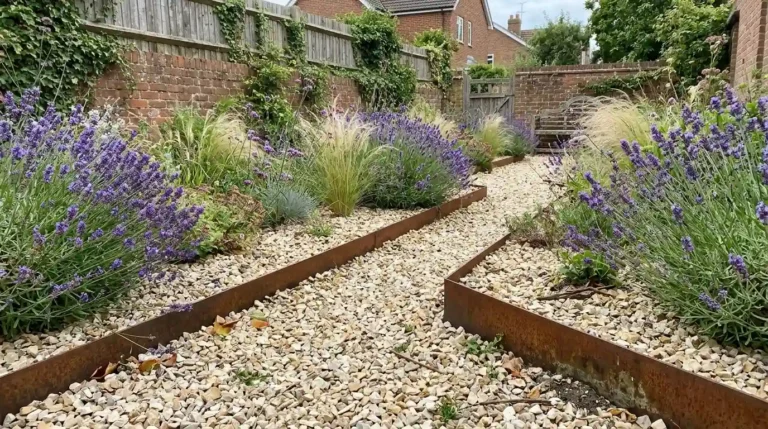
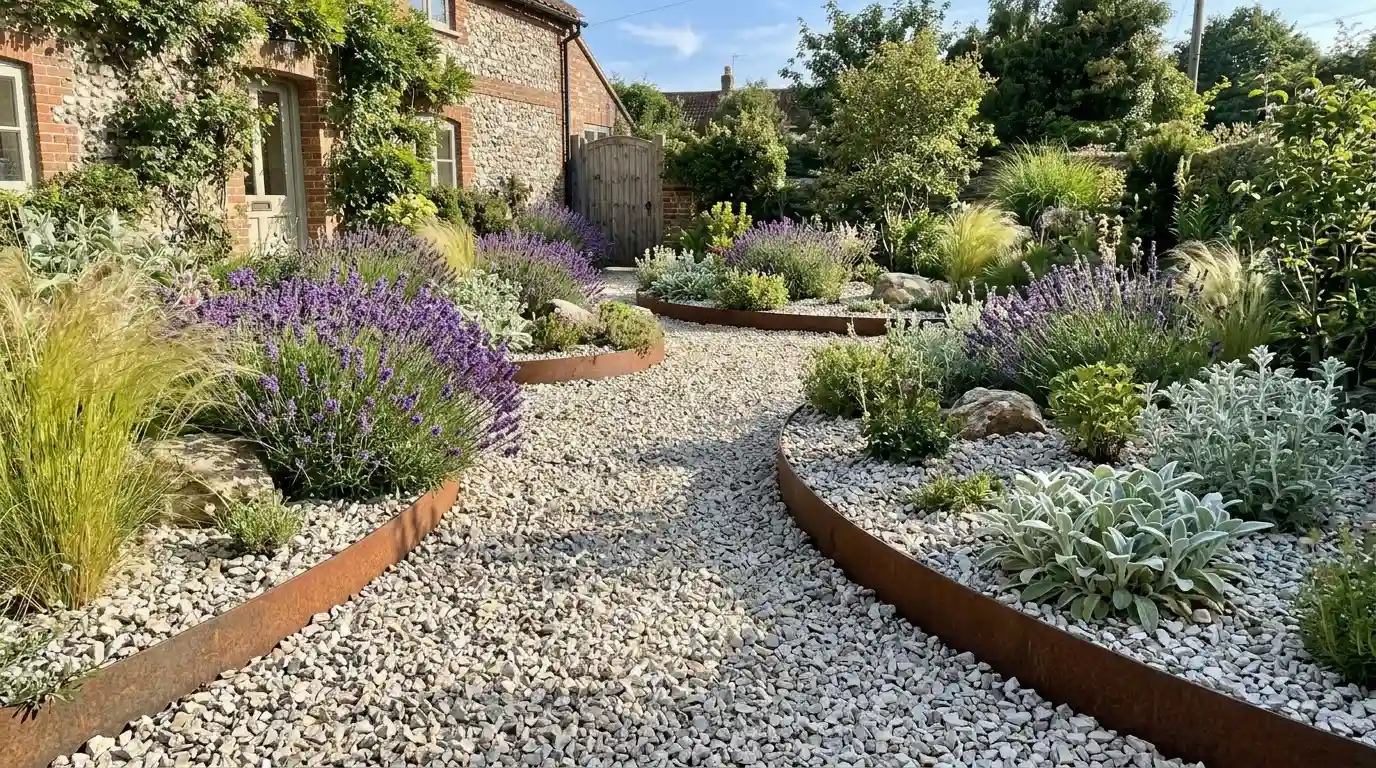
Fit metal, timber or stone edging to contain the gravel and define the shape clearly against lawn or paths. On paths or seating areas compact a sub-base of MOT Type 1 or crushed stone 50 to 75 mm deep in layers. For pure planting beds a lighter preparation may suffice if the soil already drains well. Level the surface carefully with a rake. Edging prevents gravel migrating onto lawns or paths and keeps the finish neat for years without constant raking.
Metal edging is slim and modern; timber needs treatment to last. Set the top of the edging level with or just above the finished gravel so it holds the stone.
Lay membrane if needed and add gravel
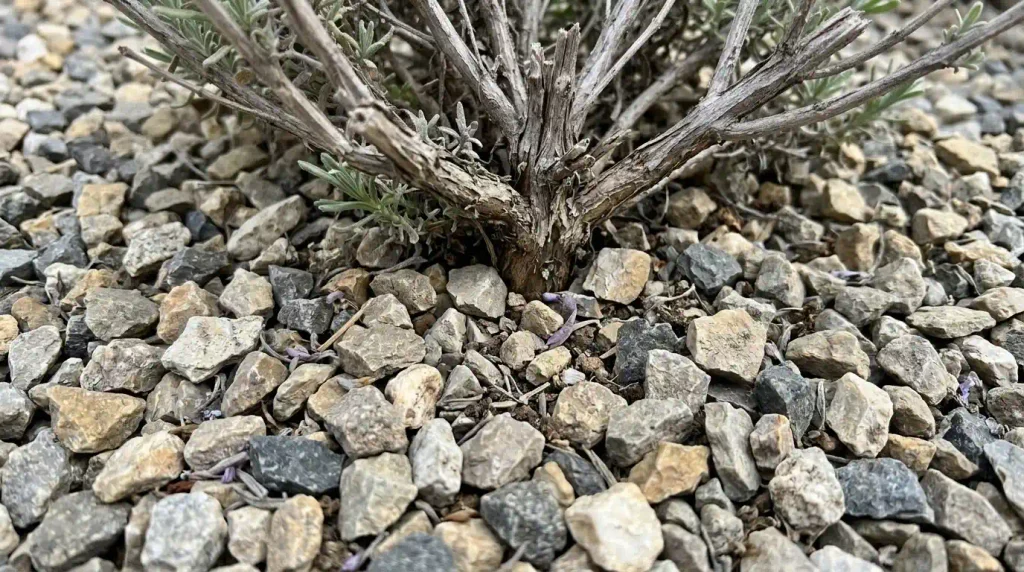
For paths use a permeable geotextile membrane to suppress weeds while allowing drainage. Overlap edges by 10 cm and peg it down securely. For planting beds you can plant first then add gravel, or cut crosses in the membrane for each plant so roots reach the soil. Spread angular gravel of 10 to 20 mm size to a depth of 40 to 50 mm. A 25 kg bag covers about 0.6 square metres at 5 cm depth. Medium angular gravel locks better underfoot than rounded pea shingle and does not roll as much on slopes.
Match the gravel colour to existing stone in the garden if possible. Local materials are often cheaper and look more natural. On heavy clay a thicker layer of 75 mm or more may be needed to keep weeds down.
Choose and plant suitable plants
Select drought-tolerant plants such as lavender, euphorbia, sedum, ornamental grasses and Mediterranean herbs that cope with UK summers once established. Plant in groups of three or five for better impact and water well in the first season. On free-draining soil many establish with little extra water after the first year. Avoid plants that need rich moist soil because they will struggle. The gravel reflects heat and keeps roots cooler in summer while suppressing weeds once plants fill out and shade the surface.
Leave space between plants for growth. Mulch around them with the gravel after planting so the crowns sit at the right level. In colder areas protect tender plants in their first winter.
Finish and maintain
Rake the gravel level and top up if needed after settling in the first few weeks. Weeding is heaviest in the first two years while plants establish; after that dense planting reduces the work significantly. Remove surplus self-seeders if they appear in unwanted places to keep the design intentional. Top up gravel every few years as it settles or mixes with soil. The result is a low-water, low-weed garden that suits UK summers and looks structured year-round with minimal effort.
Check drainage after heavy rain and adjust slopes if water pools. In autumn clear any heavy leaf fall so it does not smother the gravel surface.
Conclusion
Creating a gravel garden from scratch succeeds when drainage is sorted, edging is firm, and plants are chosen for dry conditions. The initial preparation takes the most effort, but the ongoing care is lighter than a conventional border. Measure quantities carefully so you buy enough gravel in one delivery, and allow time for weeds to be removed properly before you cover the area. Once established it provides a stylish, low-maintenance space that works well in sunny UK gardens.
FAQs
What depth of gravel is best for a garden?
40 to 50 mm of 10 to 20 mm angular gravel works for most planting areas and paths. Deeper on heavy clay or for higher traffic. Too shallow shows soil; too deep is uncomfortable to walk on and wastes material.
Does a gravel garden need a membrane?
It helps on paths to reduce weeds. On planting beds many gardeners plant first then mulch with gravel, or use membrane only where weeds are persistent. Permeable fabric is better than plastic sheeting so water can drain freely.
What plants work best in a UK gravel garden?
Lavender, rosemary, euphorbia, sedums, ornamental grasses and drought-tolerant perennials. Choose according to your soil and aspect. Most prefer full sun and free-draining conditions and will need less water once established.