How to Plan the Perfect Bathroom Layout

Planning the perfect bathroom layout comes down to marking your fixed points first, the soil pipe, window, door swing, and radiator, then arranging every fixture around them with genuine clearance to actually use the room, not just floor space to hold each item. Most layout disappointment comes from measuring the fixtures themselves but forgetting to measure the space around them, only discovering once everything’s fitted that a door won’t open fully or two people can’t pass each other at the sink.
Measure the Room Properly Before Anything Else
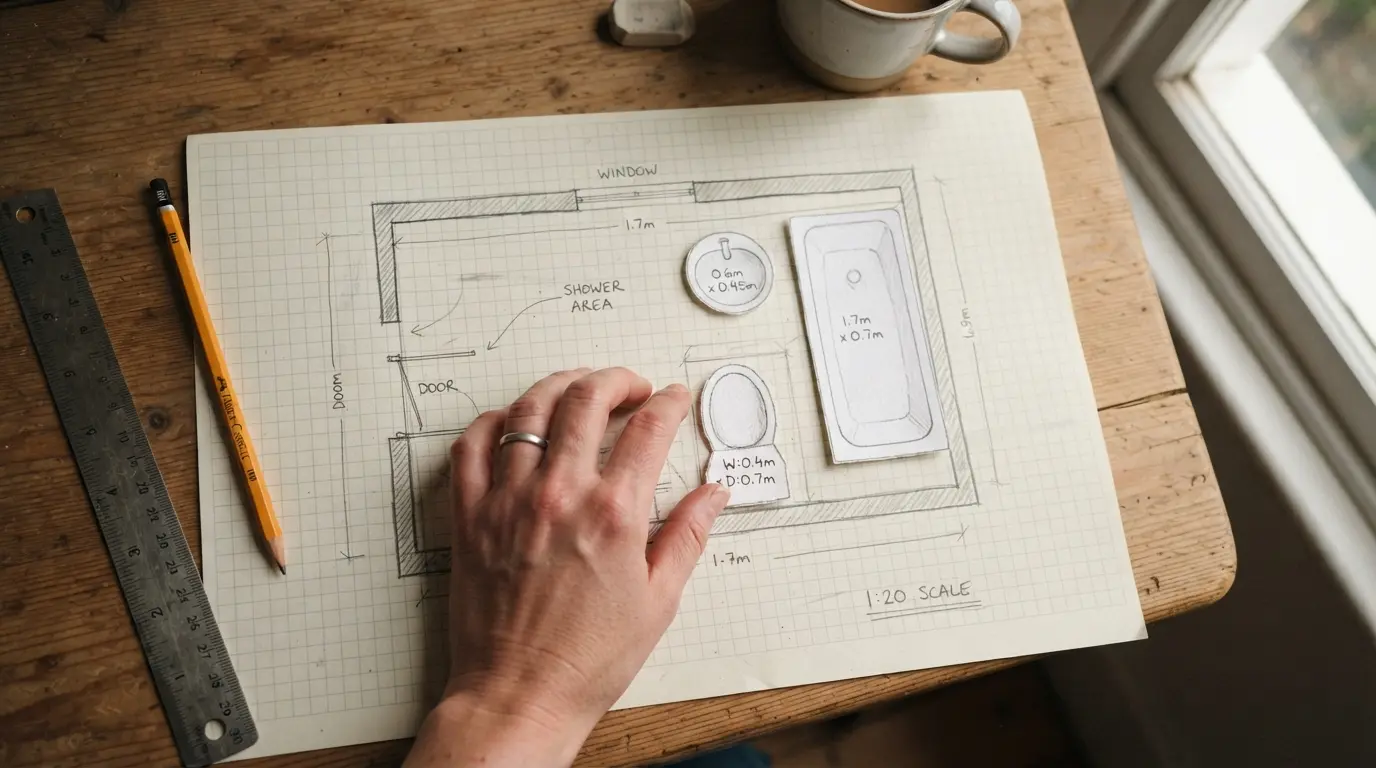
Take real measurements, not estimates, of every wall, and note the position of anything fixed: windows, doors, alcoves, sloped ceilings, existing pipework. Draw the room to scale on graph paper, then cut out scaled paper shapes for every fixture you’re considering, a bath, basin, toilet, shower enclosure, so you can physically move them around the plan before committing to anything. This sounds basic, but it’s the single step most people skip in favour of jumping straight to browsing bathroom suites, and it’s the reason so many layouts only reveal their problems once the fixtures are already ordered.
Mark Your Fixed Points First
Before deciding where anything new goes, identify what’s genuinely fixed and expensive to move. Your soil pipe position usually dictates where the toilet makes the most practical sense, since relocating it elsewhere adds real plumbing cost. Radiators and heated towel rails are also worth leaving in place wherever possible, moving them is a bigger, pricier job than most people expect, and it’s easy to underestimate until you’re pricing up the work. Windows and door swings are fixed too, and both affect where furniture and larger fixtures can realistically sit, a vanity unit positioned directly under a low window, or a bath that blocks a door from opening fully, are both avoidable problems once you’ve mapped these points before anything else.
Give Every Fixture Genuine Clearance, Not Just Floor Space

A fixture that technically fits the floor space allotted to it can still make the room function badly if there’s no room to actually use it. Leave clear space in front of the toilet and basin to stand and move comfortably, and don’t position two fixtures so close together that using one blocks access to the other. This matters most in a smaller bathroom, where it’s tempting to push every item right up against its neighbour to fit everything on the wish list, the room will function far better, and feel considerably larger, with slightly fewer items and genuine breathing room around each one than with everything crammed in edge to edge.
Choose a Layout Shape That Suits Your Room’s Proportions
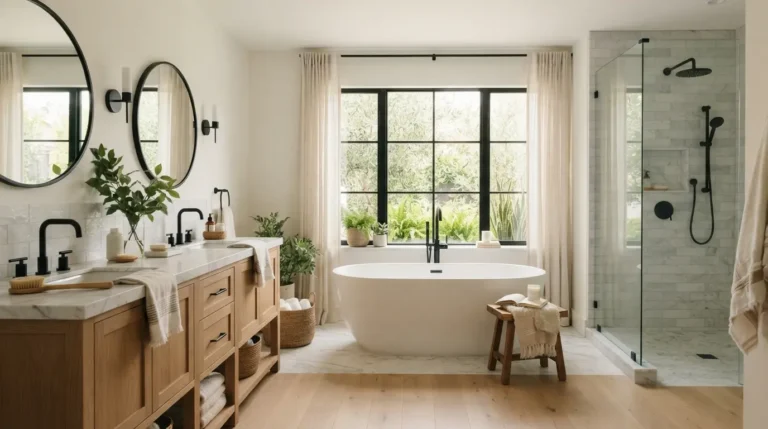
A narrow, galley-style room generally works best with fixtures run along one or two opposing walls, keeping a clear walkway down the centre. A more square room often suits an L-shaped arrangement, fixtures along two adjoining walls, freeing up the remaining floor space as one open area rather than splitting it into awkward leftover corners. In a genuinely spacious bathroom, positioning a bath, especially a freestanding one, away from the walls as a central feature works well, but only where there’s enough clearance on every side, a freestanding bath needs walking space around its full perimeter, not just the room to fit its footprint.
Match Your Shower Door Type to the Space You Actually Have
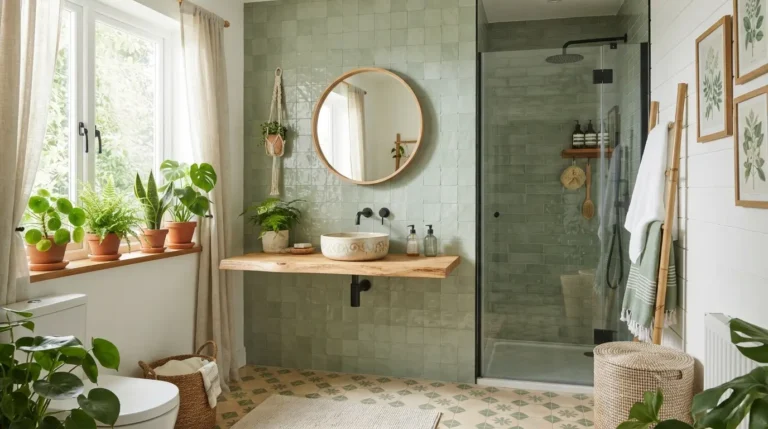
This is a detail worth deciding early, since it directly affects how much clearance the shower enclosure needs beyond its own footprint. A pivot or hinged door needs genuine swing space in front of it to open fully, which can eat into a walkway more than people expect in a tight room. A sliding door needs no additional swing space at all, since it moves along the enclosure’s own line, making it the more space-efficient choice for a smaller bathroom. A fully open, walk-in shower needs no door clearance either, but does need enough surrounding floor space to actually approach and use it comfortably, so it isn’t automatically the compact solution it might first appear to be.
Use Wall-Mounted Fixtures to Free Up Floor Space
A wall-hung toilet takes up noticeably less visual and physical floor space than a close-coupled one, and the same logic applies to a wall-mounted vanity or basin unit, both create the impression of a larger room simply by leaving more floor visible underneath. This is worth weighing specifically in a smaller bathroom or cloakroom, where every centimetre of visible floor genuinely changes how the room feels, even when the actual usable space hasn’t changed at all.
Don’t Forget the Ceiling and Any Sloped Walls
A sloped ceiling, common in loft or attic bathrooms, is often treated as wasted space, but it’s usually the ideal spot for a bath, since a bath doesn’t need standing headroom the way a shower or a vanity mirror does. Positioning a bath under the lowest part of a slope while keeping taller fixtures where the ceiling is at full height makes considerably better use of an awkward room shape than ignoring the slope and losing that space entirely. Lighting is worth planning at this stage too, it’s one of the most commonly forgotten elements in an otherwise carefully planned layout, and retrofitting it after tiling is finished is a far bigger job than deciding on it alongside the fixture layout.
Test Your Layout on Paper Before You Order Anything
Once you have a layout you’re happy with on paper or in a planning tool, resist the urge to order fixtures immediately. Walk through the plan mentally, or physically mark it out with tape on your actual bathroom floor, checking that door swings, shower access, and walking space between fixtures all genuinely work in three dimensions, not just as shapes on a flat plan. This is a far cheaper and faster check than discovering a clearance problem after a bath or vanity has already been delivered and doesn’t fit the space the way the paper plan suggested.
Final Thoughts
Planning the perfect bathroom layout really comes down to respecting the fixed points in the room, the plumbing, the radiator, the door swings, then giving every fixture genuine clearance rather than just the floor space to hold it. Test the plan properly before you order anything, and the finished bathroom will function as well as it looks, rather than looking right on paper and feeling cramped the moment it’s actually in use.
FAQs
How much clearance do I need in front of a toilet?
Leave genuine standing and moving space in front of and beside the toilet rather than positioning it flush against another fixture. The exact figure varies by room size, but the test is whether you can comfortably use and clean around it, not just whether it fits the floor space allotted.
Can I move a radiator when replanning a bathroom layout?
Yes, but it’s a genuinely bigger and more expensive job than most people expect, so it’s worth leaving radiators and heated towel rails in their existing position wherever your new layout allows, rather than moving them purely for aesthetic preference.
What’s the best bathroom layout shape for a small room?
A galley-style arrangement, fixtures along one or two opposing walls with a clear central walkway, generally makes the most efficient use of a narrow or small bathroom compared with a more spread-out layout.
Do I need extra space for a shower door to open?
It depends on the door type. A pivot or hinged door needs genuine swing clearance in front of it, while a sliding door or a fully open walk-in shower doesn’t need that extra swing space, though a walk-in still needs enough surrounding floor to approach comfortably.
Should I test my bathroom layout before buying fixtures?
Yes, always. A paper plan with scaled cut-outs, or tape marked out on your actual floor, catches clearance and access problems far more cheaply than discovering them after fixtures have already been delivered and don’t fit as expected.