
Tongue and Groove Bathroom Ideas for a Classic and Timeless Look

Tongue and groove bathroom panelling gives a room a genuine sense of craftsmanship that flat plasterboard or tile alone can’t match, and it works in period and contemporary bathrooms alike. The 10 ideas below cover the styles and layouts worth considering, along with the one honest technical caveat most inspiration pieces skip: real timber panelling has a specific place it belongs in a bathroom, and a place it genuinely doesn’t.
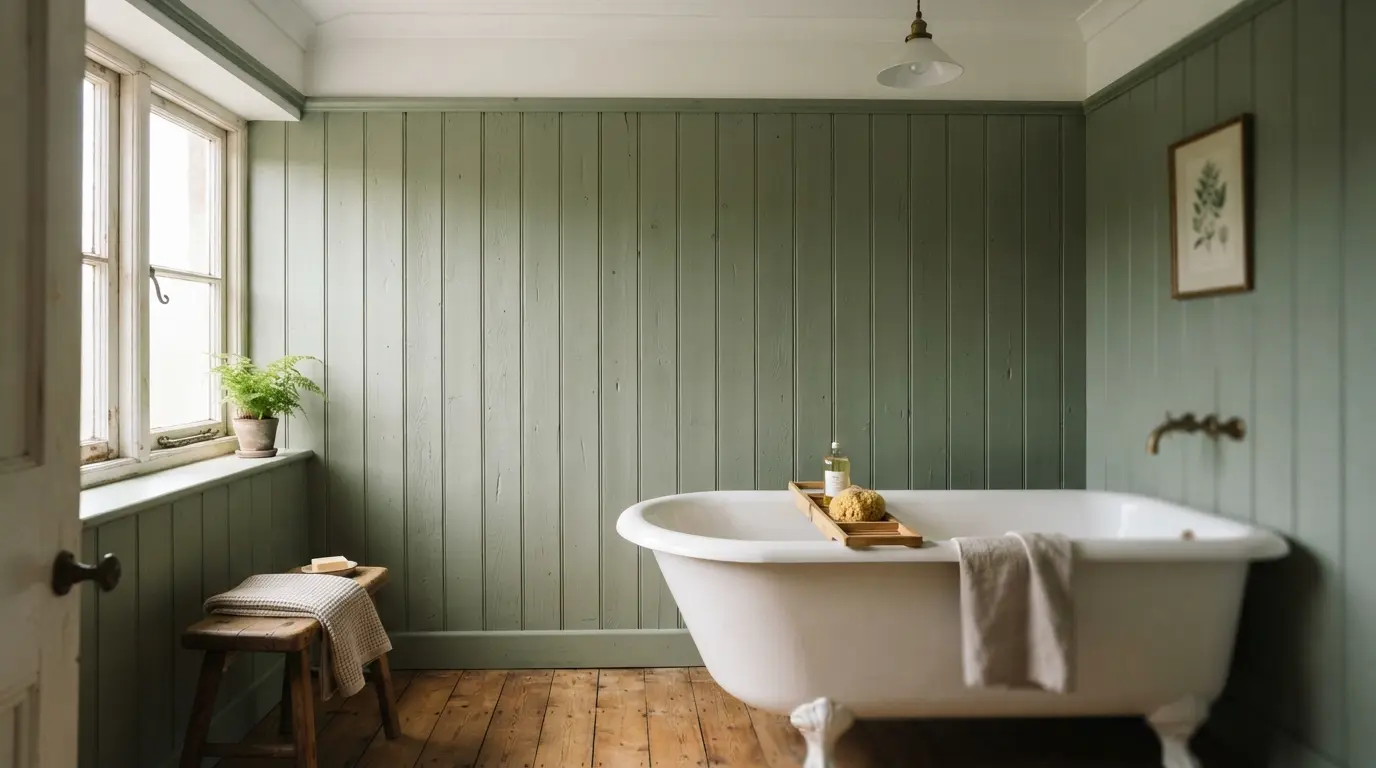
1. Classic Vertical Panelling for Height
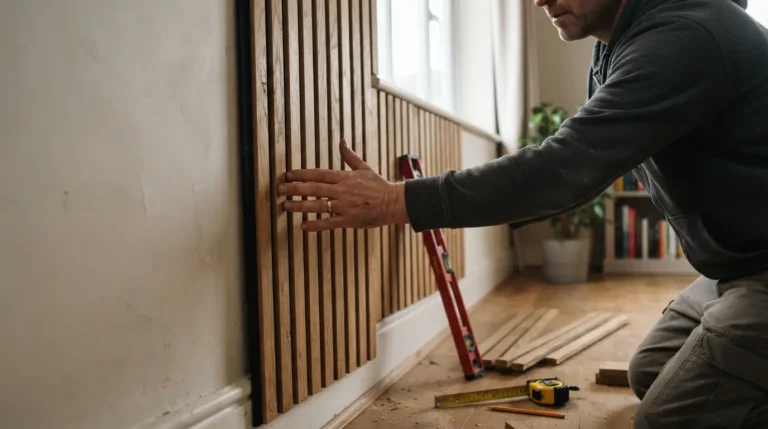
Running tongue and groove boards vertically is the most traditional application, and it does real visual work beyond the classic look: the vertical lines draw the eye upward, making a standard-height bathroom feel taller than it is. This suits almost any bathroom size and layout, and it’s the easiest orientation to fit yourself as a weekend project, since the boards simply run floor to ceiling or to whatever height you’ve planned. Because vertical is the default most kits and pre-cut boards are designed for, it’s also usually the most straightforward and cost-effective orientation to source, whether you’re buying a ready-made kit or cutting boards to length yourself.
2. Horizontal Panelling for a Wider Feel
Turning the same boards horizontally has the opposite effect, lengthening the space rather than heightening it, which makes it a genuinely useful choice for a narrow bathroom where width matters more than ceiling height. It suits a more relaxed, coastal or cottage-leaning scheme particularly well, and it’s worth choosing this orientation deliberately based on your room’s actual proportions rather than defaulting to vertical out of habit. Horizontal runs also mean more board-to-board joins across a given wall than a vertical layout of the same height, so it’s worth planning the joins to land in a sensible, staggered pattern rather than lining them up in an obvious repeating seam.
3. Half-Height Panelling With Wallpaper Above
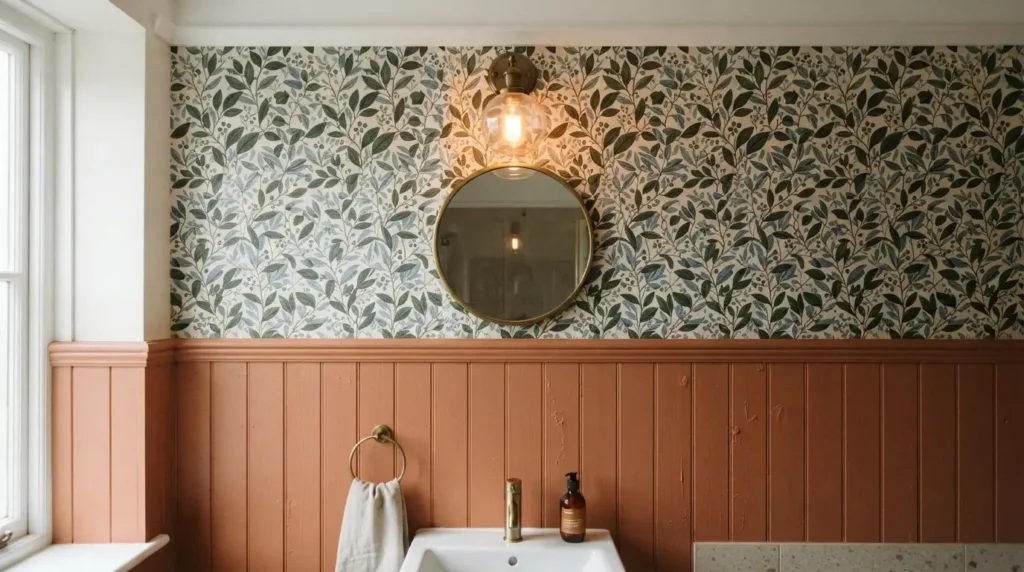
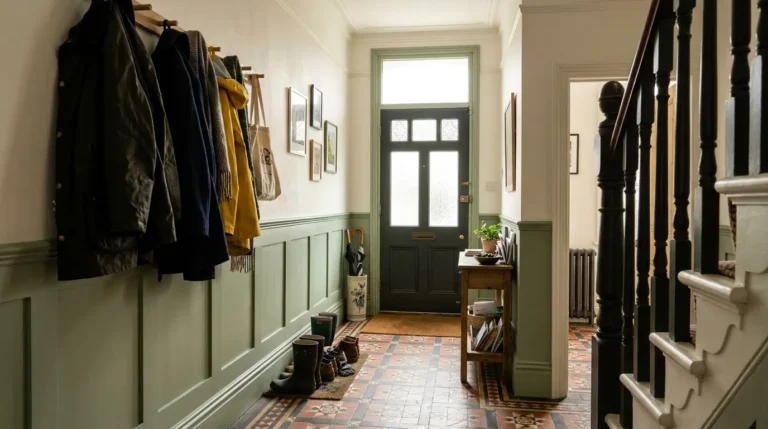
Panelling the lower half of the wall and finishing at dado rail height is a genuinely practical compromise if you love a statement wallpaper but don’t want to commit a small room to full-height pattern. The trick that ties the two together: pull one colour directly from the wallpaper and paint the panelling in that exact shade, which grounds the pattern rather than leaving it fighting with an unrelated panel colour underneath. This approach is also genuinely practical for anyone unsure about committing to a bold wallpaper across a whole room, since the panelling below stays at eye level in a solid, calming colour while the pattern above does the visual work, and it’s a far easier scheme to update later, repainting a panelled lower half is a much smaller job than replacing wallpaper on every wall.
4. Full-Height Panelling to the Ceiling in a Small Bathroom
Taking tongue and groove all the way to the ceiling, rather than stopping partway up the wall, is one of the most effective tricks for a small bathroom specifically, since the long, thin boards draw the eye upward and the room reads as taller and more spacious than its actual footprint. Paint it in a lighter shade rather than a dark or saturated one if the room genuinely lacks natural light, since the height trick works best when it isn’t fighting a colour that visually shrinks the walls back down. Running the panelling behind a mirror rather than stopping it at the mirror’s edge also helps the wall read as one continuous surface rather than a panelled section interrupted by a gap, which matters more in a small room where every visual break gets noticed.
5. Shaker-Style Panelling for a Grander, Framed Look
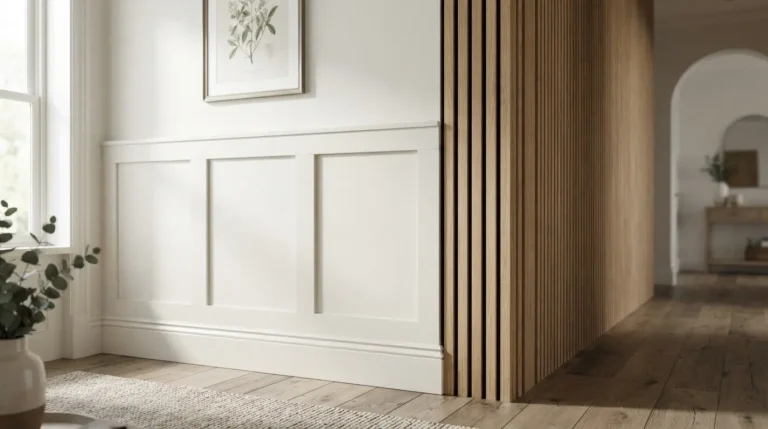
Shaker-style panelling, with its recessed rectangular frames rather than simple vertical boards, suits a larger family bathroom where there’s genuinely more wall space to work with, and it reads as less rustic than plain tongue and groove, which appeals if you like mixing antique and contemporary pieces. It works particularly well used to frame specific features, around a mirror, a towel rail, or the bath itself, rather than applied as one flat, unbroken surface across the whole room. Because the recessed frame detail uses more material and takes longer to fit accurately than plain boards, it’s worth budgeting extra time and cost for this style over simple tongue and groove, and it’s a style that rewards careful, precise fitting far more than a rustic plank finish would, since any misaligned frame is much more noticeable in a formal Shaker layout.
6. Frame the Bath With Panelling for a Zoned, Sumptuous Feel
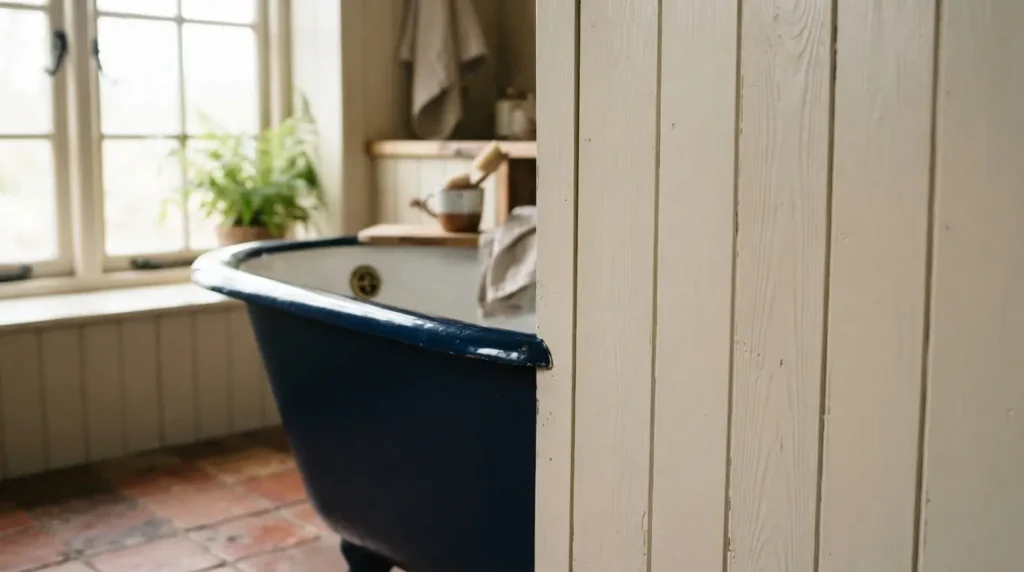
Using panelling to frame the area around a freestanding or built-in bath is a genuinely effective way to zone a bathroom without adding walls or dividers, drawing the eye to that spot as the room’s clear focal point. This works especially well paired with a bath in a contrasting or bold colour against the panelled backdrop, since the framing effect gives the tub a sense of occasion rather than leaving it to sit against a flat, undifferentiated wall. Extending the panelling slightly beyond the width of the bath itself, rather than stopping exactly at its edges, gives the framing a more considered, deliberate feel than a panel section that reads as an exact, slightly awkward cutout around the tub’s dimensions.
7. Hide an Ugly Bath Panel With Matching Tongue and Groove
A standard plastic bath panel rarely looks intentional, and continuing your wall panelling down and across the bath’s front panel turns a purely functional piece into part of the considered scheme rather than an obvious afterthought. This is a genuinely underused idea, most bathrooms treat the bath panel as separate from the walls entirely, but matching the two together is a relatively small addition that makes the whole room read as more finished. Since a bath panel does sit closer to splashes than the surrounding walls, it’s worth being especially careful with the adhesive and finish used here, a slightly more robust, water-resistant paint or varnish on the panel itself is a sensible upgrade over what the rest of the room’s woodwork might need.
8. Rustic Reclaimed Wood for a Characterful, Sustainable Look
Natural, unpainted or lightly finished wood panelling suits a pared-back, country-leaning bathroom, and reclaimed timber specifically brings genuine character along with a lower cost and a smaller environmental footprint than buying new. Reclaimed boards do need checking for soundness and any existing damage before fitting, since not every piece will be suitable for a bathroom’s humidity, but a good reclaimed source is often the most budget-friendly of the ten ideas here. Look specifically for boards free of rot, active woodworm, or excessive warping, since these problems only get worse once a board is fixed to a bathroom wall and exposed to daily humidity, and a light sand followed by a suitable oil or wax finish lets the timber’s genuine age and character show through rather than covering it entirely.
9. Colour Drench the Panelling for a Bold, Cohesive Look
Painting the panelling in one bold, saturated shade, and carrying that same colour through to the skirting, door, and any built-in cabinetry in the room, creates a genuinely cohesive, considered look rather than a single panelled wall standing apart from everything else. This works because tongue and groove panelling takes paint beautifully in any shade, so committing to one confident colour across every woodwork element in the room reads as intentional rather than half-finished. A bold, saturated colour also tends to suit a bathroom’s typically smaller proportions better than it would a larger room, the enclosed, confident feel that can be overwhelming across an entire open-plan space instead reads as cosy and considered in a room this size.
10. Know Where Panelling Genuinely Belongs, and Where It Doesn’t
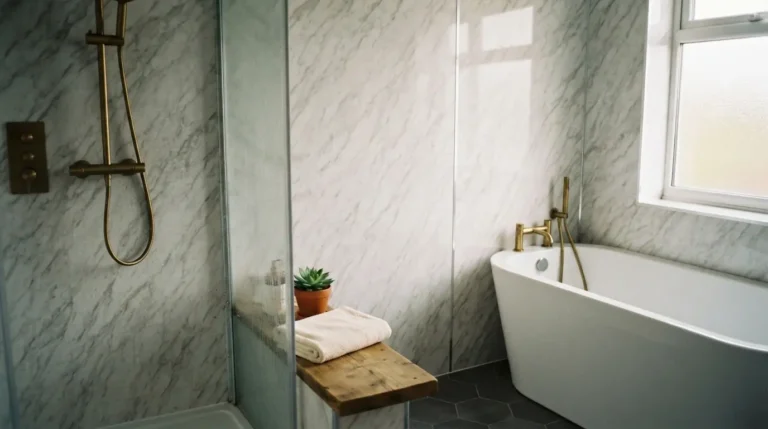
This is the detail every purely aesthetic panelling guide skips, and it matters more than any style choice on this list. Real timber panelling works well on walls that don’t come into direct, sustained contact with water, which rules out the inside of a shower enclosure specifically, wood and constant direct water genuinely don’t mix well over time, however good it looks in a single photo. The adhesive matters just as much as the placement: use one specifically rated for both interior and exterior use, since it needs to cope with the humidity and temperature swings a bathroom goes through daily, not just a standard indoor adhesive. If you want the panelled look to continue into a shower area, that’s only realistic with genuinely excellent ventilation and a material rated for that exposure, and it’s worth treating as the exception that needs extra care, not the default approach. A working extractor fan, run consistently after every bath or shower rather than only when the room feels obviously steamy, does more to protect a timber-panelled bathroom long-term than any paint or sealant choice on its own.
Final Thoughts
The best tongue and groove bathroom ideas balance a genuinely classic, timeless look with an honest understanding of where real timber panelling actually belongs in a wet room. Choose the orientation, height, and colour that suits your space, keep it away from direct water contact, and use the right adhesive and paint for the job, and the panelling will still look considered and sound in ten years, not just for the first photo. Whichever combination of these ideas you land on, the same underlying principle holds true across all ten: a room styled this way earns its classic look because it was fitted and finished properly, not just because the boards themselves happen to look timeless.
FAQs
Can you put tongue and groove panelling in a bathroom shower?
Generally, real timber panelling should stay on walls that don’t take direct, sustained water contact, so the inside of a shower enclosure isn’t the right spot for it. If you want the look to continue near a shower, it needs genuinely good ventilation and a suitable finish, and it’s the exception rather than the standard approach.
What’s the difference between tongue and groove and shiplap?
Tongue and groove boards interlock with a small tongue on one edge fitting into a groove on the next, creating a tight, flush join. Shiplap boards overlap rather than interlock, giving a slightly more rustic look with a visible step between boards rather than a flush surface.
Do you need special paint for bathroom panelling?
Yes, a paint suited to high-humidity rooms holds up better against the moisture and temperature swings a bathroom goes through daily than a standard interior paint. The adhesive used to fit the panels matters just as much, choose one rated for both interior and exterior use.
How much does bathroom tongue and groove panelling cost?
Costs vary by material, whether you buy pre-made kits or source and cut boards yourself, and whether you hire help or DIY the project. Reclaimed or budget timber sits at the lower end, while a larger room panelled floor to ceiling in new, quality timber costs meaningfully more, so treat any figure as a rough guide for your specific project and location.
Does tongue and groove panelling need ventilation?
Yes, genuinely good bathroom ventilation matters more with wood panelling than with tiled walls, since timber is more sensitive to trapped moisture over time. A working extractor fan used consistently after baths and showers protects the investment far more than the finish alone.

One Comment