How to Measure for Curtains Correctly

Measuring for curtains correctly means recording the usable width of the pole or track first, then the drop from the correct starting point for your heading style down to the finish you want, always in centimetres and always after the hardware is fixed. Ready-made curtains fail most often because the width was taken from the window glass instead of the pole, or the drop started from the wrong point so the hem either drags or finishes short of the sill. The steps below cover UK practice for poles, tracks, eyelet and pencil-pleat headings, and the checks to make before you order.
Fit the Pole or Track Before You Take Final Measurements
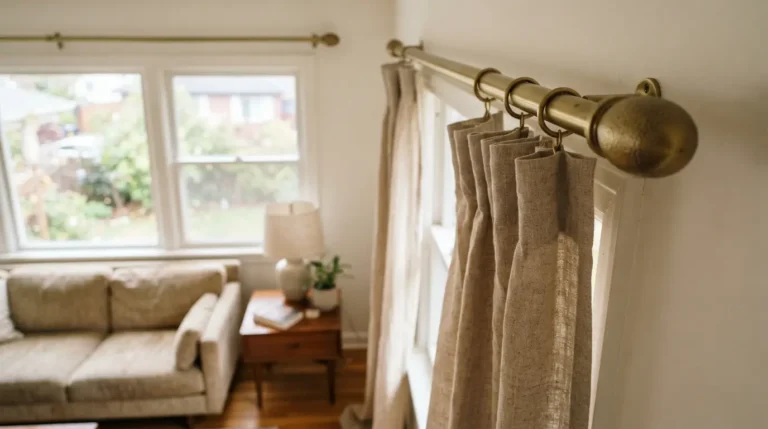
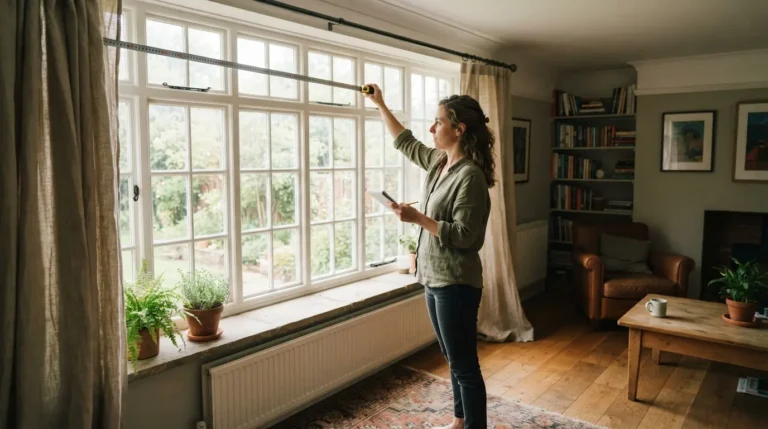
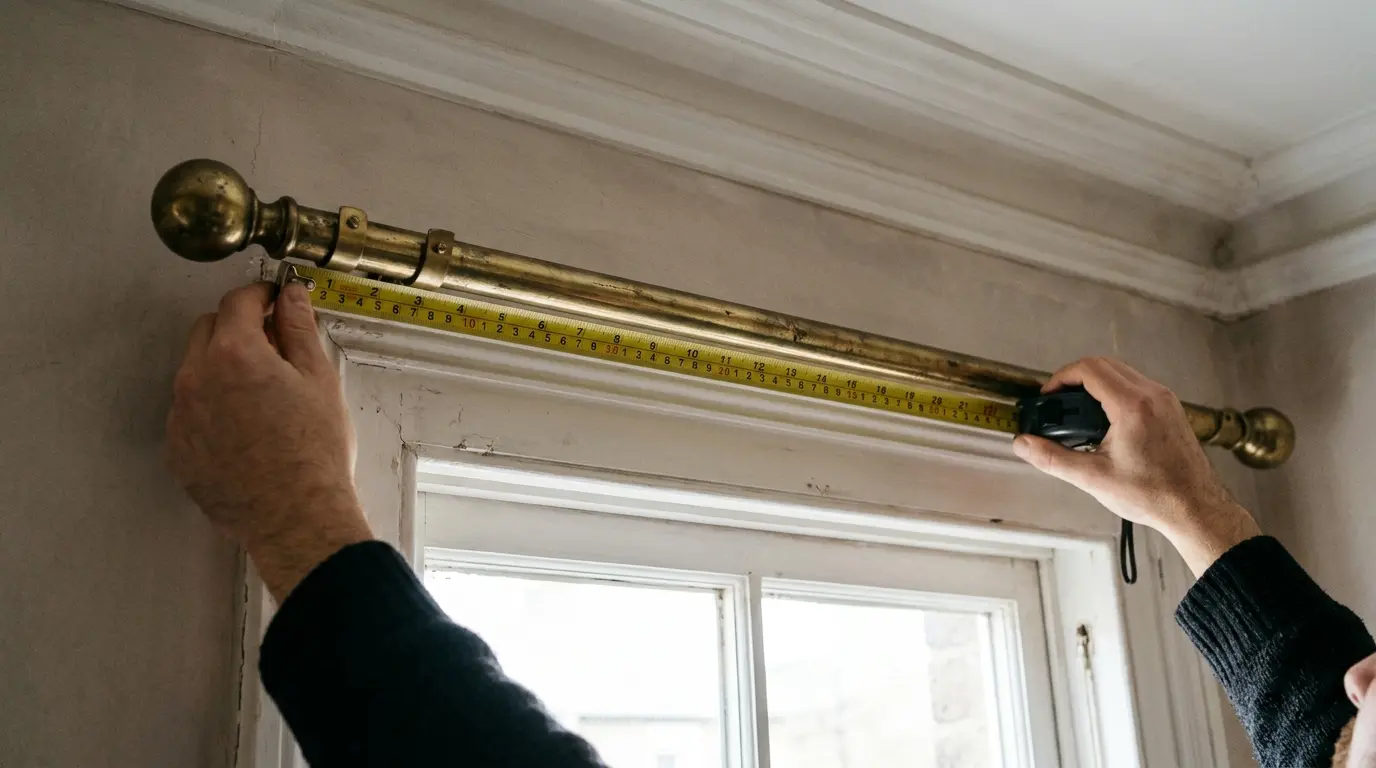
The finished position of the hardware decides both width and drop. Fit the pole or track first. A standard placement puts the pole 10 to 15 cm above the window frame and extends it 15 to 20 cm beyond each side of the frame so the open curtains stack clear of the glass. Once it is fixed, measure the usable width. For a pole, measure between the finials; do not include the decorative ends. For a track, measure the full length from end to end. If the track has a centre overlap, measure the main length and add the length of the overlap. These figures become the width you order. Check the windows and doors section on the site for more on pole and track placement if your window is a bay.
If no hardware is fitted yet, measure the window opening and add 15 to 20 cm each side as a planning figure, but treat it as provisional. Final orders should always use the actual fitted hardware. Metal tape measures are more accurate than fabric ones. Record every measurement in centimetres.
Where to Start the Drop Measurement
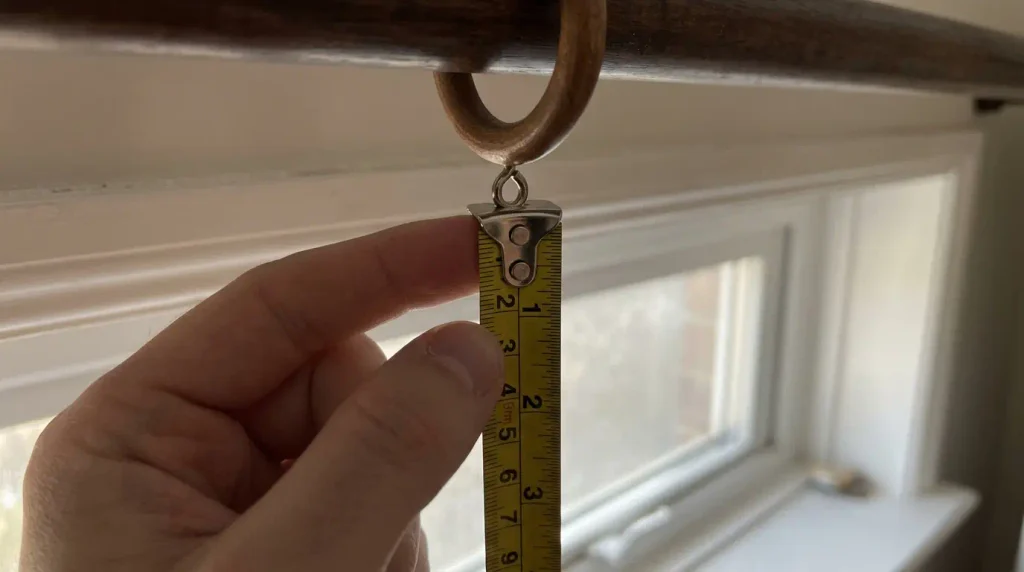
The starting point changes with the heading. For eyelet curtains measure from the top of the pole. For pencil-pleat or pinch-pleat curtains hung on rings, measure from the eye of the ring. For a track, measure from the glider or hook point that actually supports the curtain. From that point measure down to your chosen finish. Sill length ends 0.5 to 1 cm above the sill. Below-sill length typically finishes 15 cm below the sill, or 1 to 3 cm above a radiator. Floor length ends 1 to 2 cm above the floor so the hem does not drag or mark. Puddled lengths add 5 to 10 cm for a soft pool. Measure both sides if the floor is uneven and use the shorter figure.
Fullness multiplies the width. Standard drapes use roughly twice the pole width in total fabric so each panel is the width of the pole when closed. Sheers can be 1.5 times. Luxury pleats may be 2.5 to 3 times. Most UK ready-made pairs are sold with each curtain already the full pole width so the pair gives the 2 times fullness. Confirm the maker’s instruction before you order.
Common Measuring Mistakes and How to Avoid Them
The most frequent error is measuring the glass instead of the pole. The second is starting the drop from the top of the window frame when the curtains hang from rings or a track. The third is forgetting the finials and ordering a pole that is too short. Check the fabric width of ready-made curtains; some panels have a centre seam once they exceed about 130 cm. For very wide windows you may need extra-wide fabric or two pairs. Before you order, double-check the heading type, the exact start point for the drop, and whether the curtains need to clear a radiator or a window seat. Existing curtain fabric guides on the site explain how weight and lining affect the final hang once the measurements are correct.
Test the length with a length of string or a temporary fabric strip hung from the same point the curtain will hang. Walk around the room and look from the sofa or the bed. A hem that looks right at the window can look short once you sit down. Adjust before you place the order.
What to Check Before You Order
Confirm the pole or track is level and fixed securely. Note any obstacles such as radiators, window seats or door handles that the hem must clear. Check the fabric content and whether the curtains are lined or interlined; heavier fabrics need a stronger pole. If you are buying ready-made, choose the next size up rather than the next size down. Custom makers usually want the exact usable width and the exact drop from the correct start point. Ask whether they include the heading allowance in the drop or expect you to add it. Finally, measure the access route if the curtains are long; a 270 cm drop may not fit in a standard lift. Do these checks and the curtains will arrive ready to hang rather than ready to return.
Conclusion
Correct curtain measurements start with the fitted pole or track, exclude the finials, and use the right starting point for the heading. Allow 15 to 20 cm each side of the window, finish the hem 1 cm above the floor or sill, and confirm fullness with the maker. Measure twice, hang a test strip, and check for radiators and uneven floors. Those steps turn a standard window into curtains that sit properly and stay clear of the floor.
FAQs
Do I measure the window or the pole for curtains?
Measure the usable width of the pole (between the finials) or the full track. Never measure the glass alone.
Where do I start measuring the drop?
Eyelet curtains start from the top of the pole. Pencil-pleat curtains on rings start from the eye of the ring. Track curtains start from the glider.
How much extra width should the pole have?
Extend the pole or track 15 to 20 cm beyond each side of the window frame so the open curtains clear the glass.
Should floor-length curtains touch the floor?
No. Finish them 1 to 2 cm above the floor so the hem does not drag or mark.