How to Lay a Garden Path Step by Step

Laying a garden path properly means getting the route, width, base and drainage right before any surface goes down. In UK gardens the ground is often soft or clay-heavy, so a thin base soon sinks or puddles after rain. A path that works for daily use is usually 900 mm wide, sits on compacted MOT Type 1, and has a slight fall away from the house.
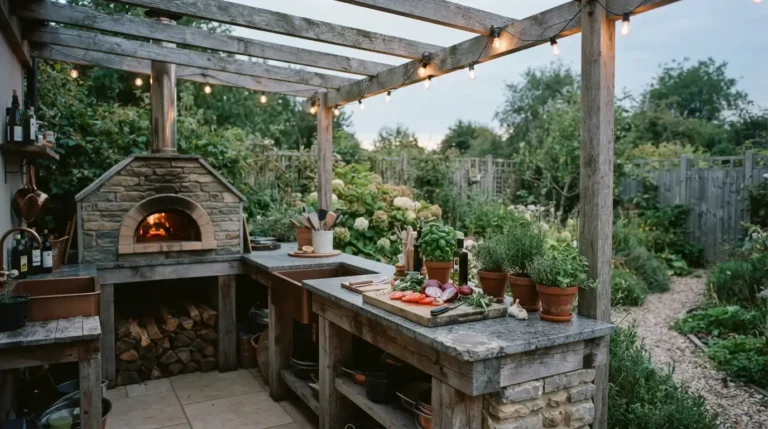
Start by walking the route with a wheelbarrow to check it feels natural. Mark both edges with pegs and string so the width stays consistent. Check for services with a CAT tool before you dig. Once the line is fixed you can calculate materials and decide whether the path will be gravel, paving slabs or brick. For more ideas on outdoor structure see how to create a garden entertainment area that lasts.how to create a garden entertainment area that lasts
Plan the Route, Width and Fall
A main path that people use every day should be at least 900 mm wide so two people can pass without stepping into the beds. Narrower paths of 600 mm work for light access to a shed or compost bin. Walk the proposed line several times and adjust until it feels comfortable. Allow a fall of roughly 1 in 60 away from buildings so water does not sit against the house wall.
Mark the finished level on the pegs so you know how deep to dig. In most gardens that means excavating 100 mm for a gravel path or 150 mm for slabs or blocks, plus the thickness of the surface itself. Soft clay needs extra depth. If the path runs next to a deck, match the heights so the transition is level and safe.
Choose Materials That Suit UK Weather
Gravel is the most forgiving and permeable option. Use angular 10–20 mm stone rather than rounded pea gravel, which shifts underfoot and is harder to push a barrow across. Lay it over landscape fabric and hold the edges with treated timber, steel or plastic edging. Decorative depth is usually 25–40 mm, kept just below the top of the edging so it does not spill.
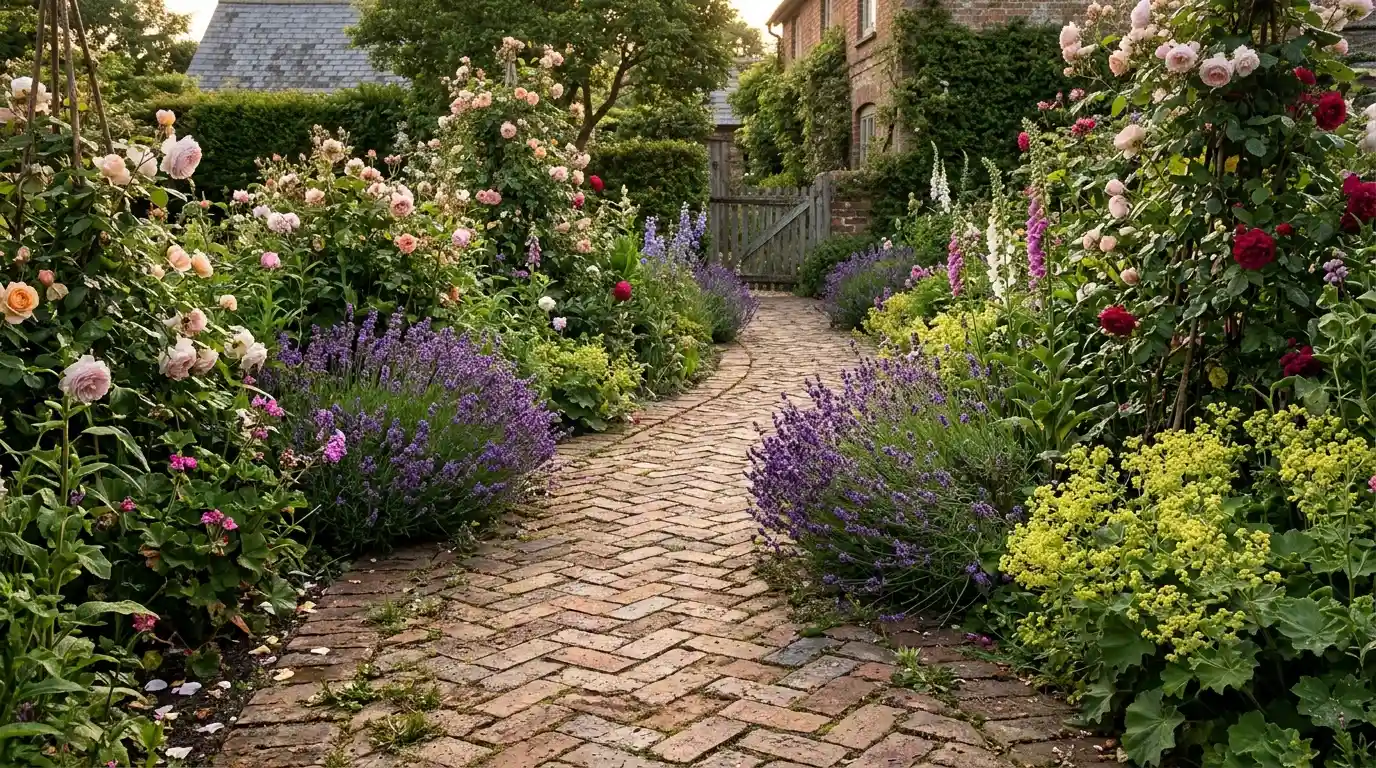
Paving slabs need a firm sub-base and a full mortar bed if they are to stay level. Choose textured or riven finishes that grip when wet. Brick or block paving suits cottage and period gardens and can follow gentle curves without much cutting. Add 10 percent extra for cuts and breakages. Self-binding gravel or resin-bound finishes give a firmer surface but cost more and still need a sound base.
Excavate and Build the Base
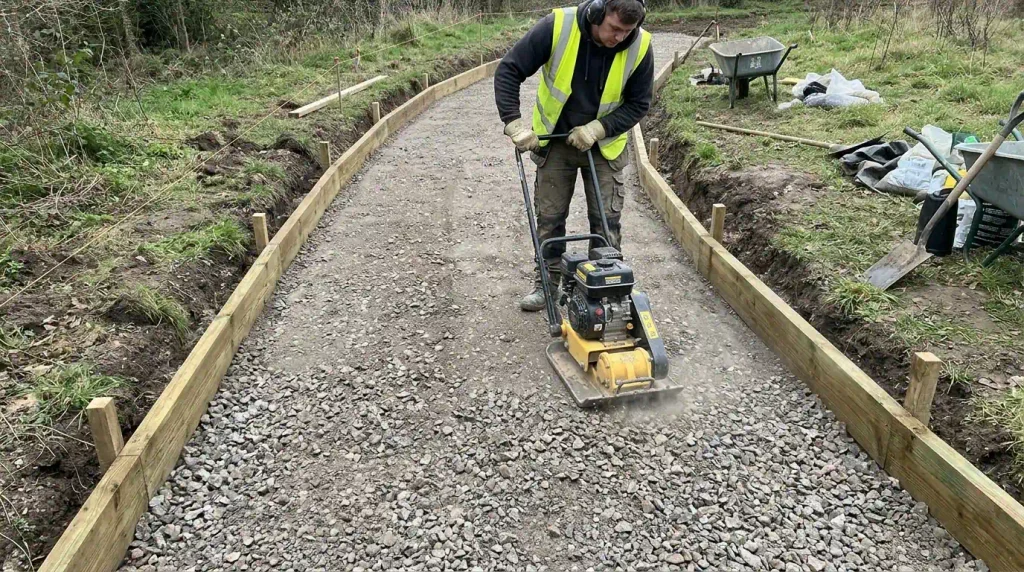
Remove turf and soft topsoil to the calculated depth. Compact the subgrade with a plate compactor or hand tamper. On soft ground lay a geotextile first. Spread MOT Type 1 hardcore in 50 mm layers and compact each layer until the total compacted depth is 75–100 mm for light paths or 100–150 mm for heavier use. The top of the compacted base should sit at the right height for the bedding and surface.
Install the edging first so it fixes the width and finished level. Peg treated timber boards or set concrete edging firmly. Backfill outside the edging and compact. For gravel paths roll out landscape fabric with overlaps of 50–150 mm and tuck it under the edging. This stops weeds and stops the gravel sinking into the base.
Lay the Surface and Finish
For gravel, spread the decorative layer and rake it level. Compact lightly if the product allows. For slabs, screed a 30–40 mm sharp sand bed or lay a full mortar bed of roughly four parts sand to one part cement. Place each slab, check level and fall with a spirit level, and tap down with a rubber mallet. Leave consistent 5–10 mm joints. Fill joints with kiln-dried sand or a jointing compound once the bed has set.
Brick and block paving go on a sharp sand bed after the sub-base. Use string lines to keep courses straight and a rubber mallet to bed each unit. Sweep kiln-dried sand into the joints and compact. Leave the path for a day before heavy use. Check drainage by pouring water and watching it run off rather than pool.
Common Mistakes to Avoid
Skipping the sub-base or failing to compact it is the main reason paths sink. Laying slabs on dabs of mortar instead of a full bed lets them rock. Ignoring the fall means water sits and the surface becomes slippery or the base washes out. Using rounded gravel without good edging leads to stones migrating into the beds. Always check levels several times and walk the finished path before you declare it done.
Conclusion
A well-laid garden path starts with a clear route and proper base rather than the surface material. Take time to mark, dig, compact and check falls before you order the final surface. Once the base is sound the path will stay level, drain properly and look good for years. Pair it with thoughtful planting and lighting and the whole garden becomes easier to use.
How wide should a garden path be?
Aim for 900 mm on main routes so people can pass comfortably. 600 mm is enough for light access paths. Anything narrower feels cramped with a wheelbarrow.
How deep do I dig for a garden path?
Typically 100 mm for gravel and 150 mm for slabs or bricks, measured below finished surface level. Add more on soft or clay soil and always compact the base in layers.
Do I need planning permission for a garden path?
Most garden paths do not need planning permission, but check if the path is part of a larger hard-landscaping scheme near a listed building or if it affects drainage significantly.
What is the best base for a UK garden path?
Compacted MOT Type 1 hardcore in layers is the standard. It spreads load and drains better than soil alone. Landscape fabric under gravel stops weeds and migration.